
In late 2018, after riding my first road bike for a while, I started reading about how to better train myself for some of the longer distance goals I was setting for myself. One of the things I was reading about was the use of power meters.
The problem though was that most power meters at the time were super expensive with most solutions going for $1,000 or more. A modest solution that would work for an everyday Joe cyclist like myself didn’t appear to exist. That is until I read about the PowerPod.
The PowerPod, created by VeloComp, is an interesting take on a power meter. Most power meters measure power using direct power off of a pedal, crank arm, hub, or the like. But the PowerPod does it differently. Instead, it uses a combination of wheel speed, cadence, wind, accelerometer measurements, rider weight, tire resistance, and other factors to provide a running power measurement. It’s a different way to do it for sure.
Now, I’m not going to go into meticulous detail about the PowerPod. Instead, I highly recommend reading DC Rainmaker’s review of the PowerPod V2. That’ll give you a good idea on what the PowerPod is all about and how it compares with other power meters. Instead, I’ll talk about what I found in my use of the PowerPod. Later, I’ll talk a bit about the differences between the PowerPod Lite and full version as well as differences between the PowerPod V2 and V3.
The PowerPod In Use
If I had one word to describe the setup and maintenance of a PowerPod it would likely be finicky.
Unlike most power meters, the PowerPod requires a bit of setup to work. To do this, you have to setup a profile, save it to the devices, and go on a calibration ride, basically a simple out-and-back ride. The purpose of this calibration ride is to, as a VeloComp representative put it on their forums, set “the default values of wind scaling factor (for wind sensor) and riding tilt (for the accelerometer)”.
Once the calibration ride is complete, you’re set to go. You can then continue on your ride or return to your computer to save the newly calibrated profile. Either way, you’ll still need to sync the PowerPod to get the updated profile saved to your computer.
Through continual use of the PowerPod, I’ve learned that it does a fairly good job of recalibrating itself for certain situations. For instance, if you’re on a really rough road, the PowerPod will adjust itself so that it registers higher power. Which makes sense considering that if you’re on a rough gravel road the amount of power that it takes to keep moving will be higher than a smooth road.
Beyond that, I learned that the tilt factor is checked continuously, primarily because there’s always a chance that the unit isn’t mounted tight. Plus, there’s also a chance of weight distribution changes on the bike.
And, yes, a change in the tilt factor can have a dramatic effect on accuracy. I’ve have several rides where, all of a sudden, the power readings were completely off. More often than not, it was due to me hitting a bump or something that caused the PowerPod to shift a little on the mount and thus caused the tilt factor to change. Eventually, the PowerPod would adjust, but not till I got onto smoother roads so that the PowerPod could get a clear reading of the tilt change.
While these measurements have an impact on the accuracy of the PowerPod, the bigger impacts can come from settings to the initial profile you setup for your PowerPod. Some of the information required includes your weight, the weight of your bike and gear, as well as your wheel and tire size. You can really get into the weeds with other settings in a PowerPod profile, but these are the main ones that I have found have the most impact.
All of this makes sense when you consider how power is measured on a smart trainer. With apps like TrainerRoad and Zwift, power can be measured virtually using just your wheel speed and cadence. As long as they know how much resistance is being applied to the bike then they can get a fairly accurate idea of the total power output. It’s not perfect but it’s good enough without actually having a power meter.
In theory, that’s kind of what the PowerPod does. It primarily takes the cadence and wheel speed of your bike to determine power but has to factor in other things too: angle of your bike, weight, rolling resistance, wind, and such. If any of this is completely out of whack then your power measurements will be off considerably.
What I’ve learned is that I have to be cognizant of the changes to myself and my bike. If my weight or the weight of my bike fluctuates then I have to update my PowerPod profile in Isaac to reflect that. And, because I’m running on multiple wheelsets, there are times when I might need to make adjustments, especially if I’m running way different tire pressures than what I’ve been using.
But the biggest difference of all is in the mounting of my PowerPod. Since the mount is of the GoPro variety, it basically amounts to using a GoPro thumbscrew which, no matter how hard I tried, I could never get it tight enough. That inevitably led to power reading fluctuations whenever I hit a good sized bump in the road. The answer was to get a GoPro wrench tool which allows me to really get the thumbscrew good and tight.
And, yes, you’ll need to get that sucker as tight as you can. I’m always worried about breaking the screws. In fact, I ended up buying a whole bag of GoPro thumb screws for this very reason. I keep a spare thumbscrew with me on rides in case the one I’m using breaks. You just never know with these things.
PowerPod Lite vs Full Version
The PowerPod is one of the most affordable power meters on the market. At the time, I purchased what VeloComp called the PowerPod Lite which, even now, costs only $199. That’s about the lowest cost I’ve ever seen for an entry-level power meter.
I recommend ponying up an extra $100 and get the full PowerPod, which costs $299. The reason is that there are a number of limitations with the Lite version that may or may not be a big deal.
While I only have one bike, I do have multiple wheelsets. With each wheelset, I have created profiles for each one along with calibration rides performed. With the PowerPod Lite, you only get one profile and you basically have to use the Isaac software to switch out the profile every time you change your bike or switch out wheelsets. That’s no big deal really but it does mean more steps. With the full version, you can save four profiles on the device, which makes things much easier since all you need to do is just switch the active profile. To me, that means less mistakes as well as less of a chance of things getting messed up as well.
One of the other limitations of the Lite version is that it can only record the first 15 minutes of any ride. If you use a bike computer that’s not much of a problem since most of the data you really care about is already being recorded. However, there are times when having the extra data that the PowerPod records is handy to have.
With full data recording, there are also a number of extra data metrics that are available in Isaac. Again, not critical for the average rider but super cool for those who like to dig into the performance data for a ride.
The main one that made me upgrade was the lack of BLE compatibility with the Lite version. This was a serious limitation in that I was planning on using a PowerPod with my iPhone. Without BLE, I was pretty much SOL...at least until I got a ANT+ compatible bike computer. So if BLE is important to you, you might want to pass on the Lite and go with the full version.
PowerPod V2 vs V3
There are a number of differences between the V2 and V3 PowerPods. If you currently have a V3, there are a few of which might make you consider an upgrade.
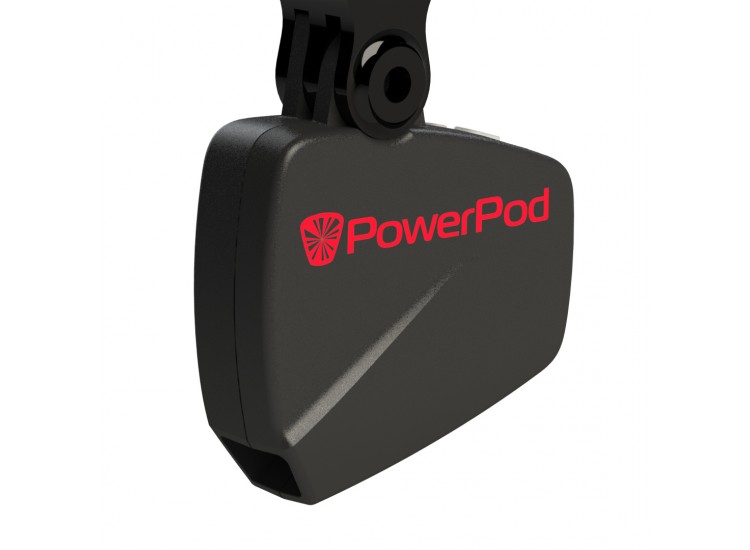
The most obvious difference between the PowerPod V2 and the V3 is the form factor. The V3 has a sleeker casing which, for some configurations, does require a little more forethought into how you mount it to your bike.
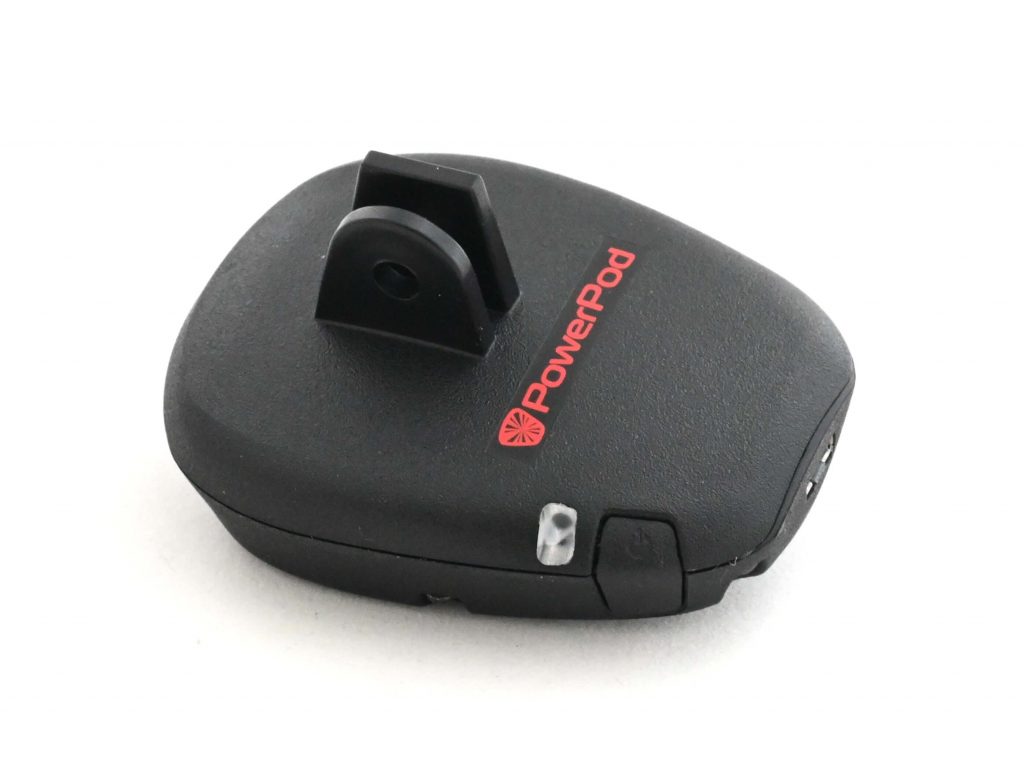
With the V3, they took the same casing as the AeroPod and applied it to the PowerPod V3. In fact, I half wonder just how different the electronics are between an AeroPod and PowerPod V3. Could they possibly offer a firmware upgrade to an AeroPod later like they do with the Lite?
With the PowerPod V2, due to the horizontal nature of the casing, you could mount it off your handlebar near the stem without too much trouble. However, with the V3, the casing is more vertical which makes it a bit harder to mount off a handlebar. Fortunately, I already had a mount that allowed me to mount it out in front of my handlebars, which I recommend anyways over a handlebar mounted configuration.
The only thing that appears different than an AeroPod is that the V3 doesn’t come with a pitot tube, which you can buy separately and attach to the V3 anyways. Granted, a pitot tube isn’t required but good to know it’s an option. I ended up buying a pitot tube primary to protect the air port in case of rain.
Another big difference is the newer wind and accelerometer sensors which VeloComp claims offers more accurate power readings. Again, I wonder how much of this is due to them borrowing the same technology that went into the AeroPod. Makes sense if that’s the case. Rather than having two different form factors, they have just one which, in the end, cuts down on costs significantly.
PowerPod vs Stages
A lot has changed in just under two years. There’s more promise for lower cost entry-level power meters. In fact, Stages recently announced a reduction in their power meters offering a left-only version for just $299. I’m quite interested with this solution since it’s likely easier to use. However, because this is left-only, your mileage may vary in terms of accuracy. If this is not a concern then a Stages power meter might be worth considering.
The upside of the PowerPod is that it can measure both the left and right side of the cranks. It does require the PowerStroke software upgrade though to view and measure this data. If the data is good then the results you get for left-right pedaling differences will definitely be more accurate than the Stages.
But that’s also the downside of the PowerPod: it takes more setup than virtually any other power meter. Like I mentioned above, it can be a tedious process at first. It’s just not quite as easy as a direct-force power meter.
Summary
Much has changed since I started using the PowerPod. Similar priced options now exist and there are likely to be more in the near future. The only reason I upgraded my V2 to a V3 was due to a discount on the V3. But, given that so much has changed with the power meter market, the question is: Is a PowerPod V3 a good choice? Honestly, that’s a bit hard to answer right now.
I think it boils down to whether you’re ok with the setup requirements. If I didn’t already have a power meter and I was going into this from scratch, honestly, I probably would give the Stages power meters a serious look. Granted, it’s left-only but I think that’s a fair trade off for something that is easier to deal with. I feel like I have to tinker with my PowerPod far more than I would like. The ability to just ride and not have to worry about whether my power meter is calibrated and fairly accurate outweighs just about anything really.
Don’t get me wrong. There are things to like about the PowerPod. Unlike other power meters, you can move the PowerPod between bikes with ease. Plus, it’s not tied to any particular part of your bike. With a Stages power meter, you’re tied to the cranks you have. If you’re using a pedal-based power meter, you would have to uninstall them and reinstall them on a different bike. Basically, any upgrades to the components where the power meter is attached, you end up having to upgrade your power meter with it. Not so with a PowerPod. For some, this is a big benefit and reason enough to forgo any direct-force power meters.
I’ll likely stick with my PowerPod V3 for a while longer though. It’s fine for what I need, which isn’t much. Just need something that is consistent. Which, let’s be clear, there’s a difference between accuracy and consistency. The PowerPod can be a very consistent power meter if you’re careful with the setup. But, it can also be quite accurate so long as you’re willing to put forth a little effort to build a good profile for it.
In the end, it’s nice to see lower priced options like the PowerPod. Similar priced options now exist and there are likely to be more in the near future. Will be interesting to see what lies ahead for us cyclists.