
You don't need a $200 cleaning kit or a pit crew to keep your bike in great shape — just the right process, a few solid products, and the willingness to do it regularly. This is the VeloNut guide to cleaning and lubing your bike: honest, practical, and built around real-world experience rather than whatever's trending on cycling forums this week.
Intro
Do a search on "how to wash a bike" and you'll get page after page of results all on the same topic. Articles, videos, tips, tricks, tools, product endorsements — and not always in a way that's particularly useful. So many opinions, some of them conflicting, and a whole lot of "just buy this $40 spray and your bike will basically clean itself." Spoiler: it won't.
Personally, I found myself going backwards and simplifying my own process over time. So for this article, I'm going to skip the noise and just explain the way I actually clean my bike: the steps I take, the tools and products I use, and a few things I've learned along the way. My method has evolved from multiple sources over the years — and it'll probably keep evolving — but what's here works, and it won't make your wallet cry any more than necessary.
So here's how to clean a bike the VeloNut way. Fair warning: it's a long one.
Time Required: Budget about 45–60 minutes for a full wash and lube, or 10–15 for a quick between-rides cleanup. Most of the steps are faster than they look.
Quick note for e-bikers: most of this applies to your ride too — just keep high-pressure water away from the motor and battery area, and skip spraying degreaser anywhere near the junction boxes on electronic drivetrains. Wipe around those with a damp cloth instead.
Tools and Supplies
Here's a basic list of what's in my cleaning kit:
Bike repair stand
Bucket
Brushes and sponge
Garden hose with spray head
Cleaning cloths
Degreaser
Soap
Protectant
Lubricants
Chain keeper
Disc brake covers
Most of these are self-explanatory. The last two — the chain keeper and disc brake covers — are optional but genuinely useful. The repair stand is technically optional too, but try washing a bike without one and get back to me.
Bike Repair Stand
Don't skimp on the quality of the stand. A good one will last you years. Cheaper stands can be flimsy to the point where your bike ends up on the driveway — which is a fast way to ruin an afternoon.
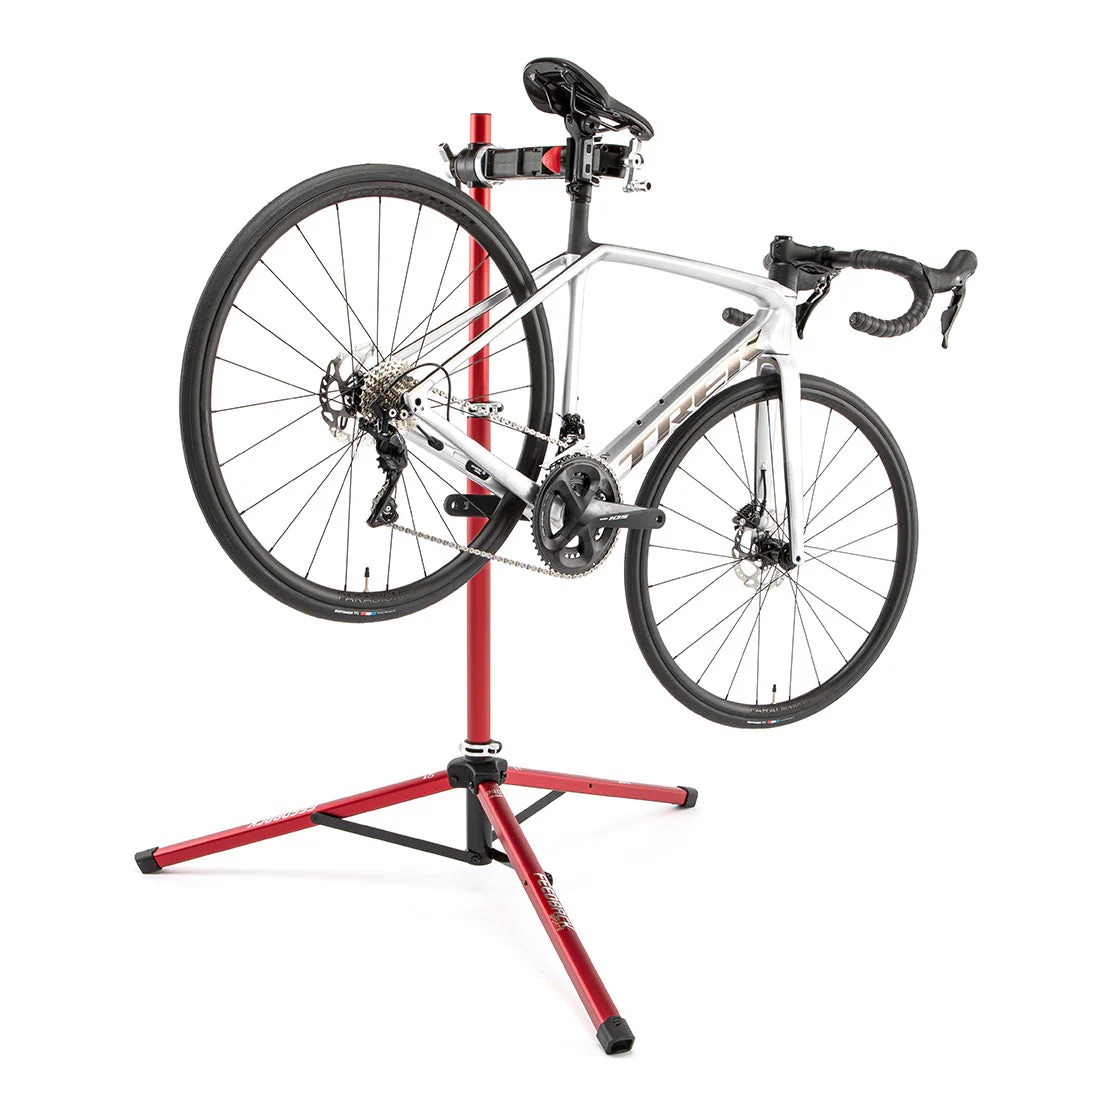
The stand I use is the Feedback Sports Pro Mechanic Repair Stand. I've had it for a few years and it's been rock solid — no wobble, no rust, no drama. The ratcheting clamp is genuinely well-designed: one hand to tighten, push a button to release. It adjusts from about 42 to 71 inches in height, which covers pretty much any bike. It's on the pricier side at around $425, but it's the kind of stand you buy once and forget about.
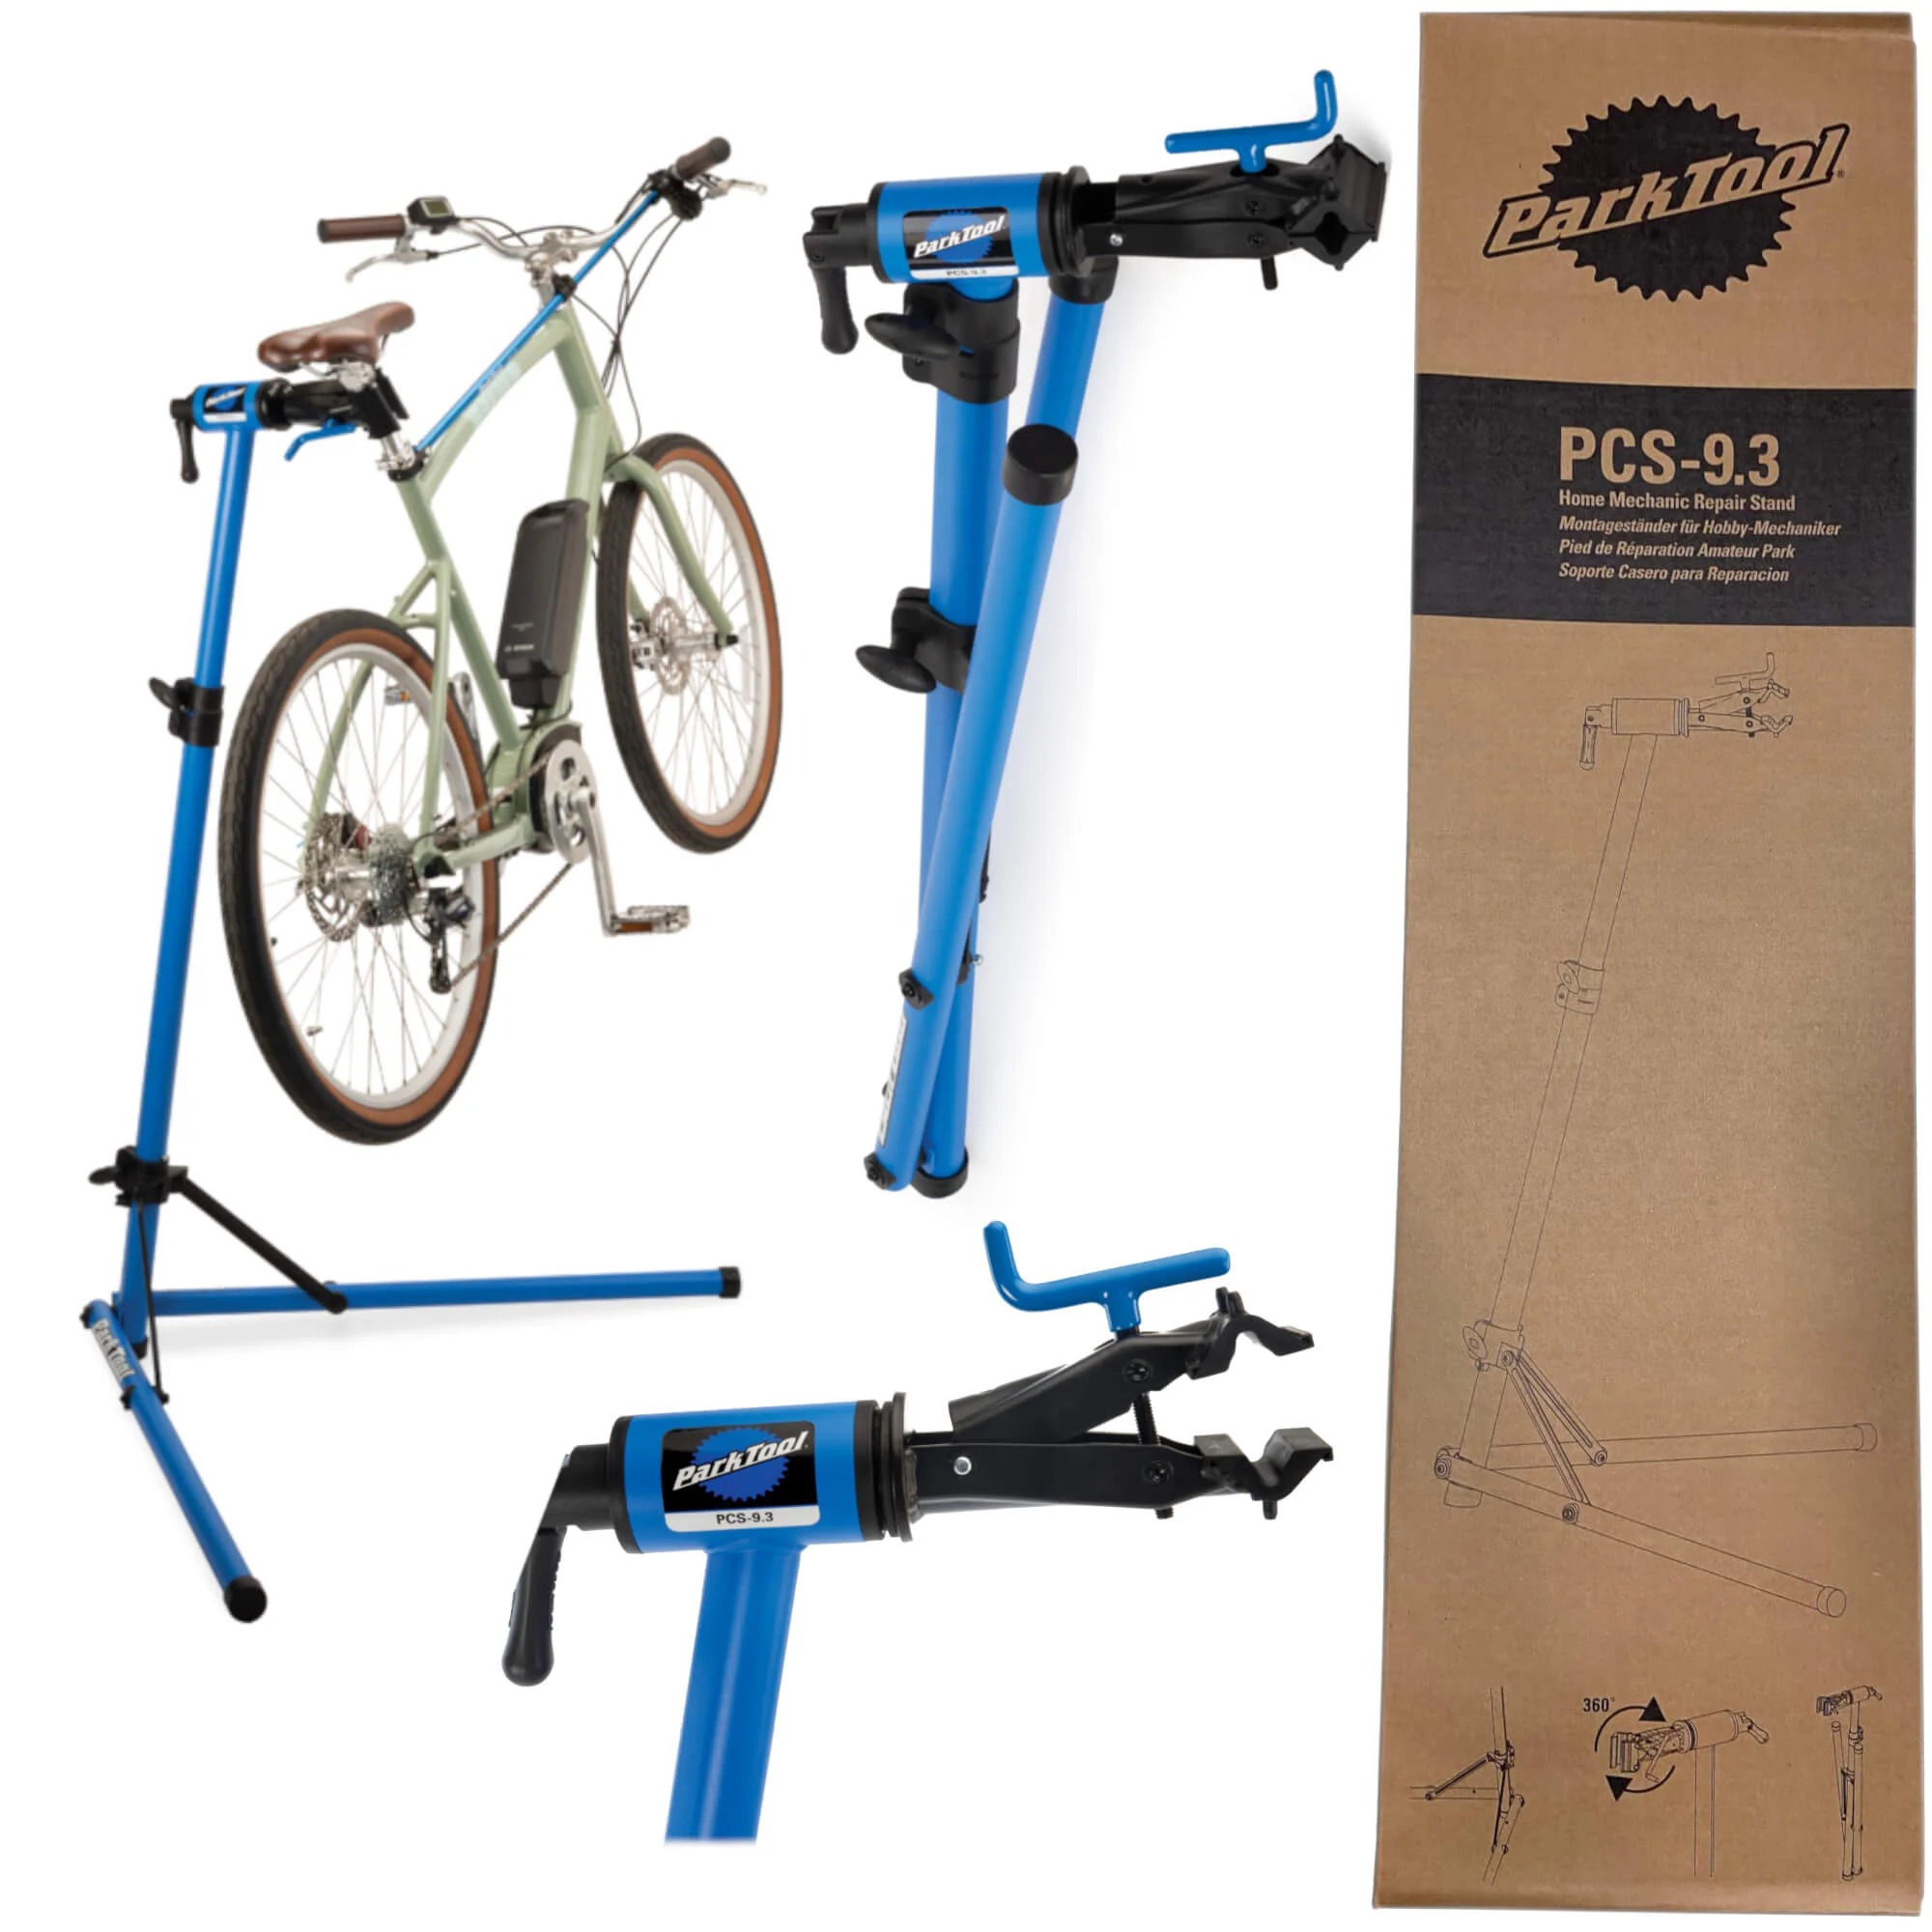
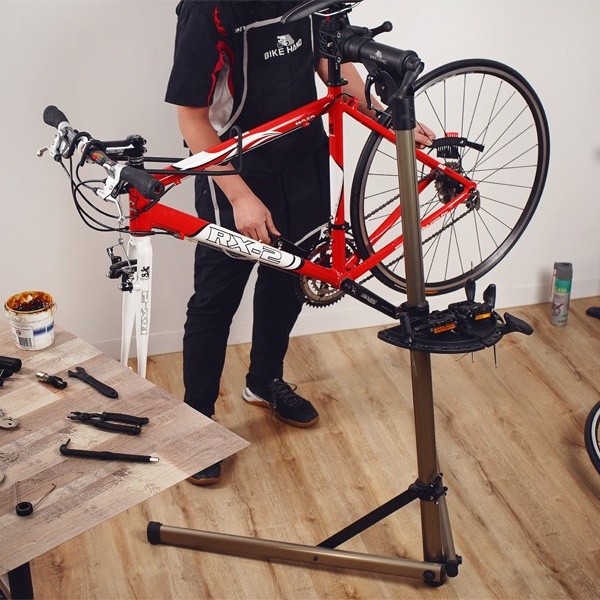
If that price tag makes your eyes water a little, the Park Tool PCS-9.3 Home Mechanic Repair Stand is probably one of the best mid-priced options out there. And the Bikehand Bike Repair Stand is a solid budget pick that'll get the job done without breaking the bank.
Bucket
Virtually any bucket will do — 1 to 2 gallons is fine for a bike wash. If you also wash your car, a bigger bucket gives you more flexibility. Personal preference.
Brushes and Sponges
You can get creative here. Toothbrushes, firm paintbrushes, dish sponges, square-headed tire brushes — pretty much anything goes as long as it won't scratch your frame or components.
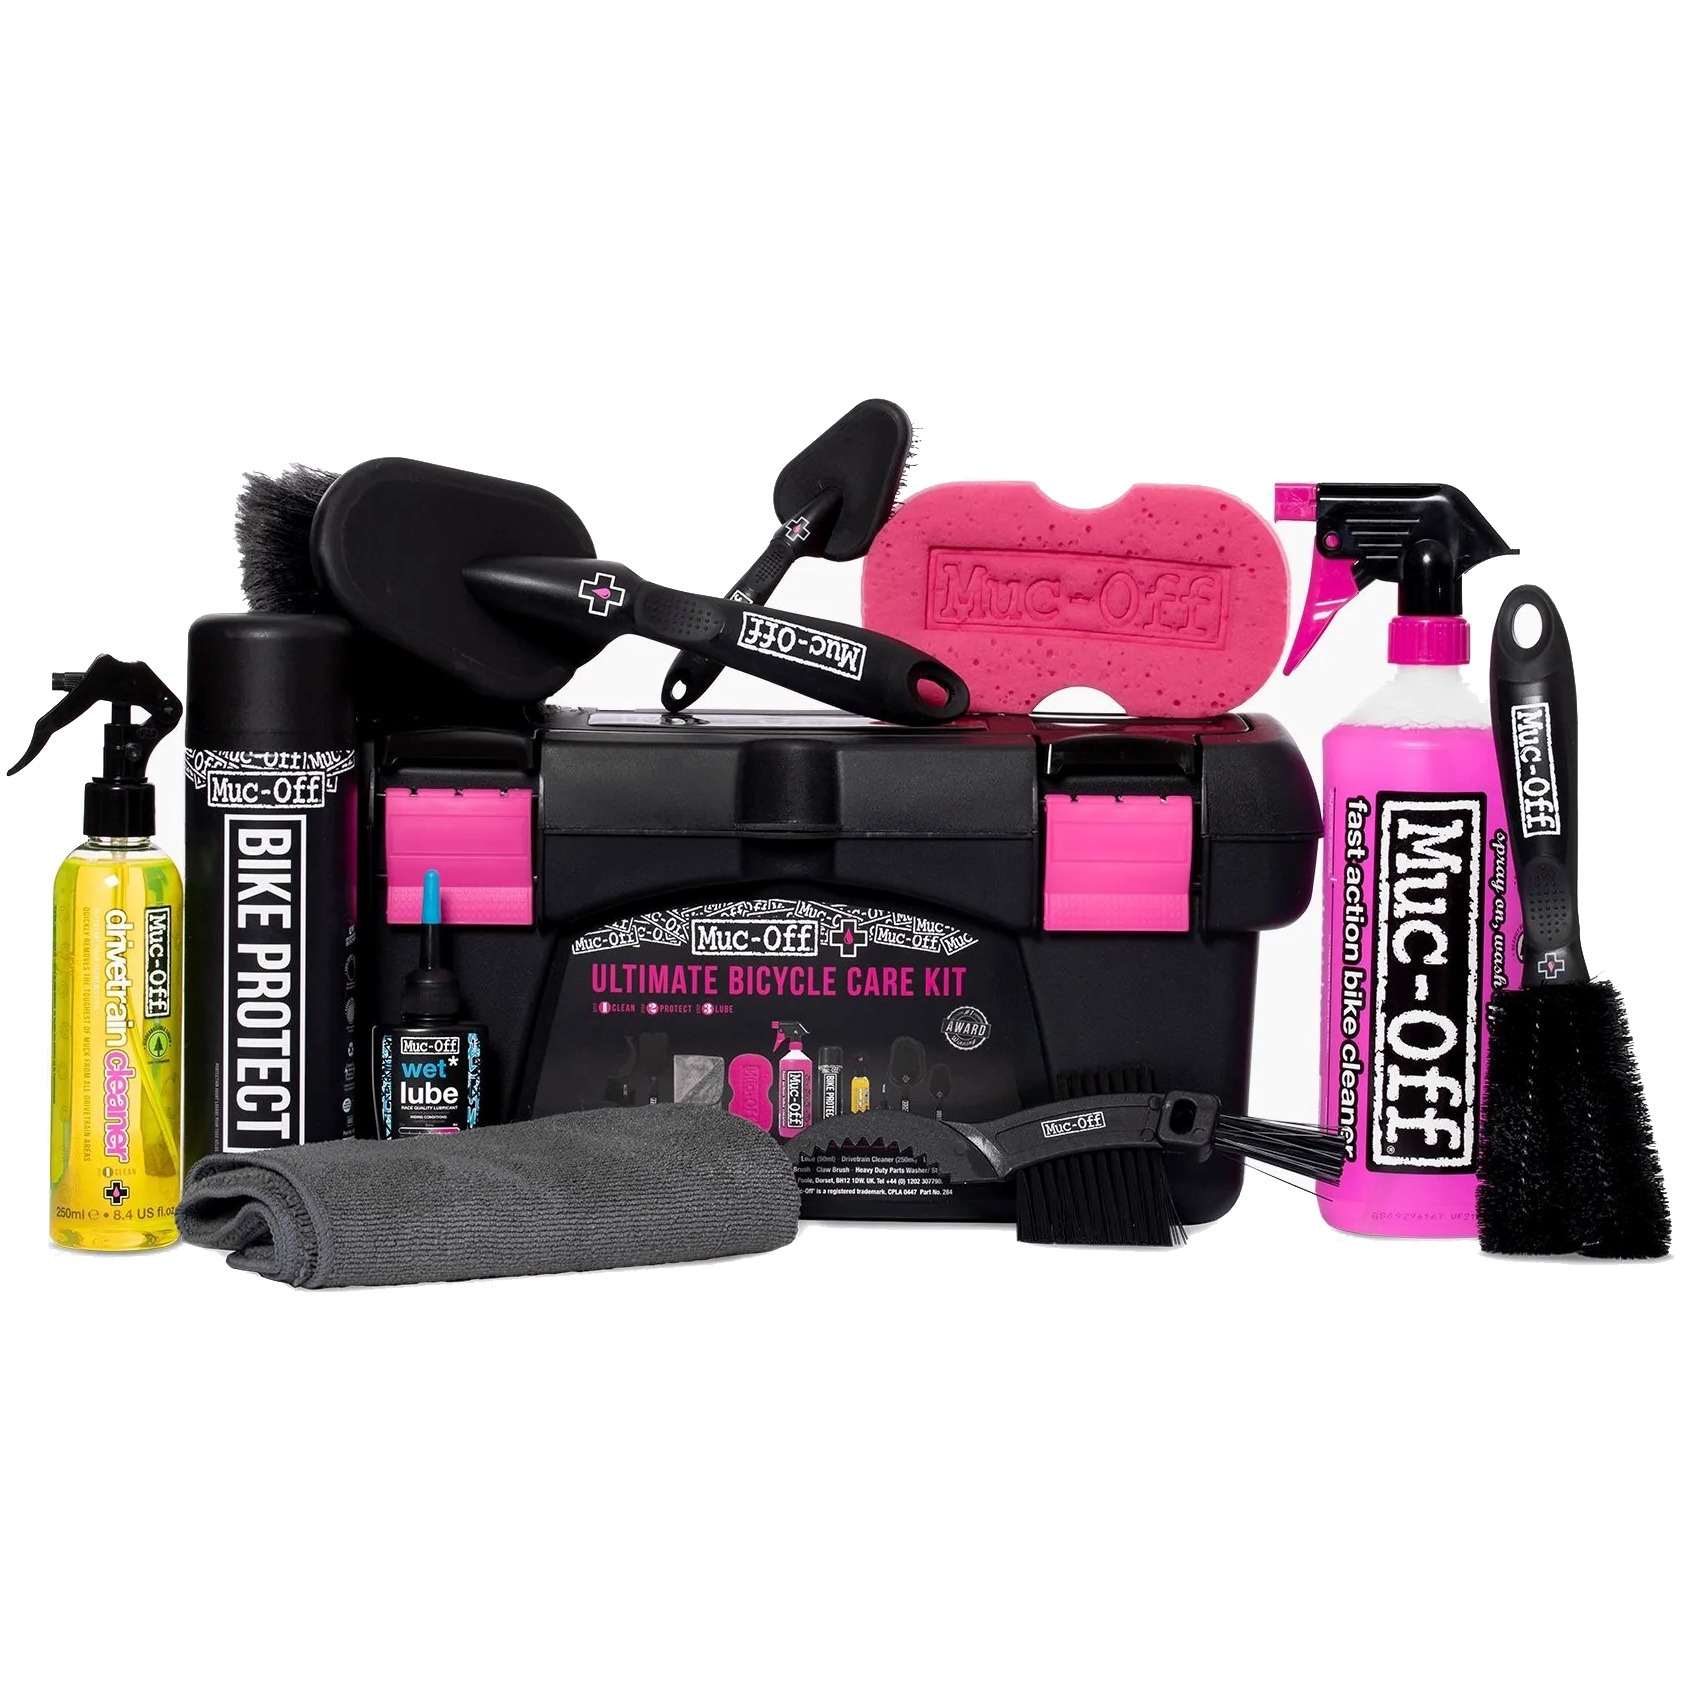
I started off with a Muc-Off Ultimate Bicycle Cleaning Kit, which includes virtually everything you need to get started: brushes, sponge, bike wash, drivetrain cleaner, lube, a microfiber towel, and even a storage caddy. It's a bit pricey as an all-in-one, so unless you want a complete kit out of the box, a dedicated brush set is the smarter move.
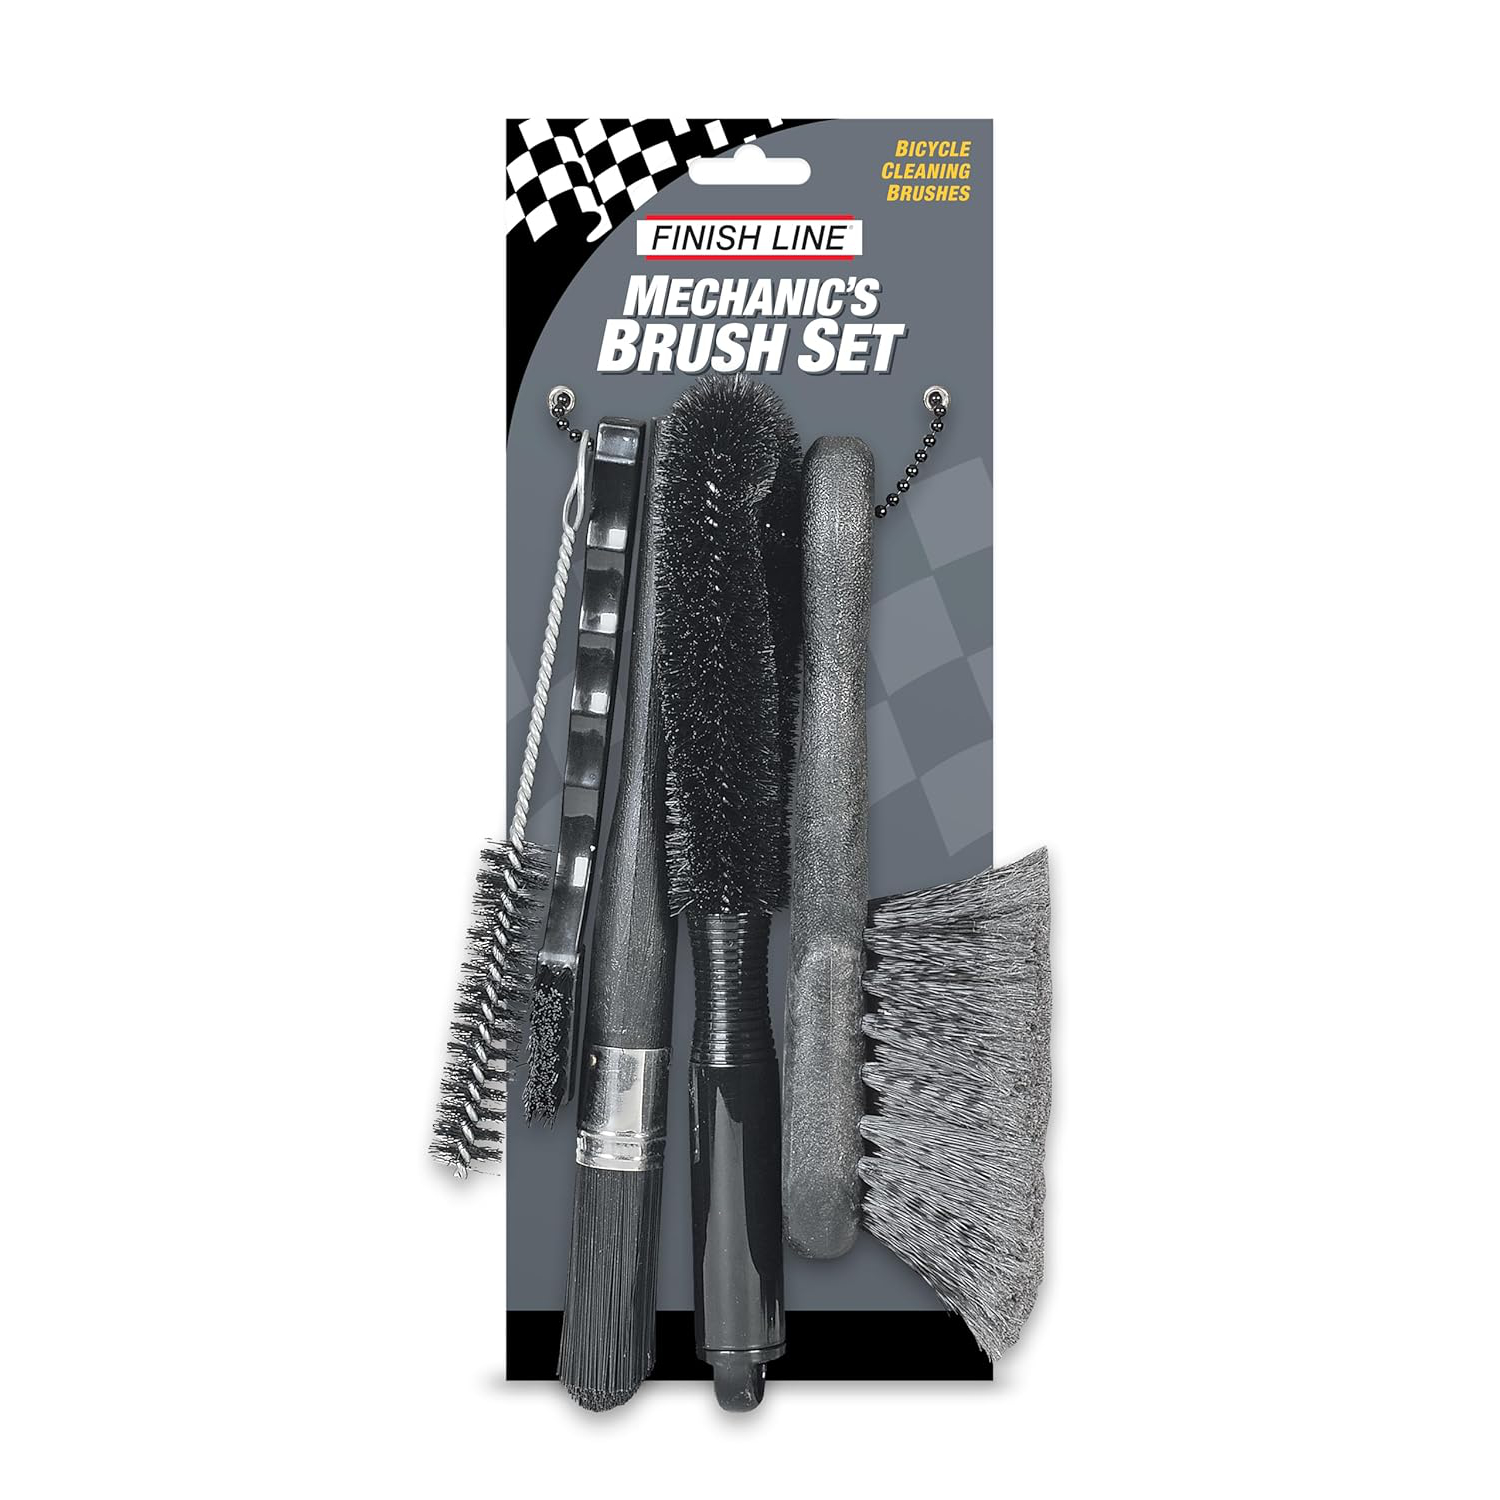
The one I keep coming back to is the Finish Line Easy-Pro Brush Set. Five brushes, all useful, very reasonable price. The square brush with the soft bristles is the workhorse — I reach for it more than anything else, including the sponge. Honestly, if you only buy one thing from this list, a good brush set is it.
Cleaning Cloths
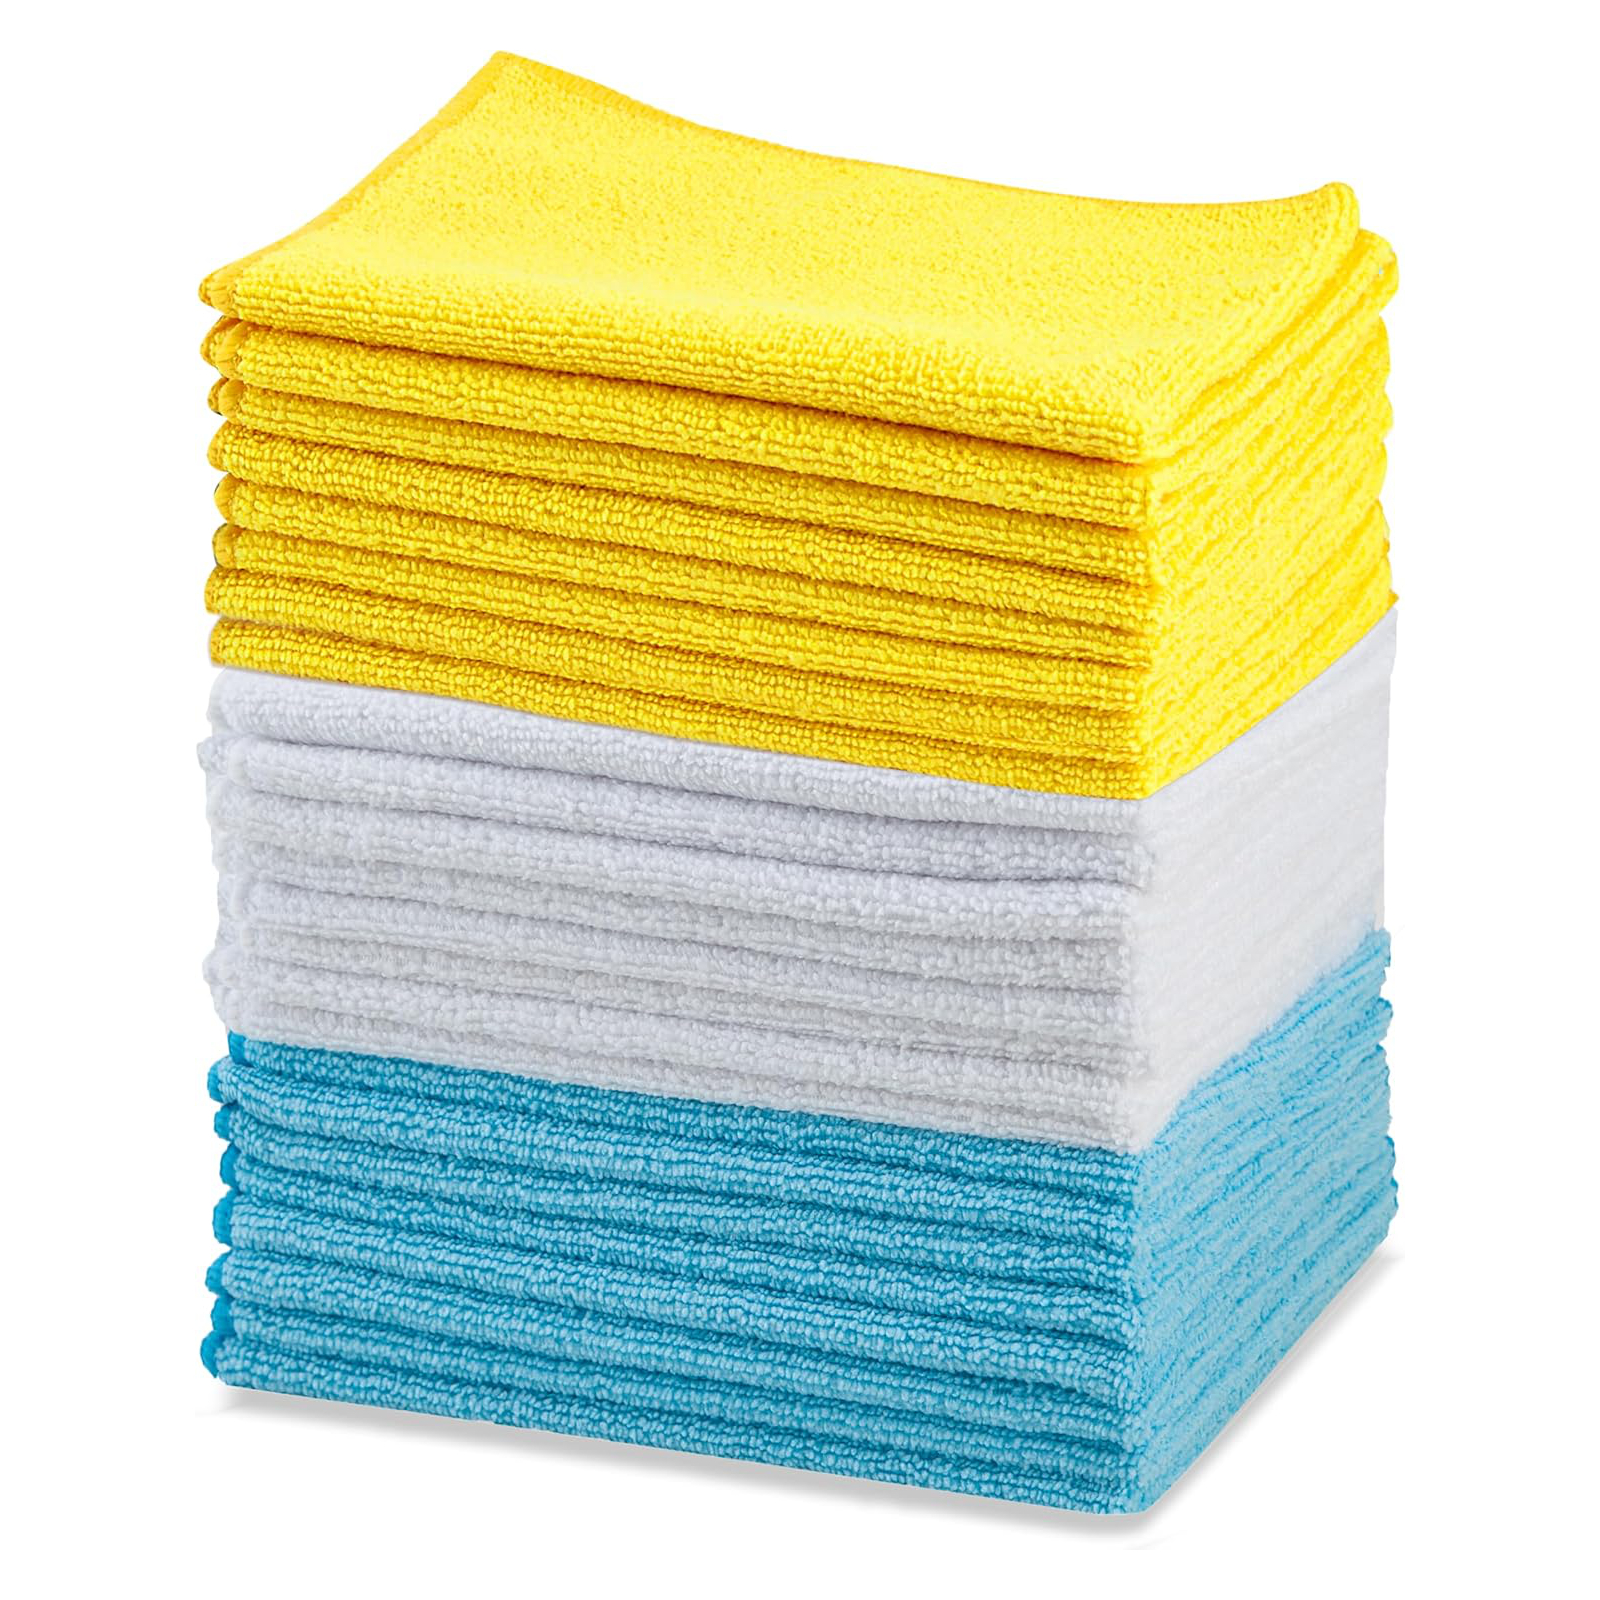
Any soft cloth will do: old t-shirts, cotton wash cloths, microfiber towels. I've found that Amazon Basics Microfiber Cleaning Cloths work particularly well. They're inexpensive, hold up after multiple washes, and do a great job of picking up moisture without leaving lint behind.
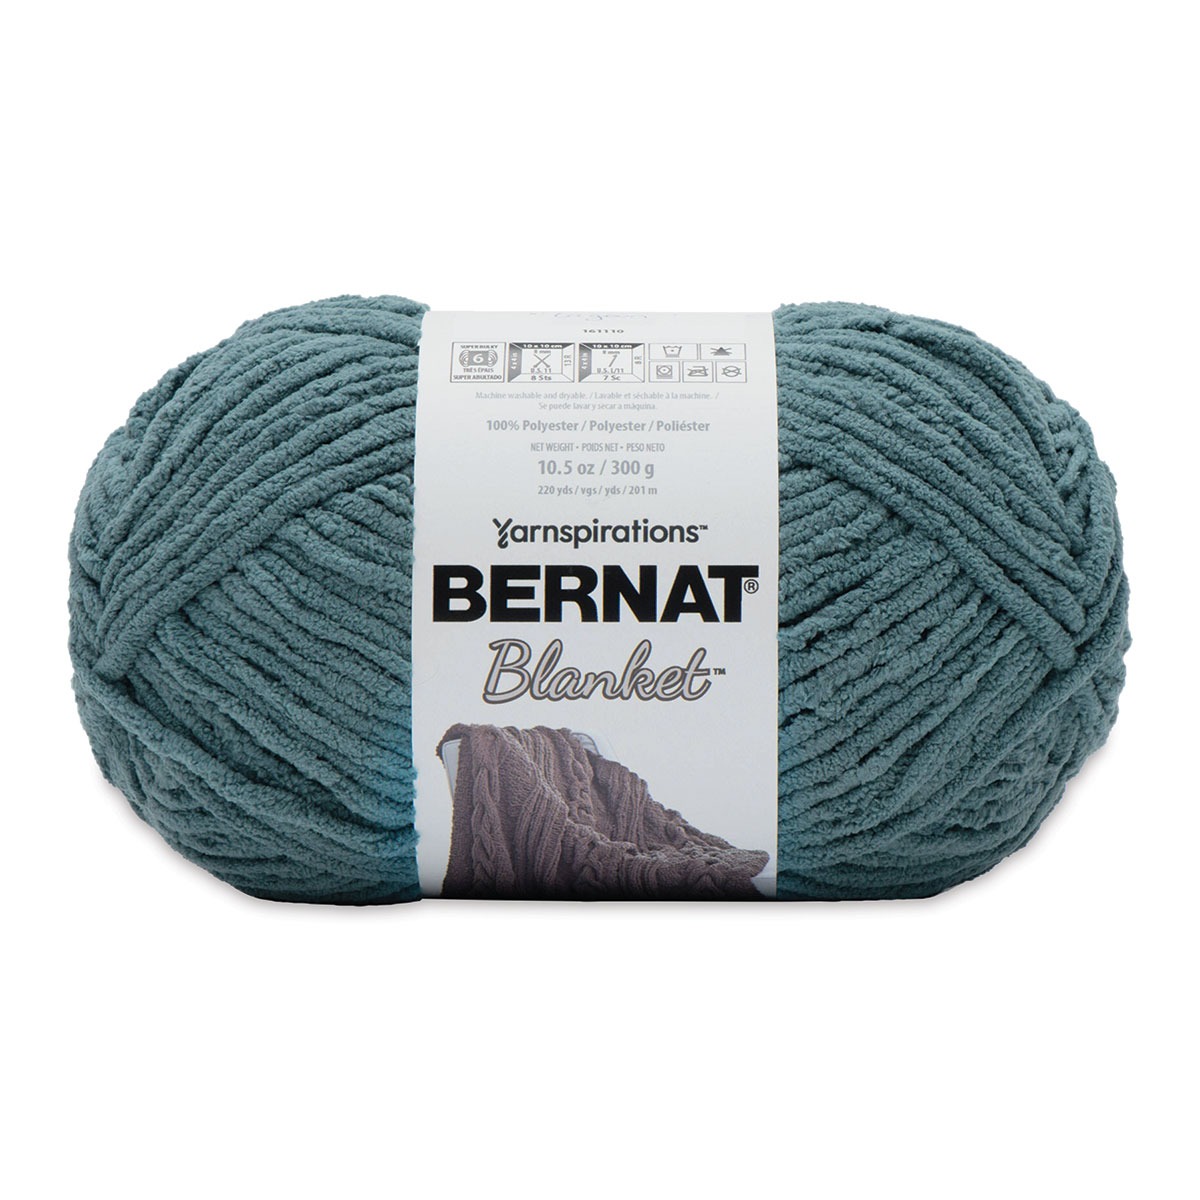
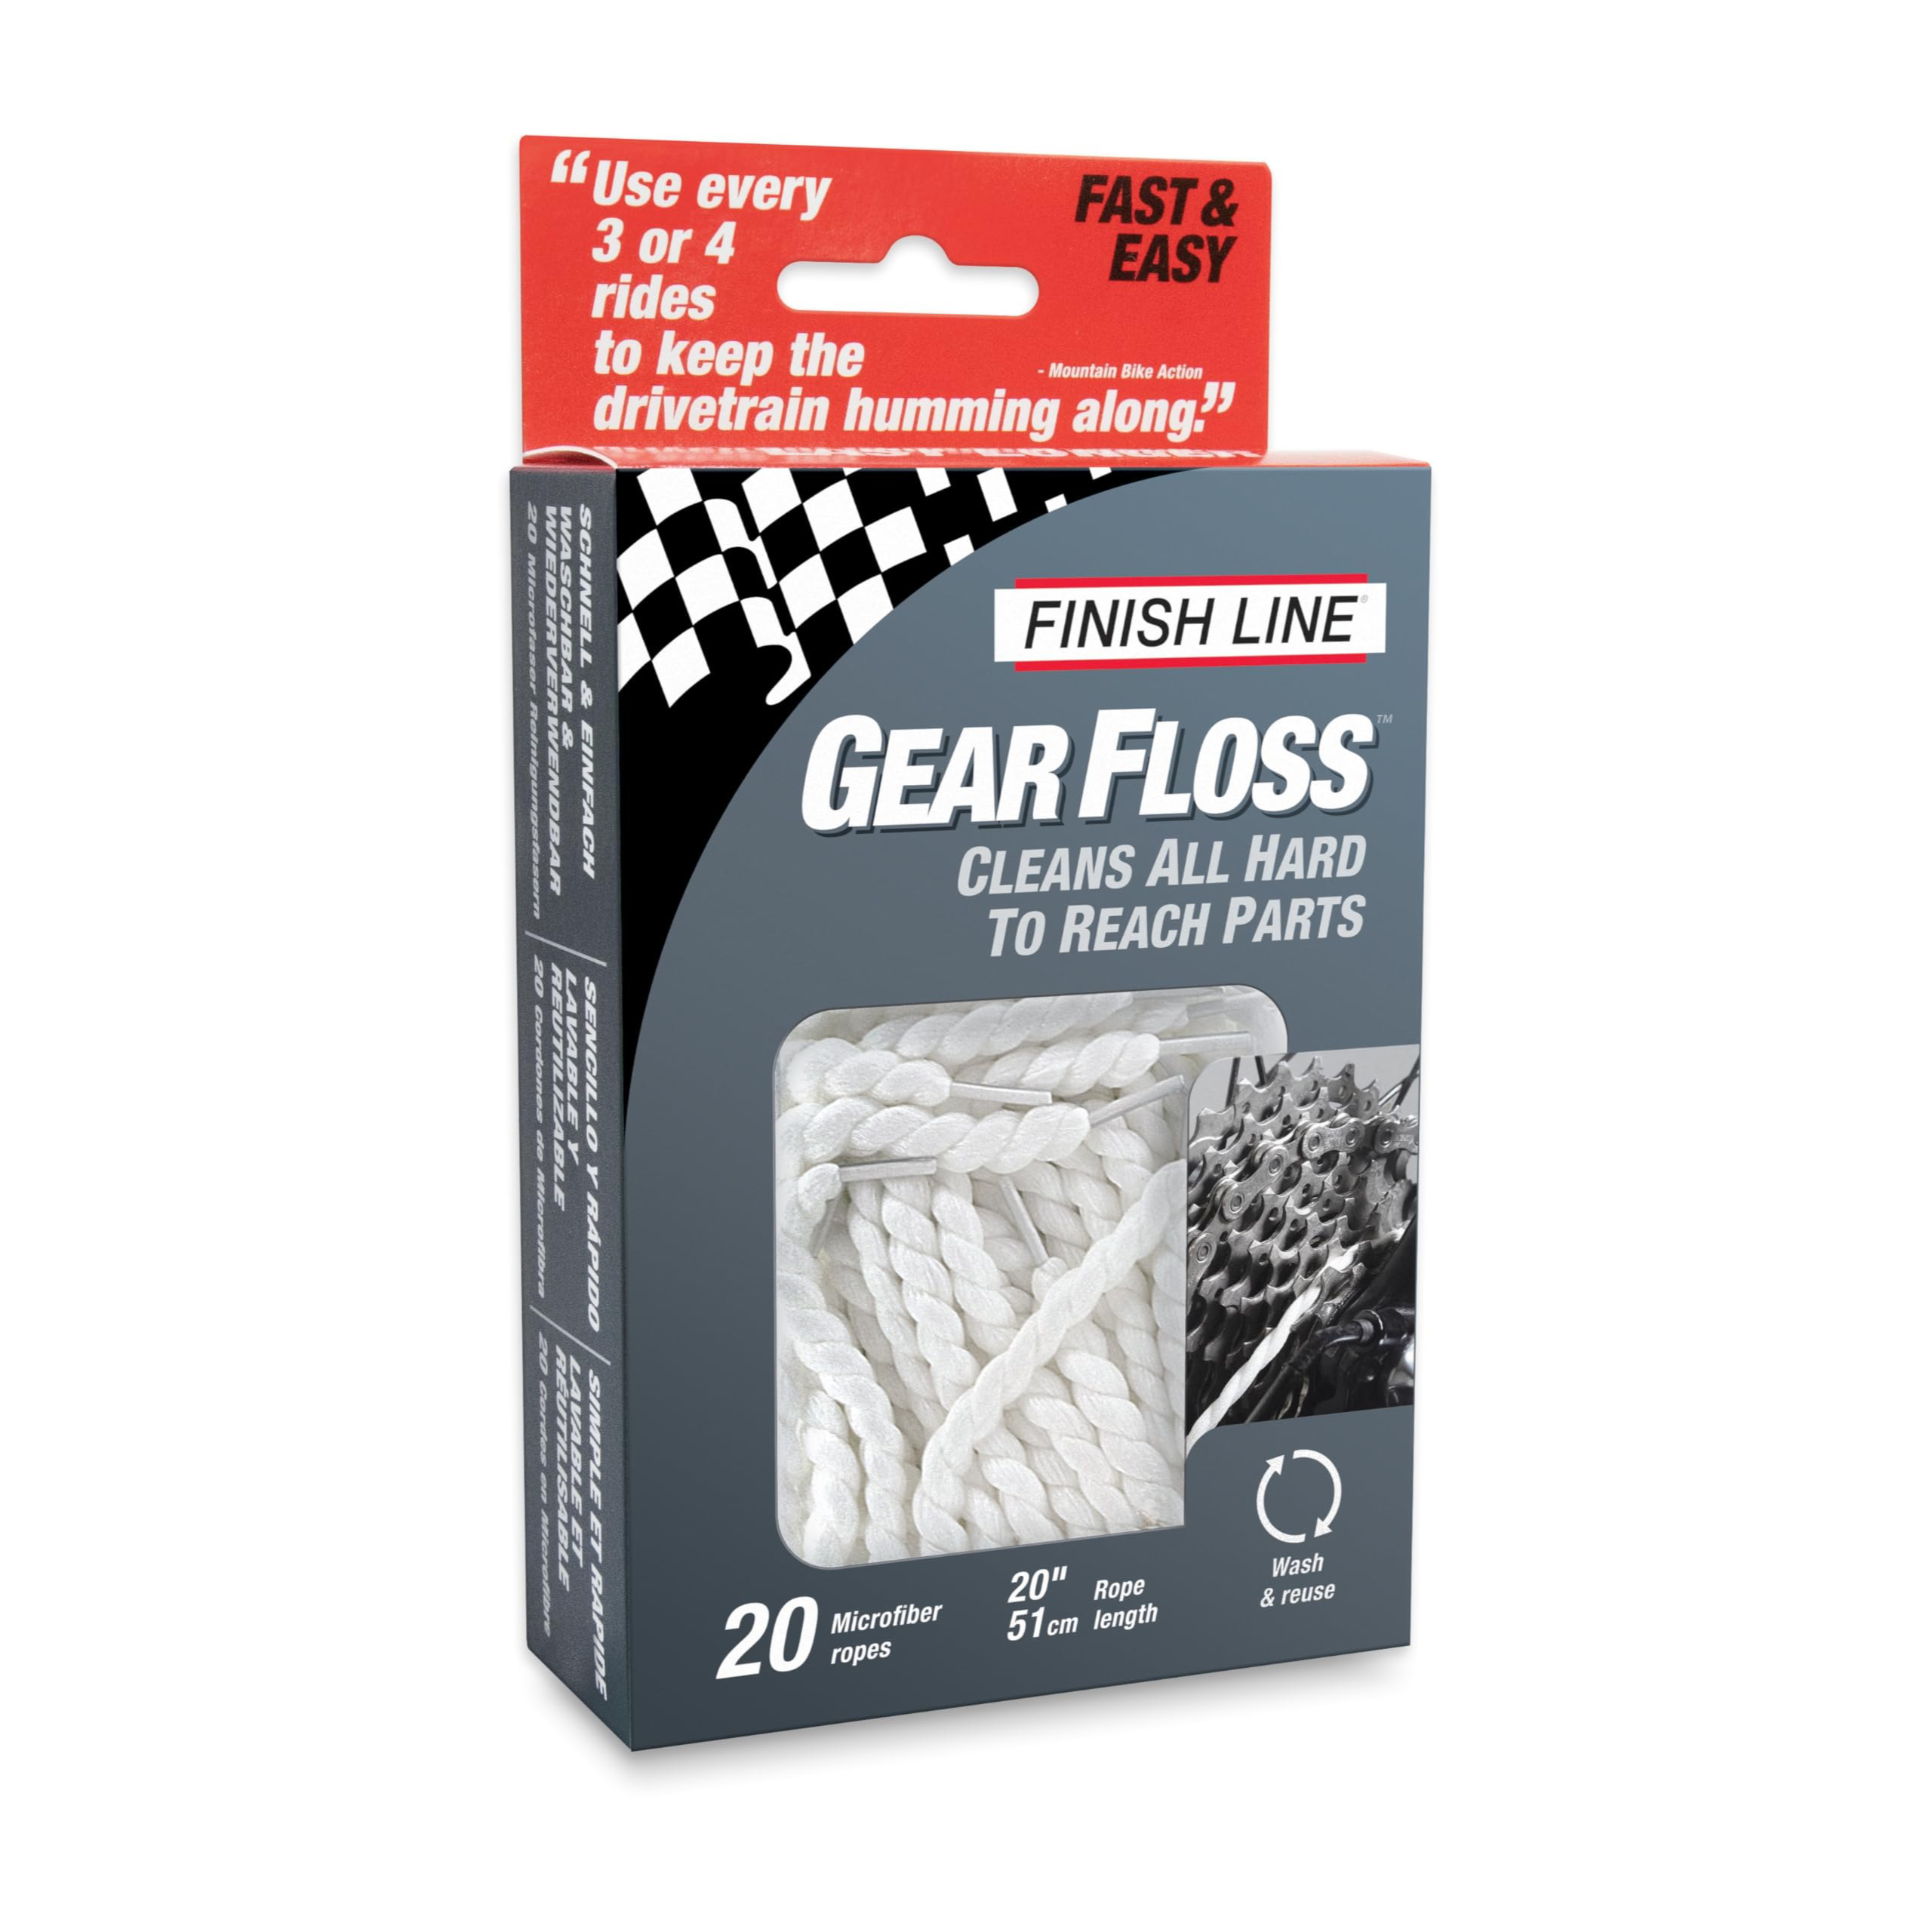
One thing I've started using for cassette cleaning between full washes is gear floss — which sounds fancy but is really just Bernat Blanket Yarn from the craft store. There's also a dedicated Finish Line Gear Floss Rope, but the yarn works just as well and costs a fraction of the price. Run it between the cogs and it picks up grime like a charm.
Degreaser
My cleaning kit came with Muc-Off Bio Drivetrain Cleaner. Spray it on, let it soak about five minutes, scrub, rinse. It's genuinely good stuff — I refilled the bottle a few times. But like most Muc-Off products, the price adds up fast.
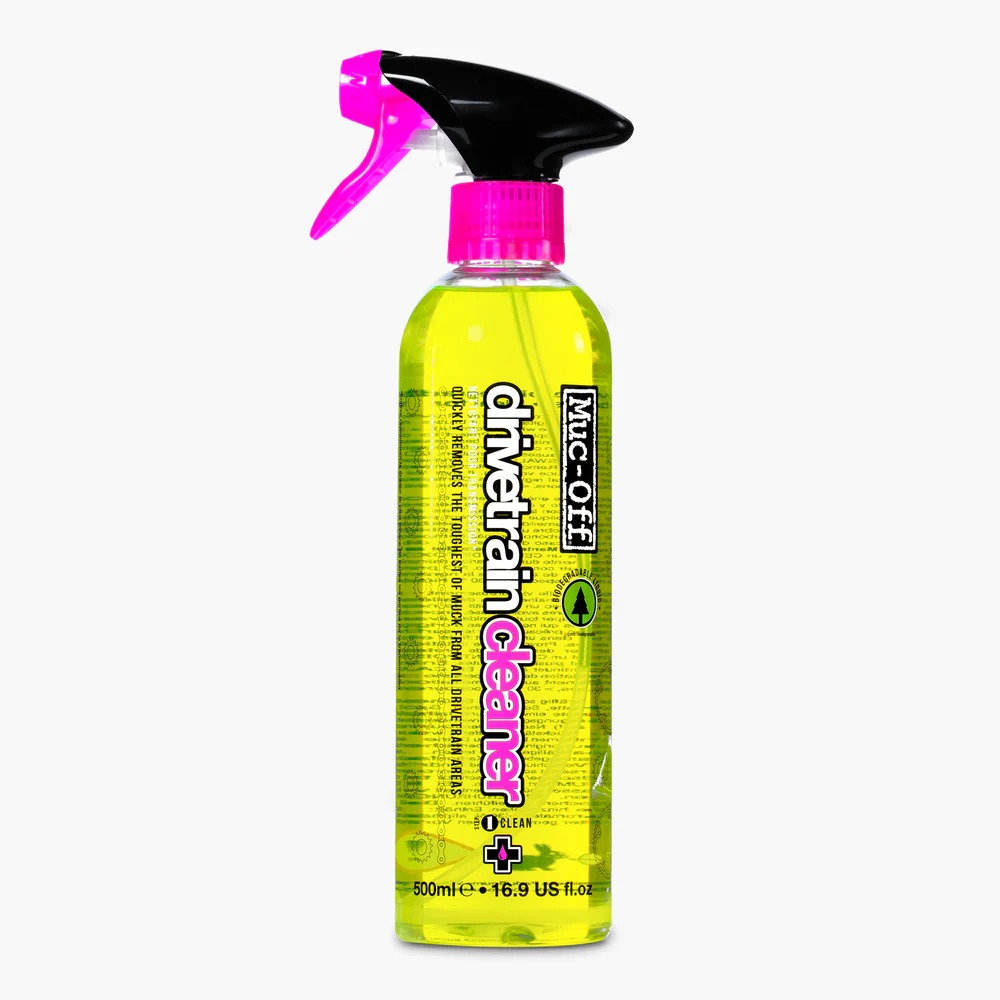
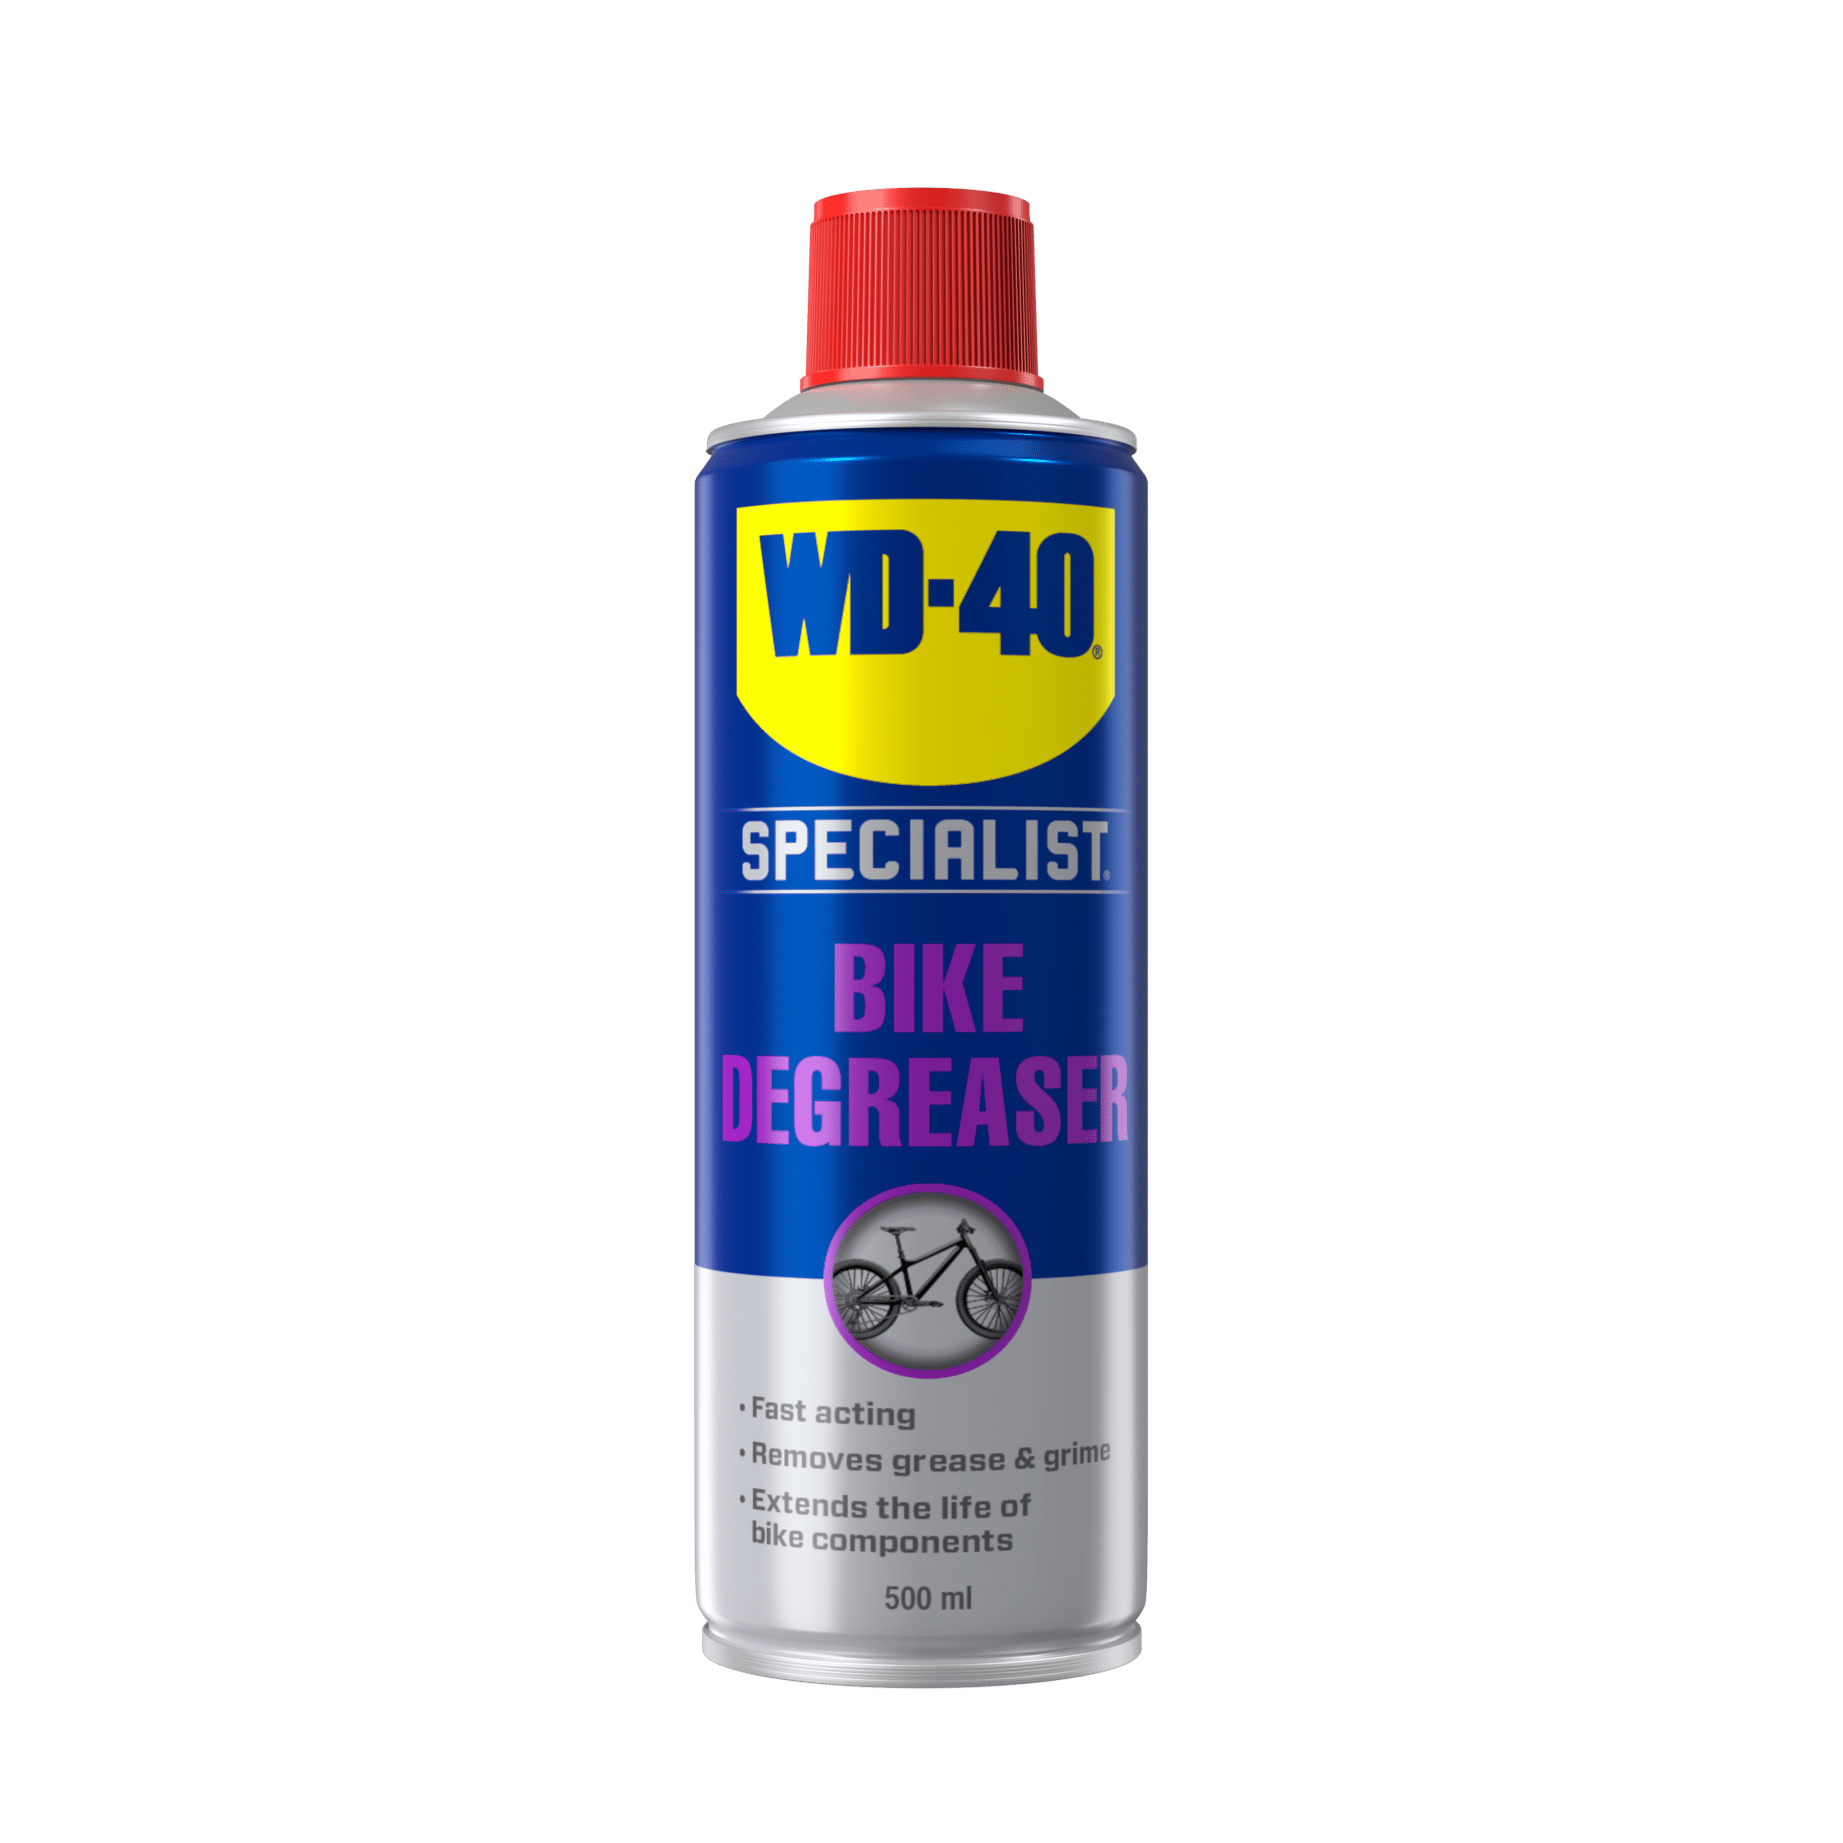
A cheaper alternative is the WD-40 Specialist Bike Degreaser. At a few bucks a can, you can stock several for the price of one Muc-Off refill. It doesn't quite match Muc-Off's cleaning power, but it gets the job done — especially if you let the foam soak in before scrubbing rather than going straight at it.
Soap
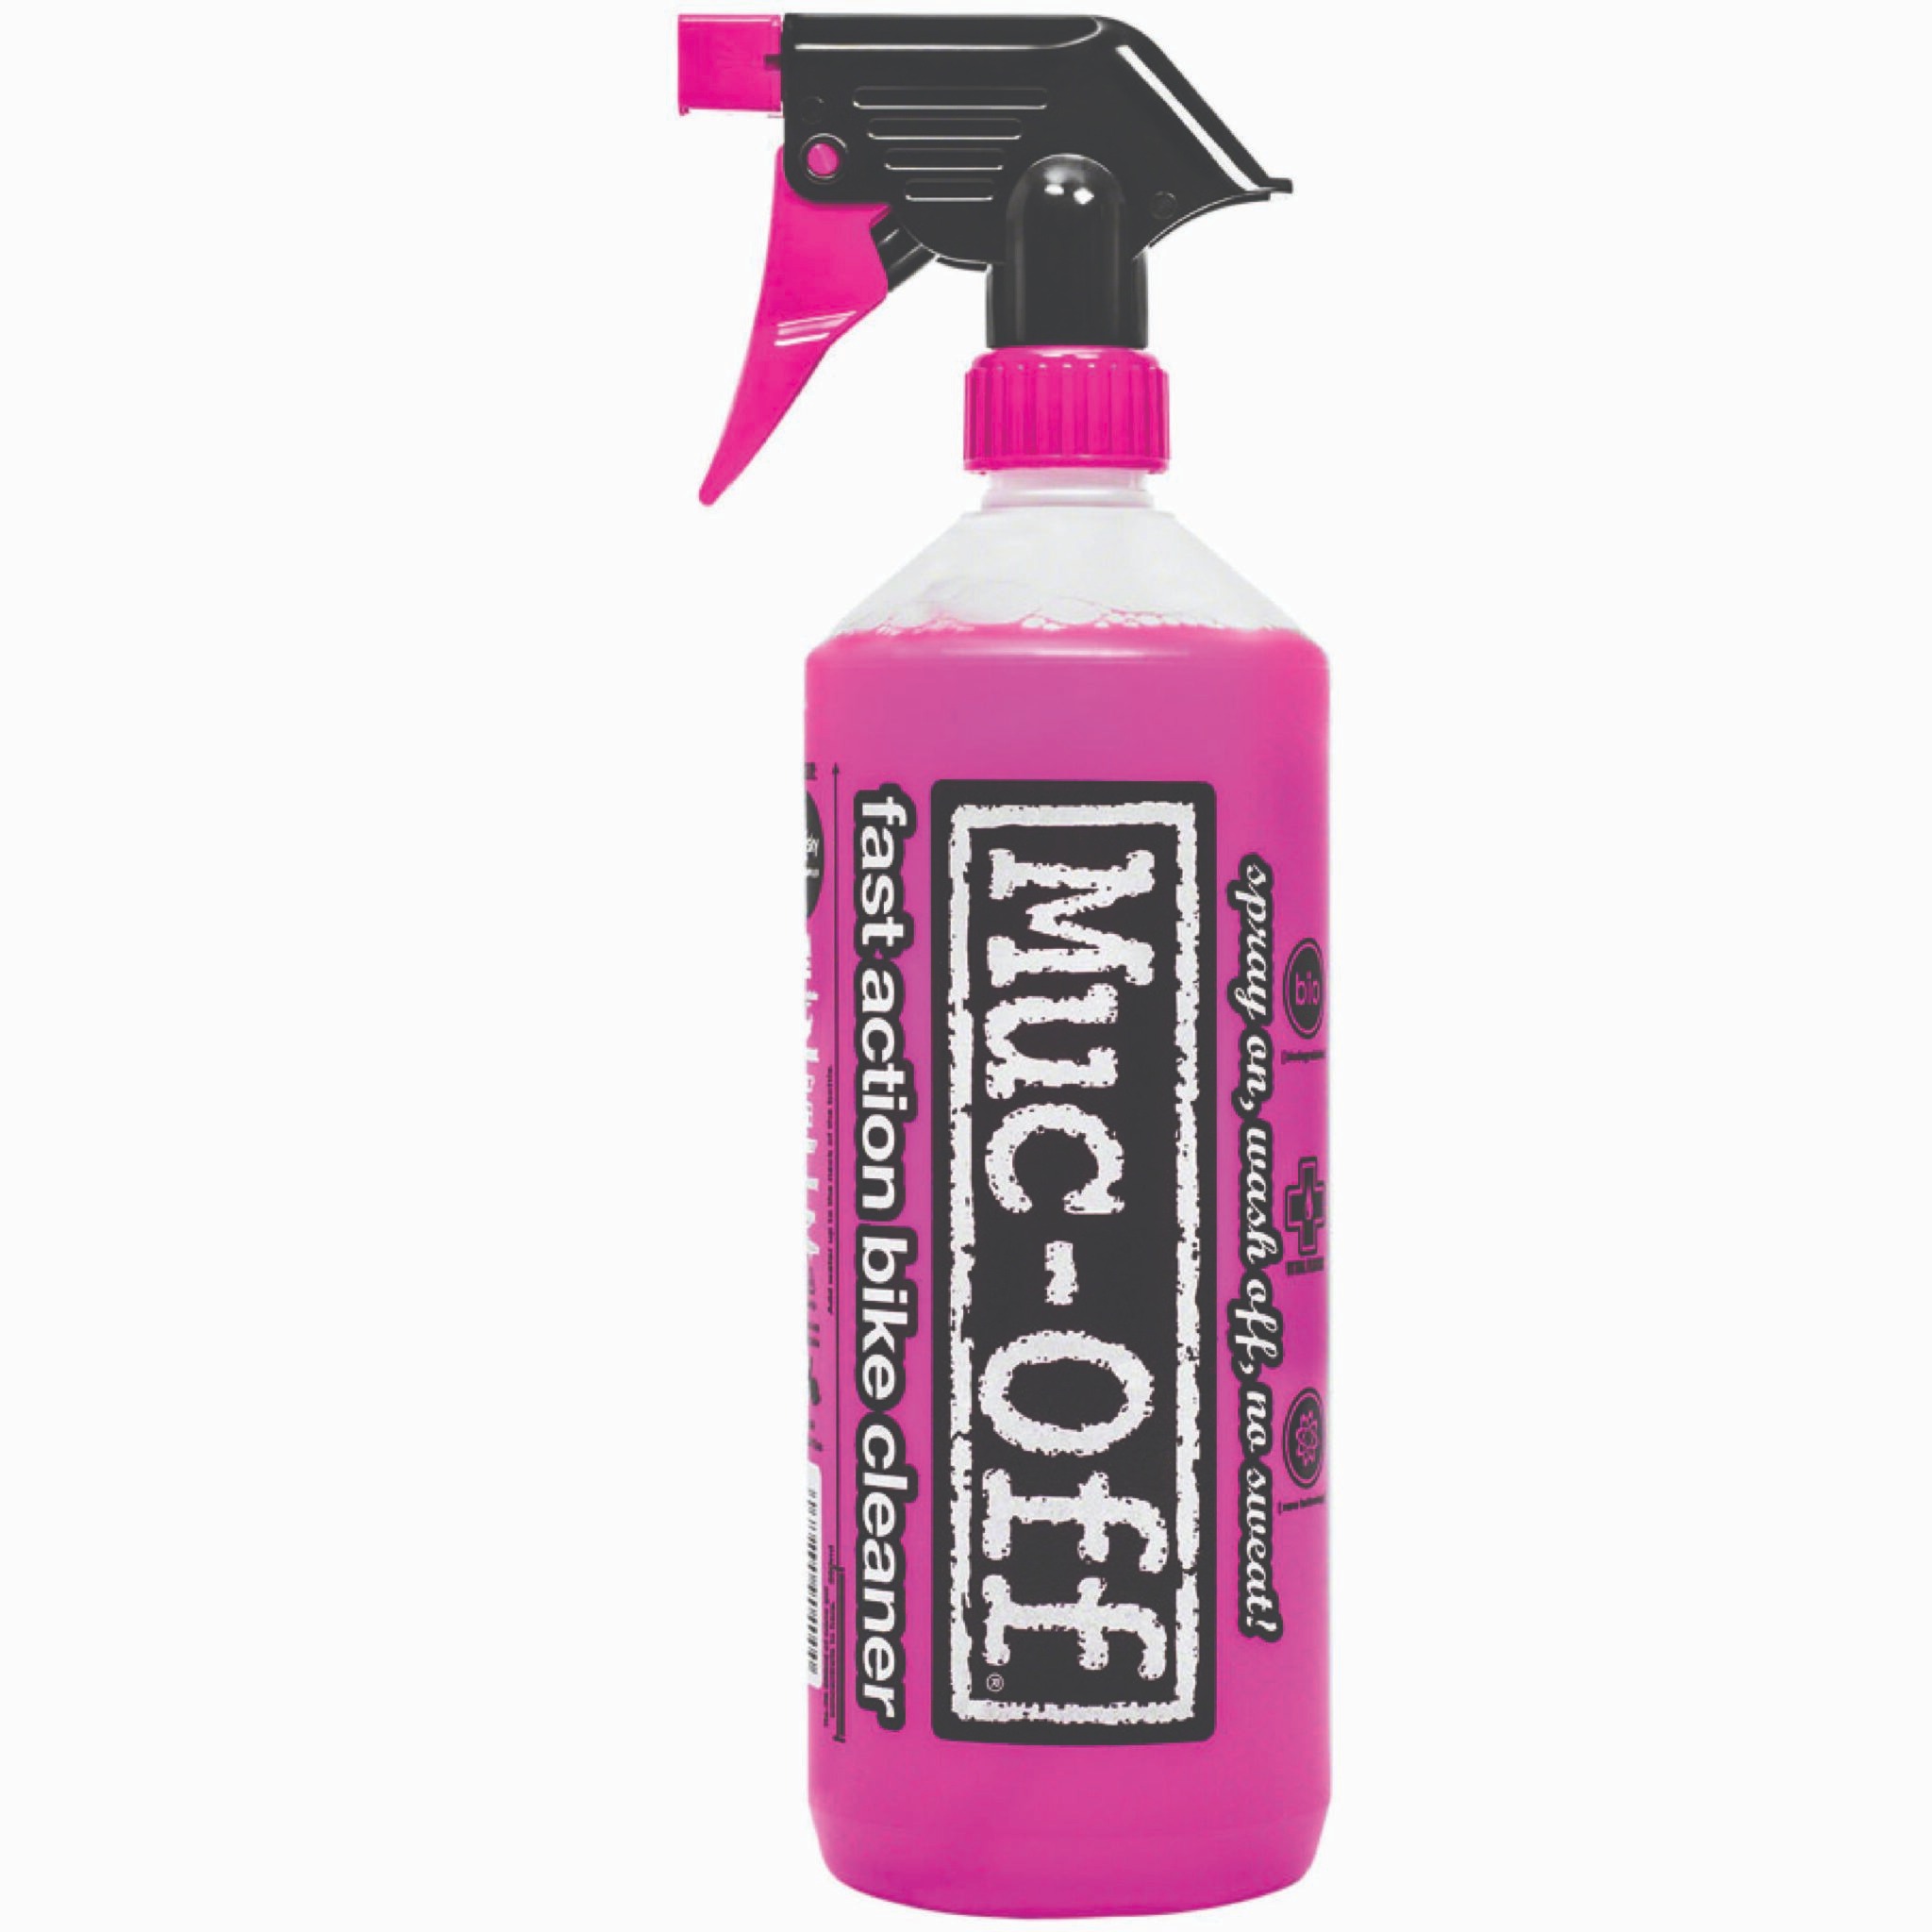
Lots of options here. The spray-on stuff makes application easy, and Muc-Off's Nano Tech Bike Cleaner is excellent — smells great, works great, and costs more than it probably should.
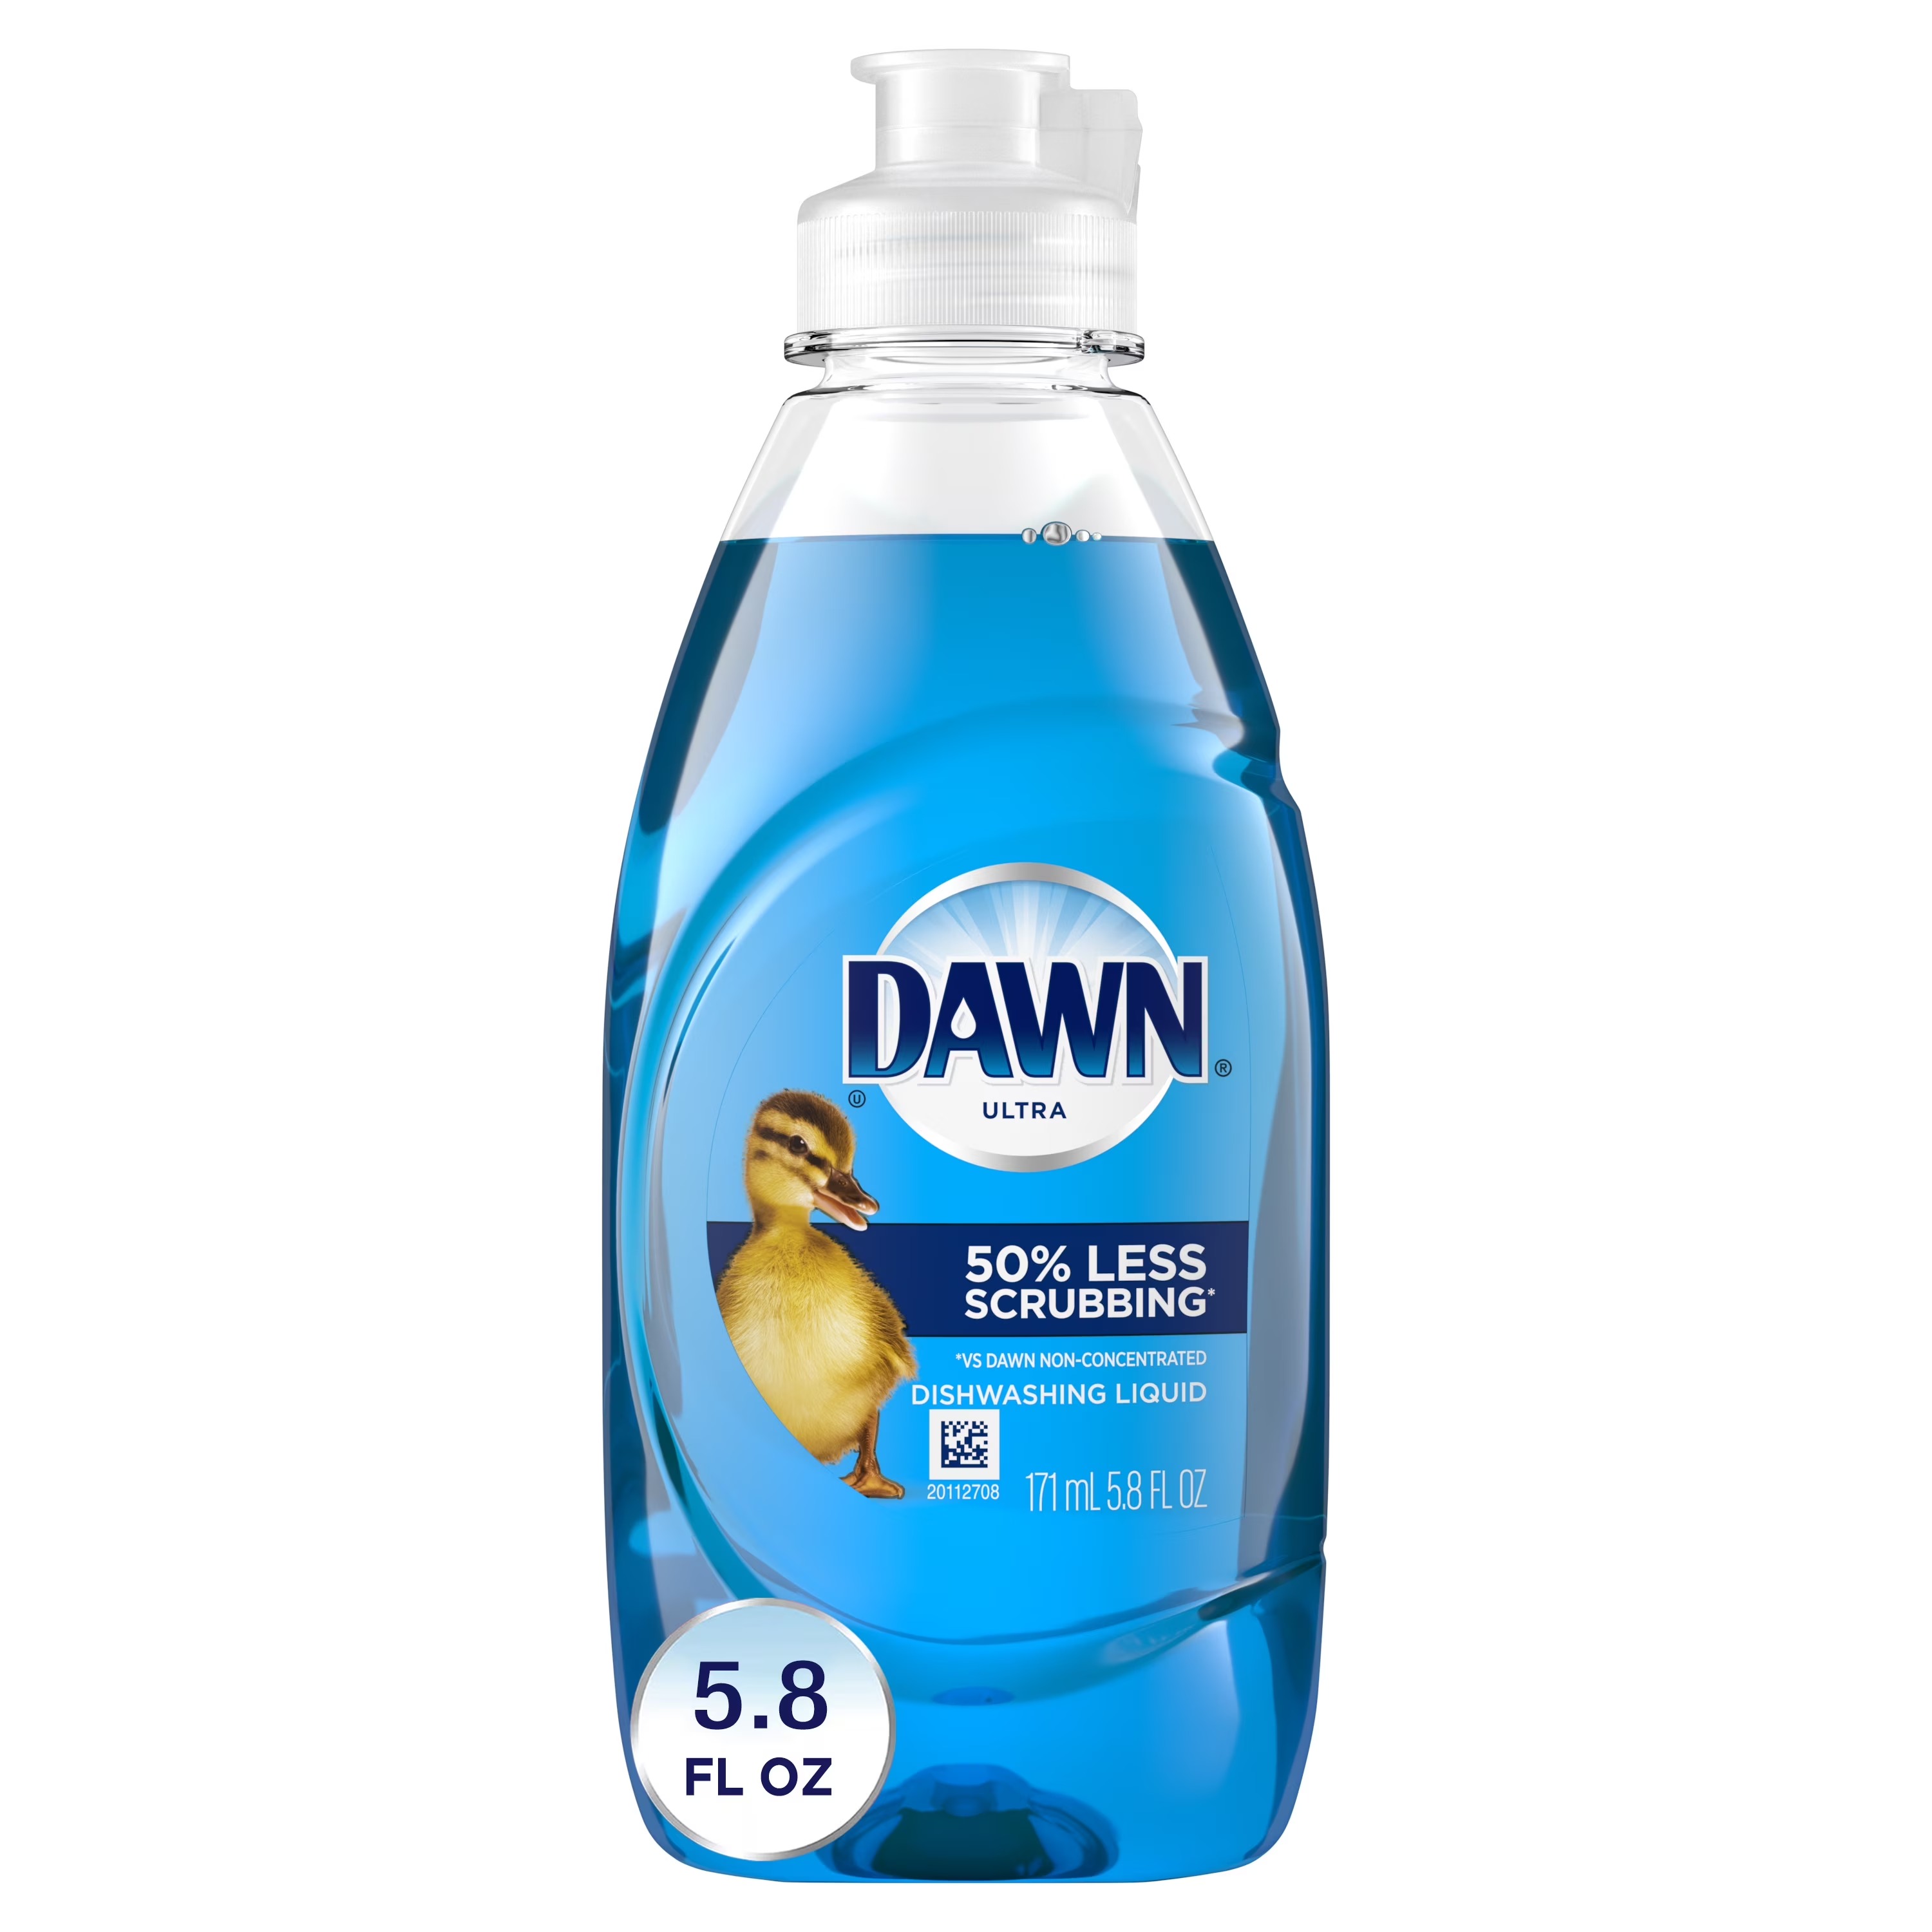
The open secret? Many professional mechanics on the racing circuit use plain dish soap. I've used Dawn Ultra plenty of times, and it does the job just fine. One big bottle is infinitely cheaper than any bike-specific cleaner, and you'll get dozens of washes out of it. The key is to dilute it well and use hot water — it rinses cleaner and cuts through grease more effectively.
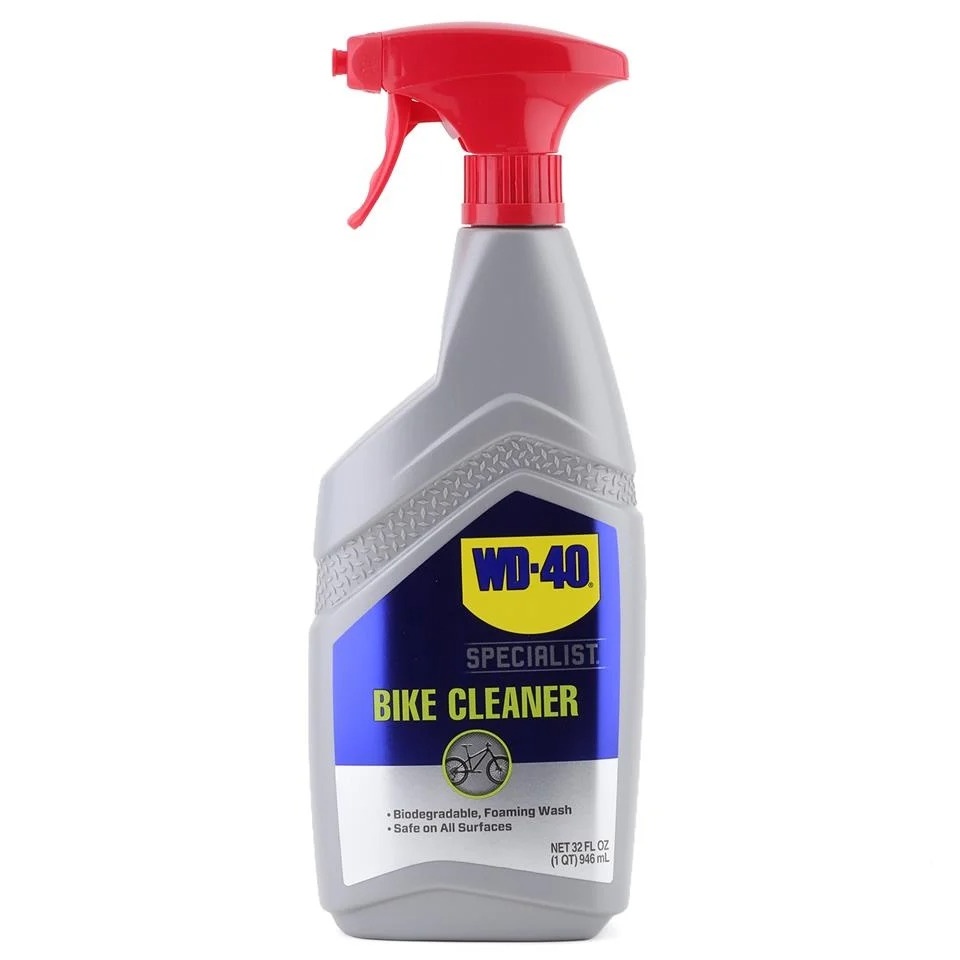
I also keep a bottle of WD-40 Bike Cleaner on hand for spot cleaning between full washes. Works well on its own without needing a hose.
Protectant
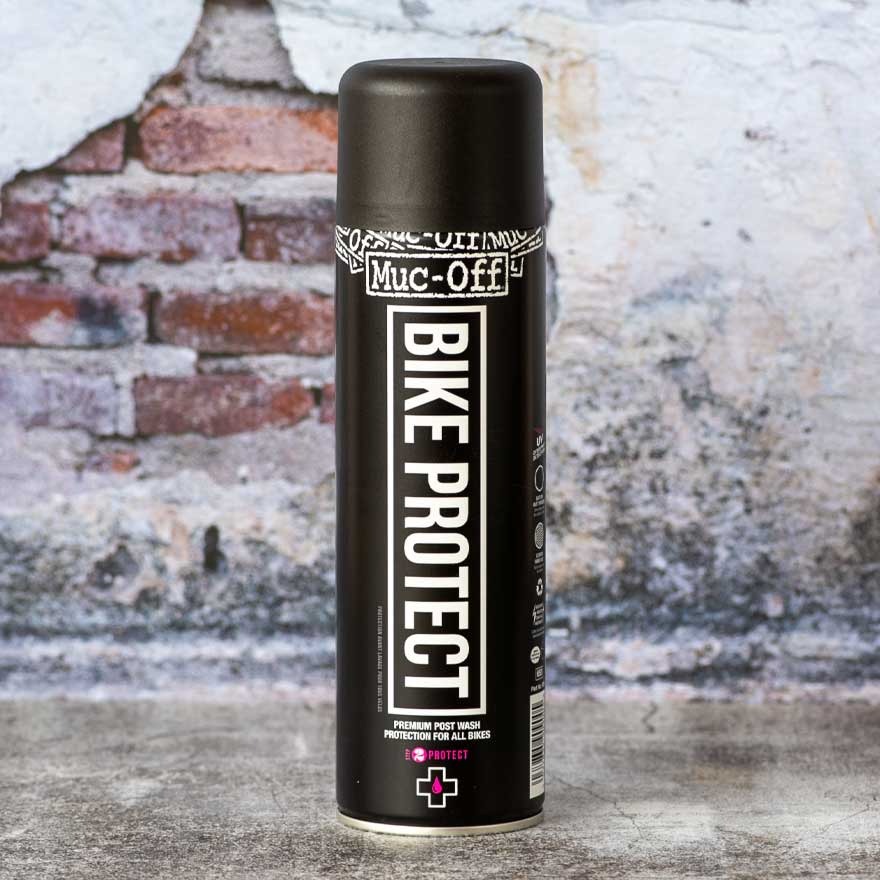
One item from my Muc-Off kit that I wasn't sure about at first was Muc-Off Bike Protect. I had no idea what it actually did — was it a wax? A lubricant? The answer is kind of both. It's a PTFE spray (essentially a dry lube that resists dust and dirt), and it also displaces water and adds a protective layer that slows down corrosion. Plus it makes everything look really nice. Think of it as Armor All for bikes.
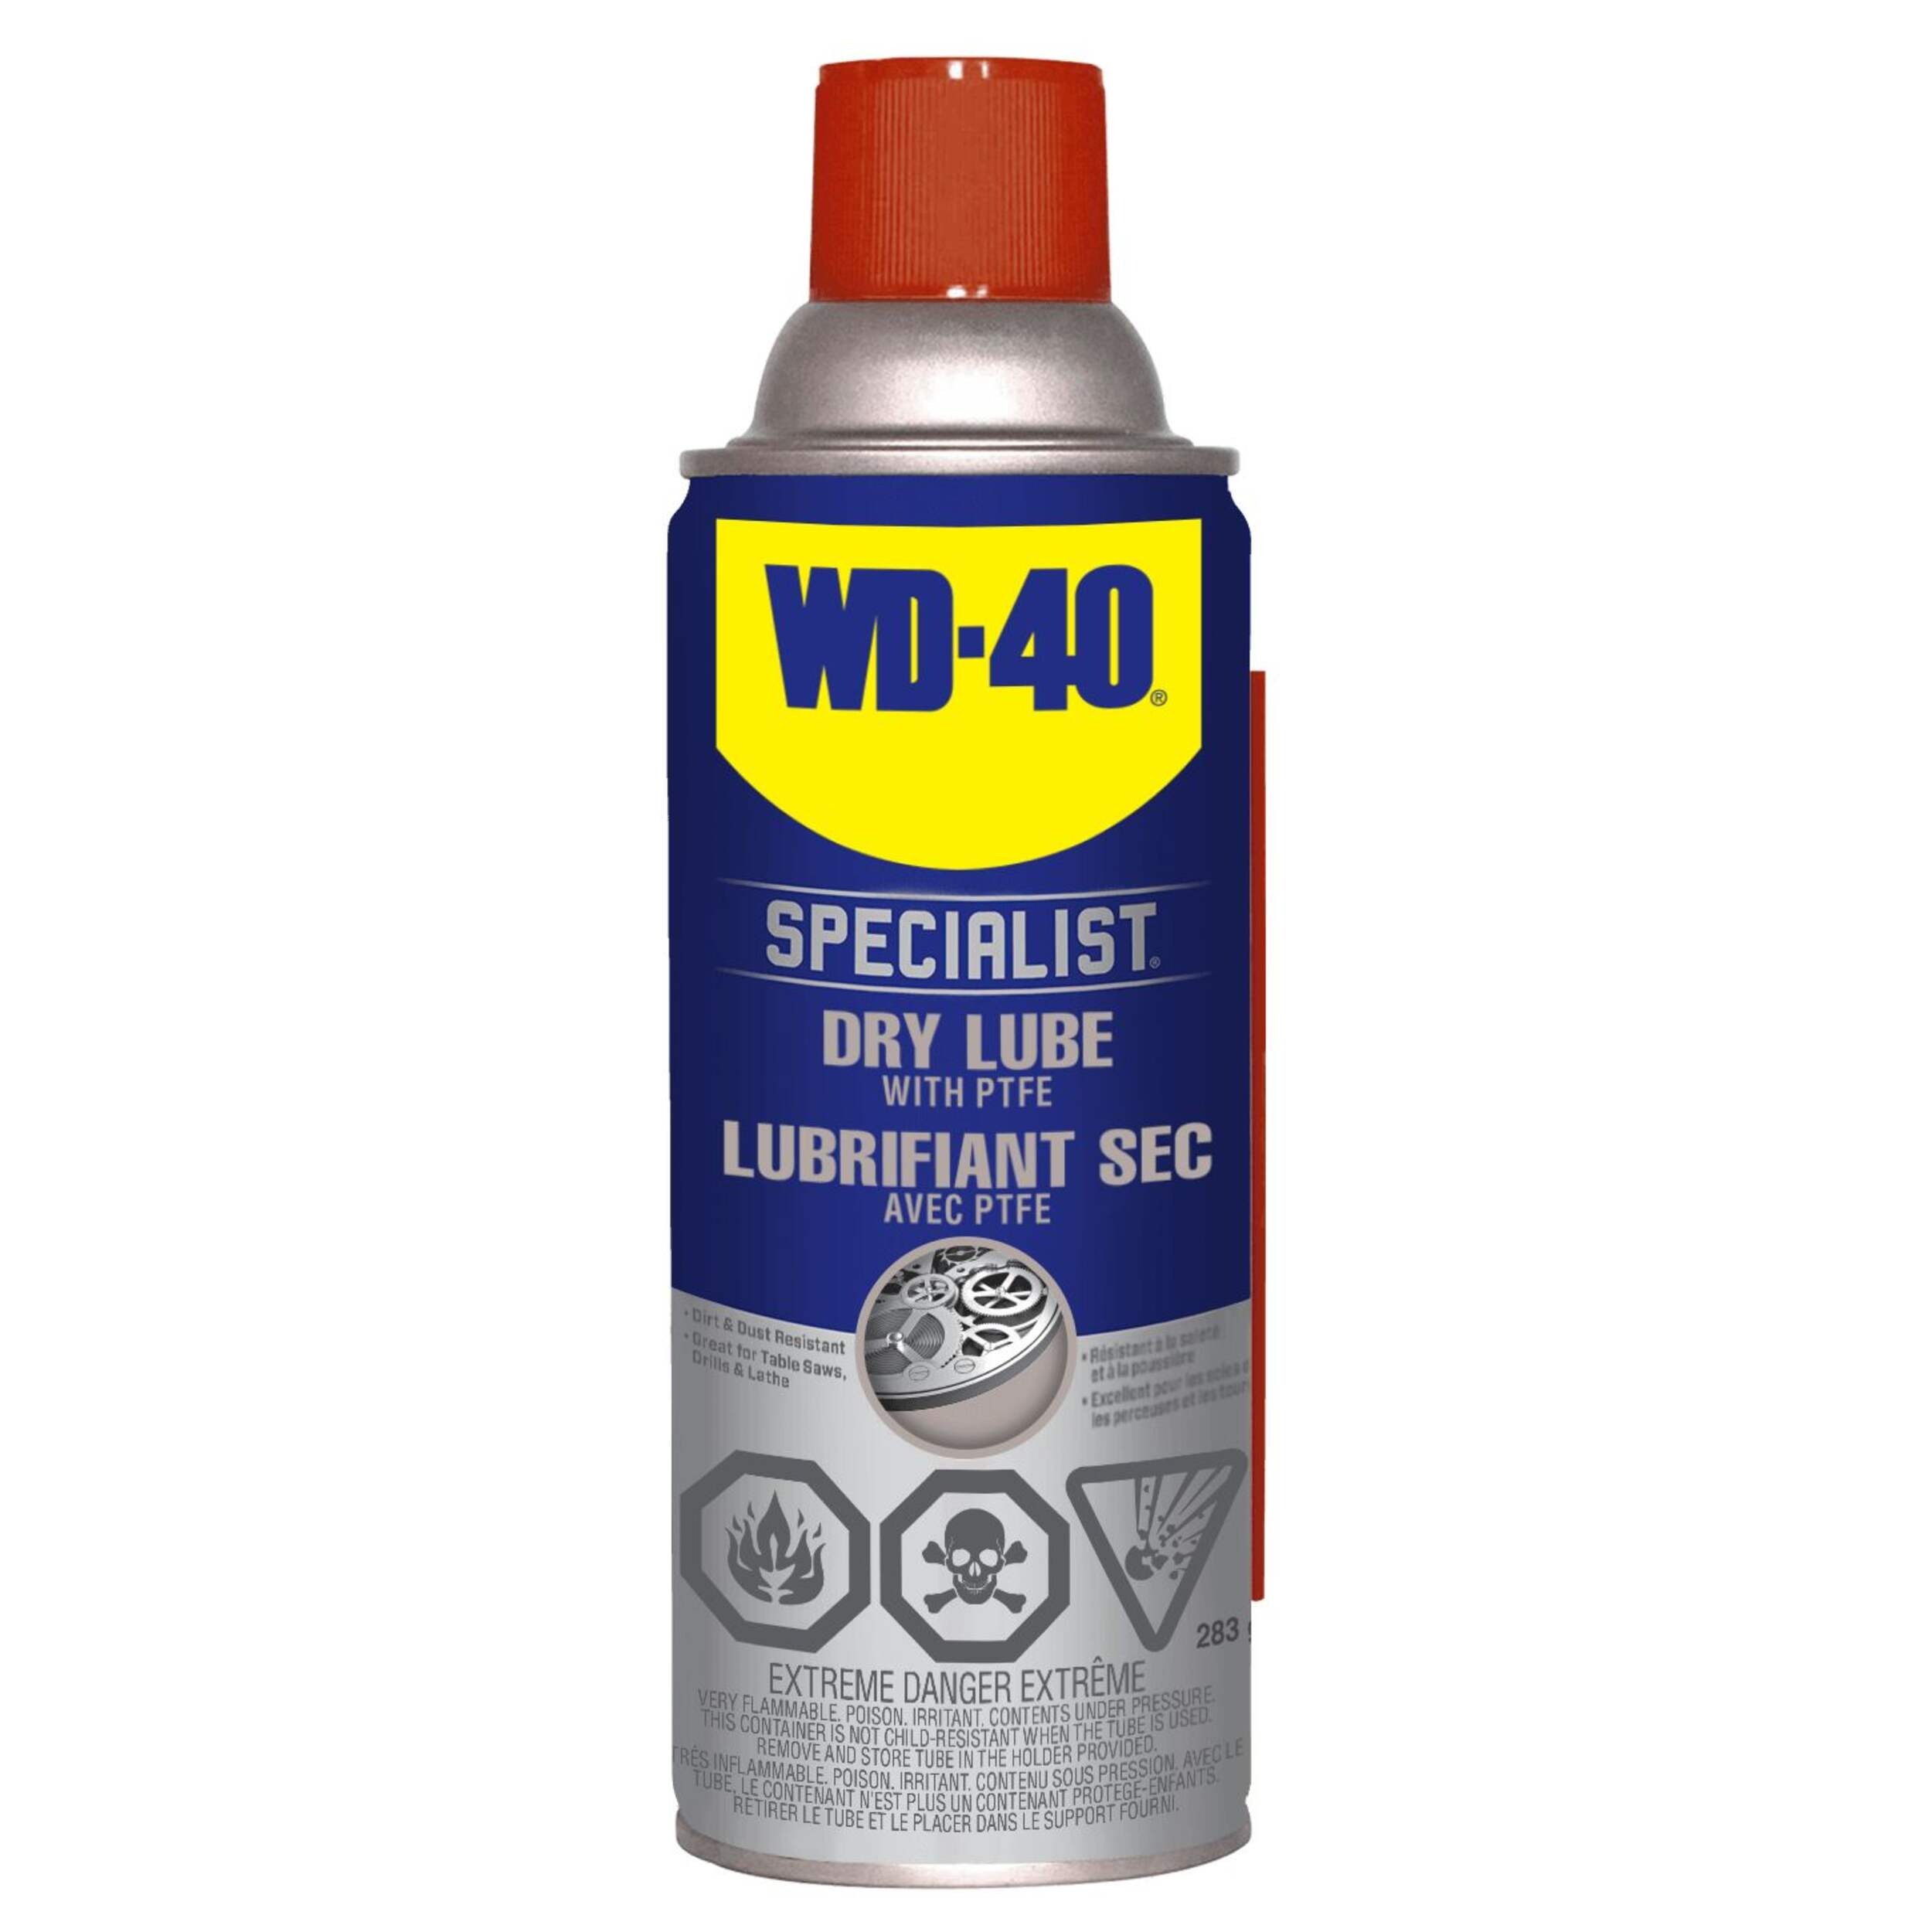
If you'd rather not pay Muc-Off prices for it, WD-40 Specialist Dry Lube PTFE Spray does essentially the same thing for a lot less money.
Brake Cleaner
For cleaning brake pads and rotors, isopropyl alcohol is all you need. There are dedicated brake cleaners out there — I've tried Spin Power Disc & Brake Cleaner — and none of them work meaningfully better than rubbing alcohol. Save your money.
Lube
If there's one topic in cycling that can start a heated forum argument faster than helmet laws, it's chain lube. Wet or dry? Wax or oil? Full-send slow cooker dip or casual drip bottle? Let's break it down.
Dry lube is better for drier, dustier conditions and lower humidity. It uses a wax-based formula that coats the chain and dries to the touch. In wetter or more humid environments, it tends to wash off quickly.
Wet lube is formulated for humid, wet, or rainy riding. It stays put better in moisture, but in drier conditions it tends to attract more grime and can get gunky fast — something I've felt personally riding in Texas heat.
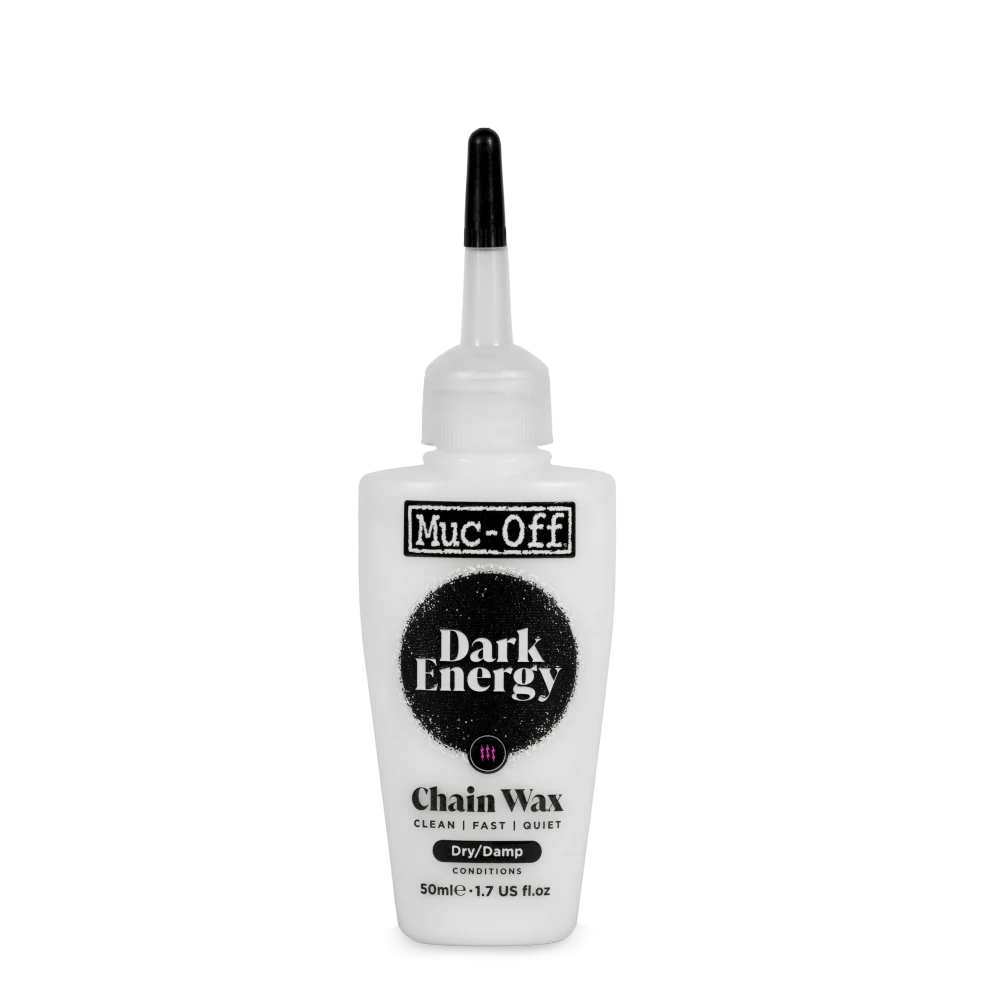
Wax lube has gone from niche curiosity to legitimate mainstream option in the last few years, and it's worth treating it as a real choice rather than a footnote. The idea is coating the chain in a paraffin-based wax that dries completely clean and attracts far less dirt than oil-based lubes. The hardcore method involves melting wax in a slow cooker and dipping a stripped chain into it (yes, this is a real thing people do). But drip-style wax lubes like Muc-Off Dark Energy Chain Wax or Silca Super Secret Chain Lube bring most of the same benefits without requiring you to set up a candle-making operation in your garage. If you're tired of fighting a gunky drivetrain — and if you ride in Texas, you know exactly what I mean — wax lube is worth a serious look.
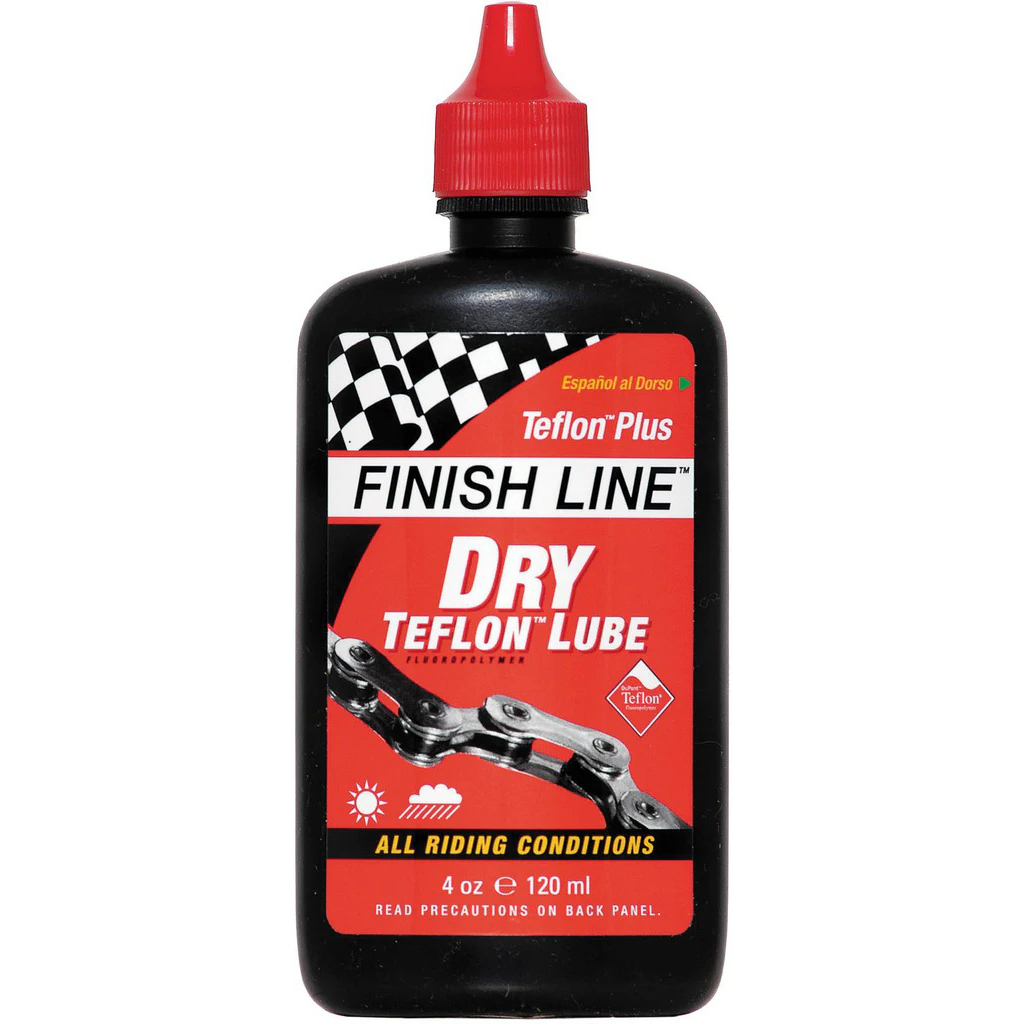
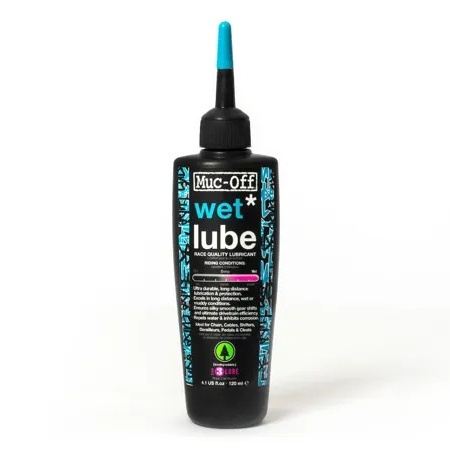
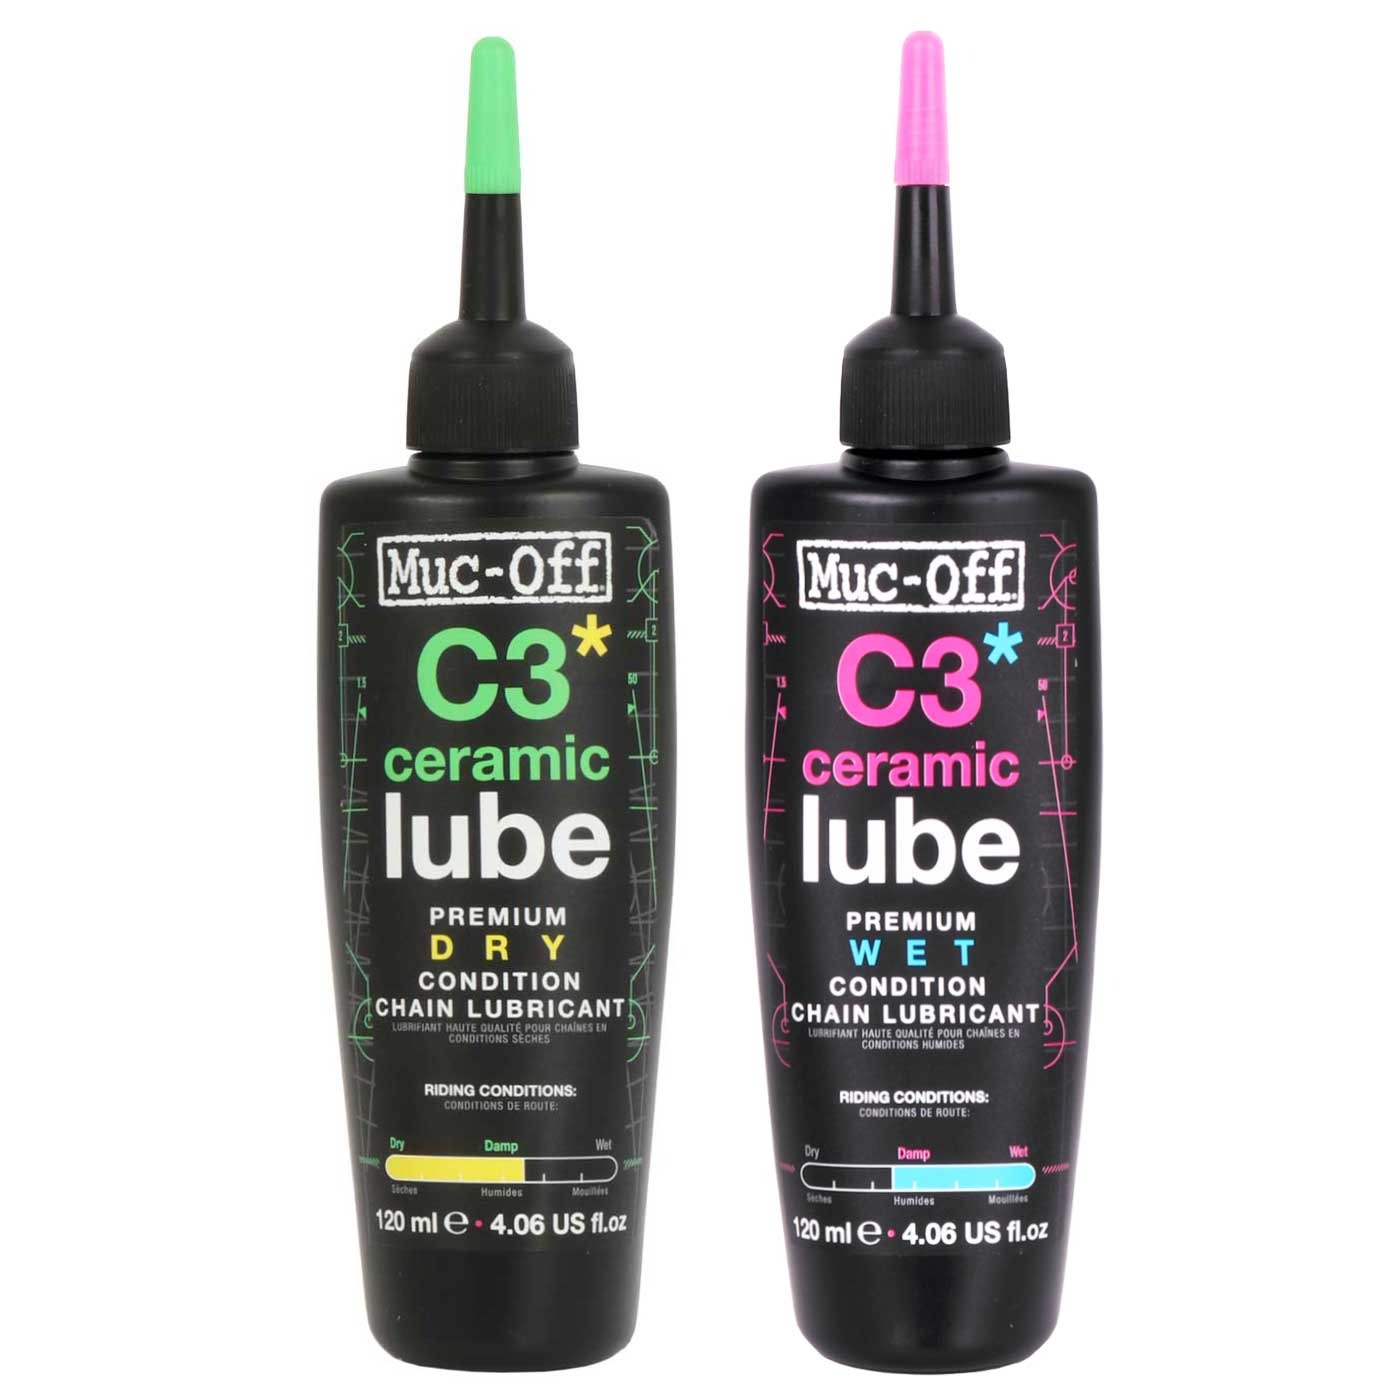
My own chain lube journey started with Finish Line Dry Lube — inexpensive, reasonably good, but not a great match for humid conditions. My Muc-Off kit introduced me to Muc-Off Bio Wet Lube, which went on cleaner and kept things quieter. I eventually tried both the Muc-Off C3 Wet Ceramic Lube and the Muc-Off C3 Dry Ceramic Lube. Both are good, but both get gunky after a while — noticeable especially in the heat.
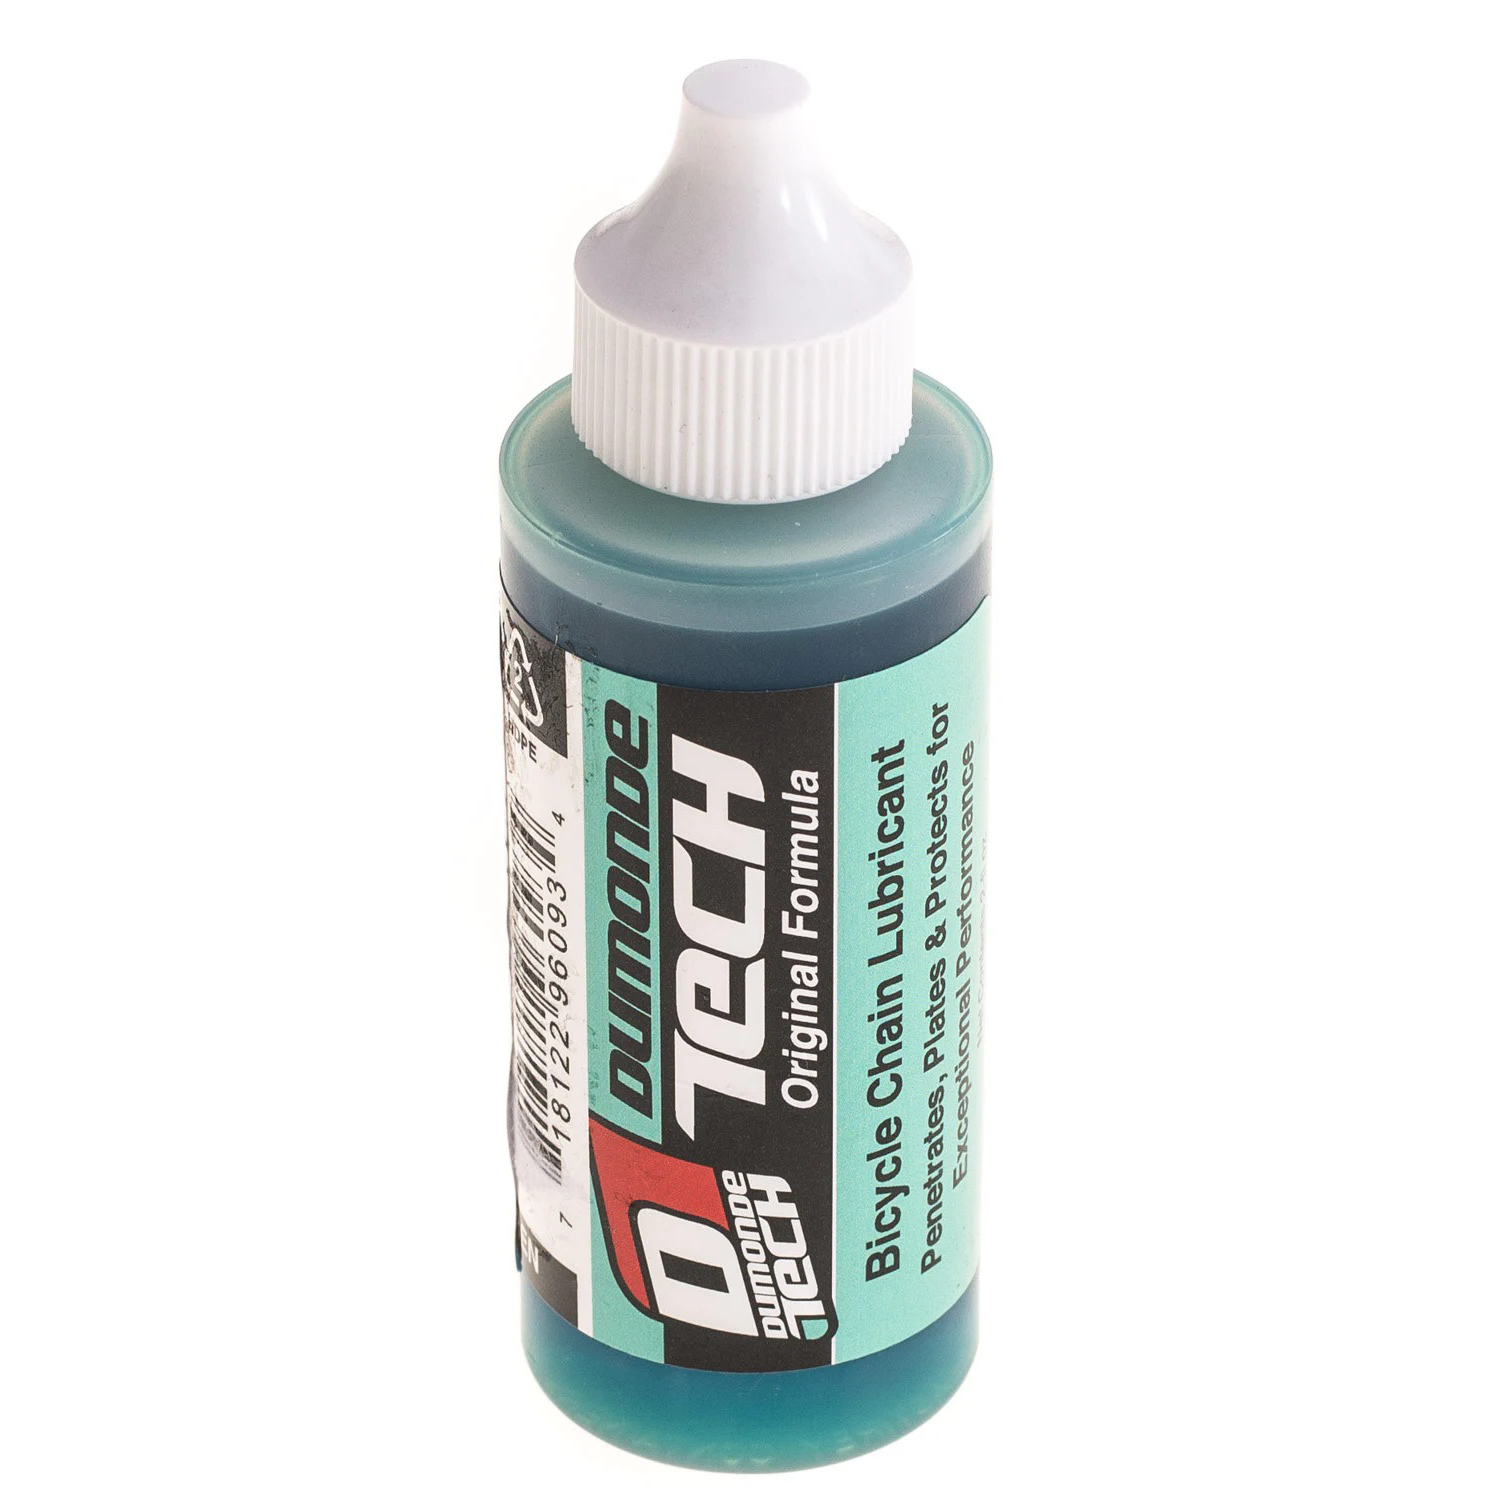
The lube I keep coming back to now is the Dumonde Tech Original Formula. The initial application is surprisingly clean — the bottle is not kidding when it says a little goes a long way. It has a slightly funky smell, fair warning. But after real-world use, it's honestly the best chain lube I've tried. It holds up well in Texas heat, doesn't get nearly as gunky as the Muc-Off options, and when it does come time to clean the chain, it wipes off cleanly. If you're tired of fighting a grimy drivetrain every other ride, give this one a try.
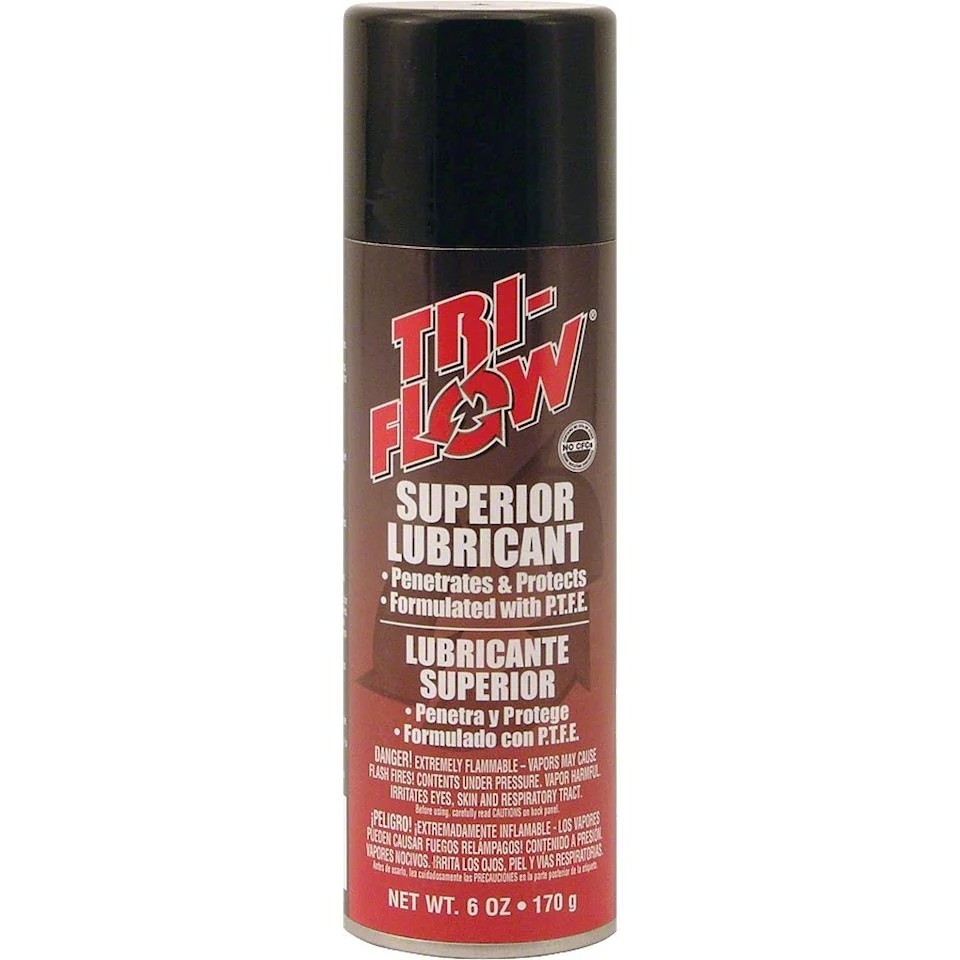
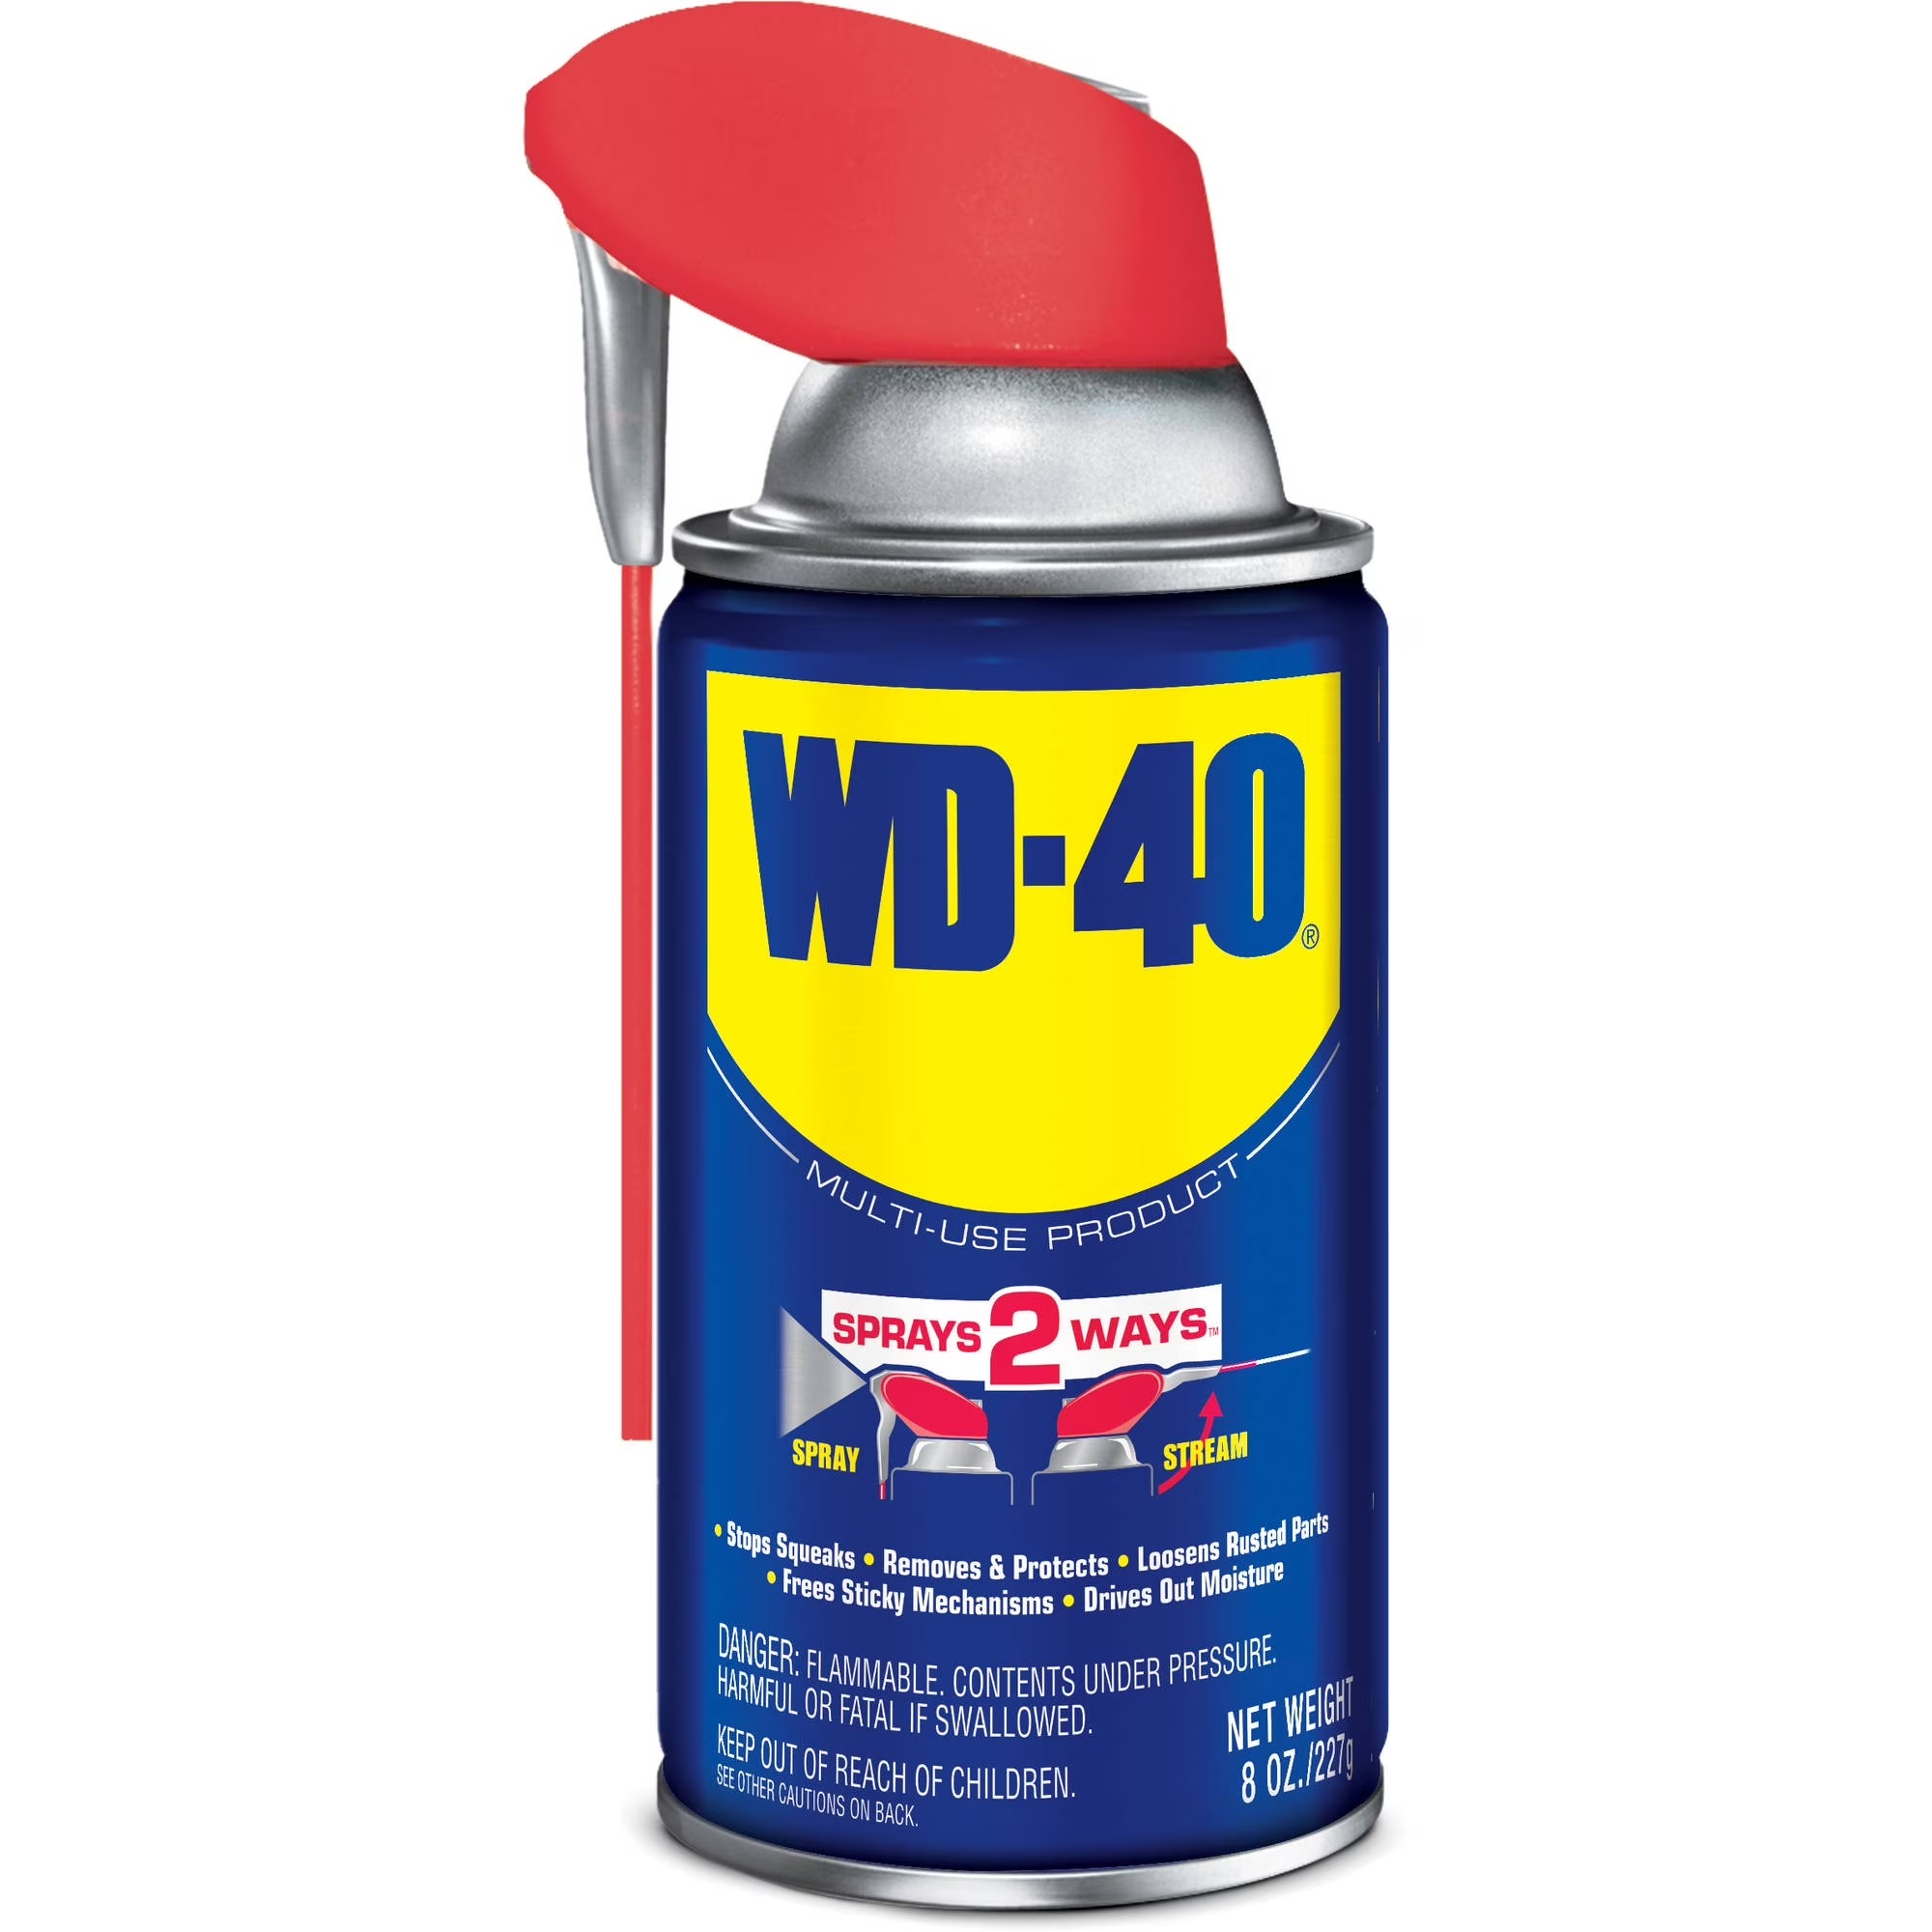
I also keep a can of Tri-Flow Superior Lubricant on hand — a solid all-purpose spray lubricant for derailleur joints and brake cables. And yes, I keep a can of standard WD-40 around too, not as a lubricant, but as a solvent for quick cleaning of greasy components between rides. Use it for what it's good at.
Chain Keeper
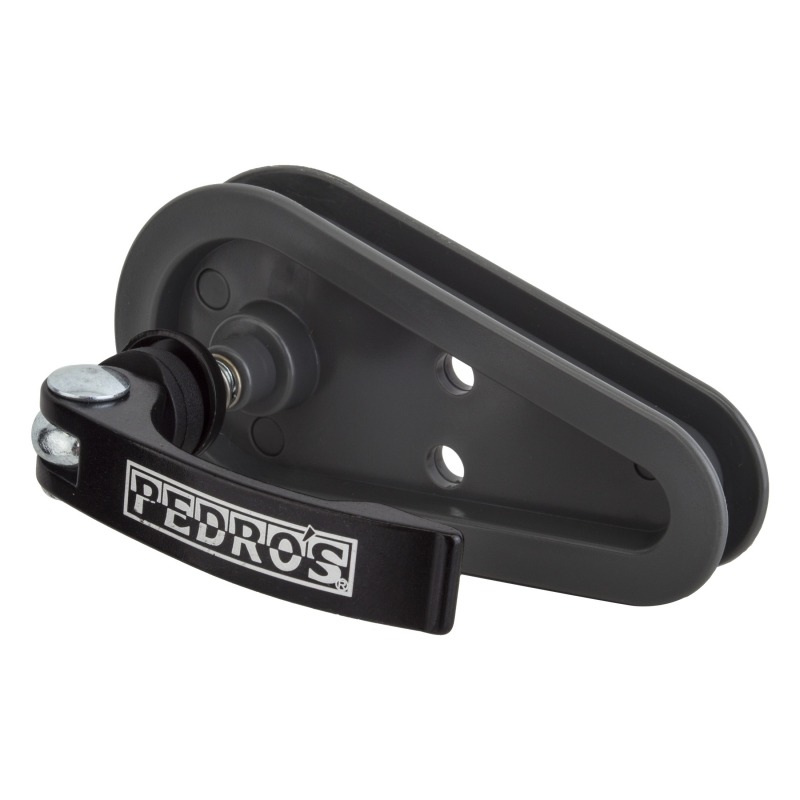
The Pedro's Chain Keeper is one of those tools that you don't know you need until you have it. When you remove the rear wheel for cleaning, this slots into the dropout and keeps the chain engaged so you can still pedal the drivetrain through its cleaning cycle. Cheap, simple, effective.
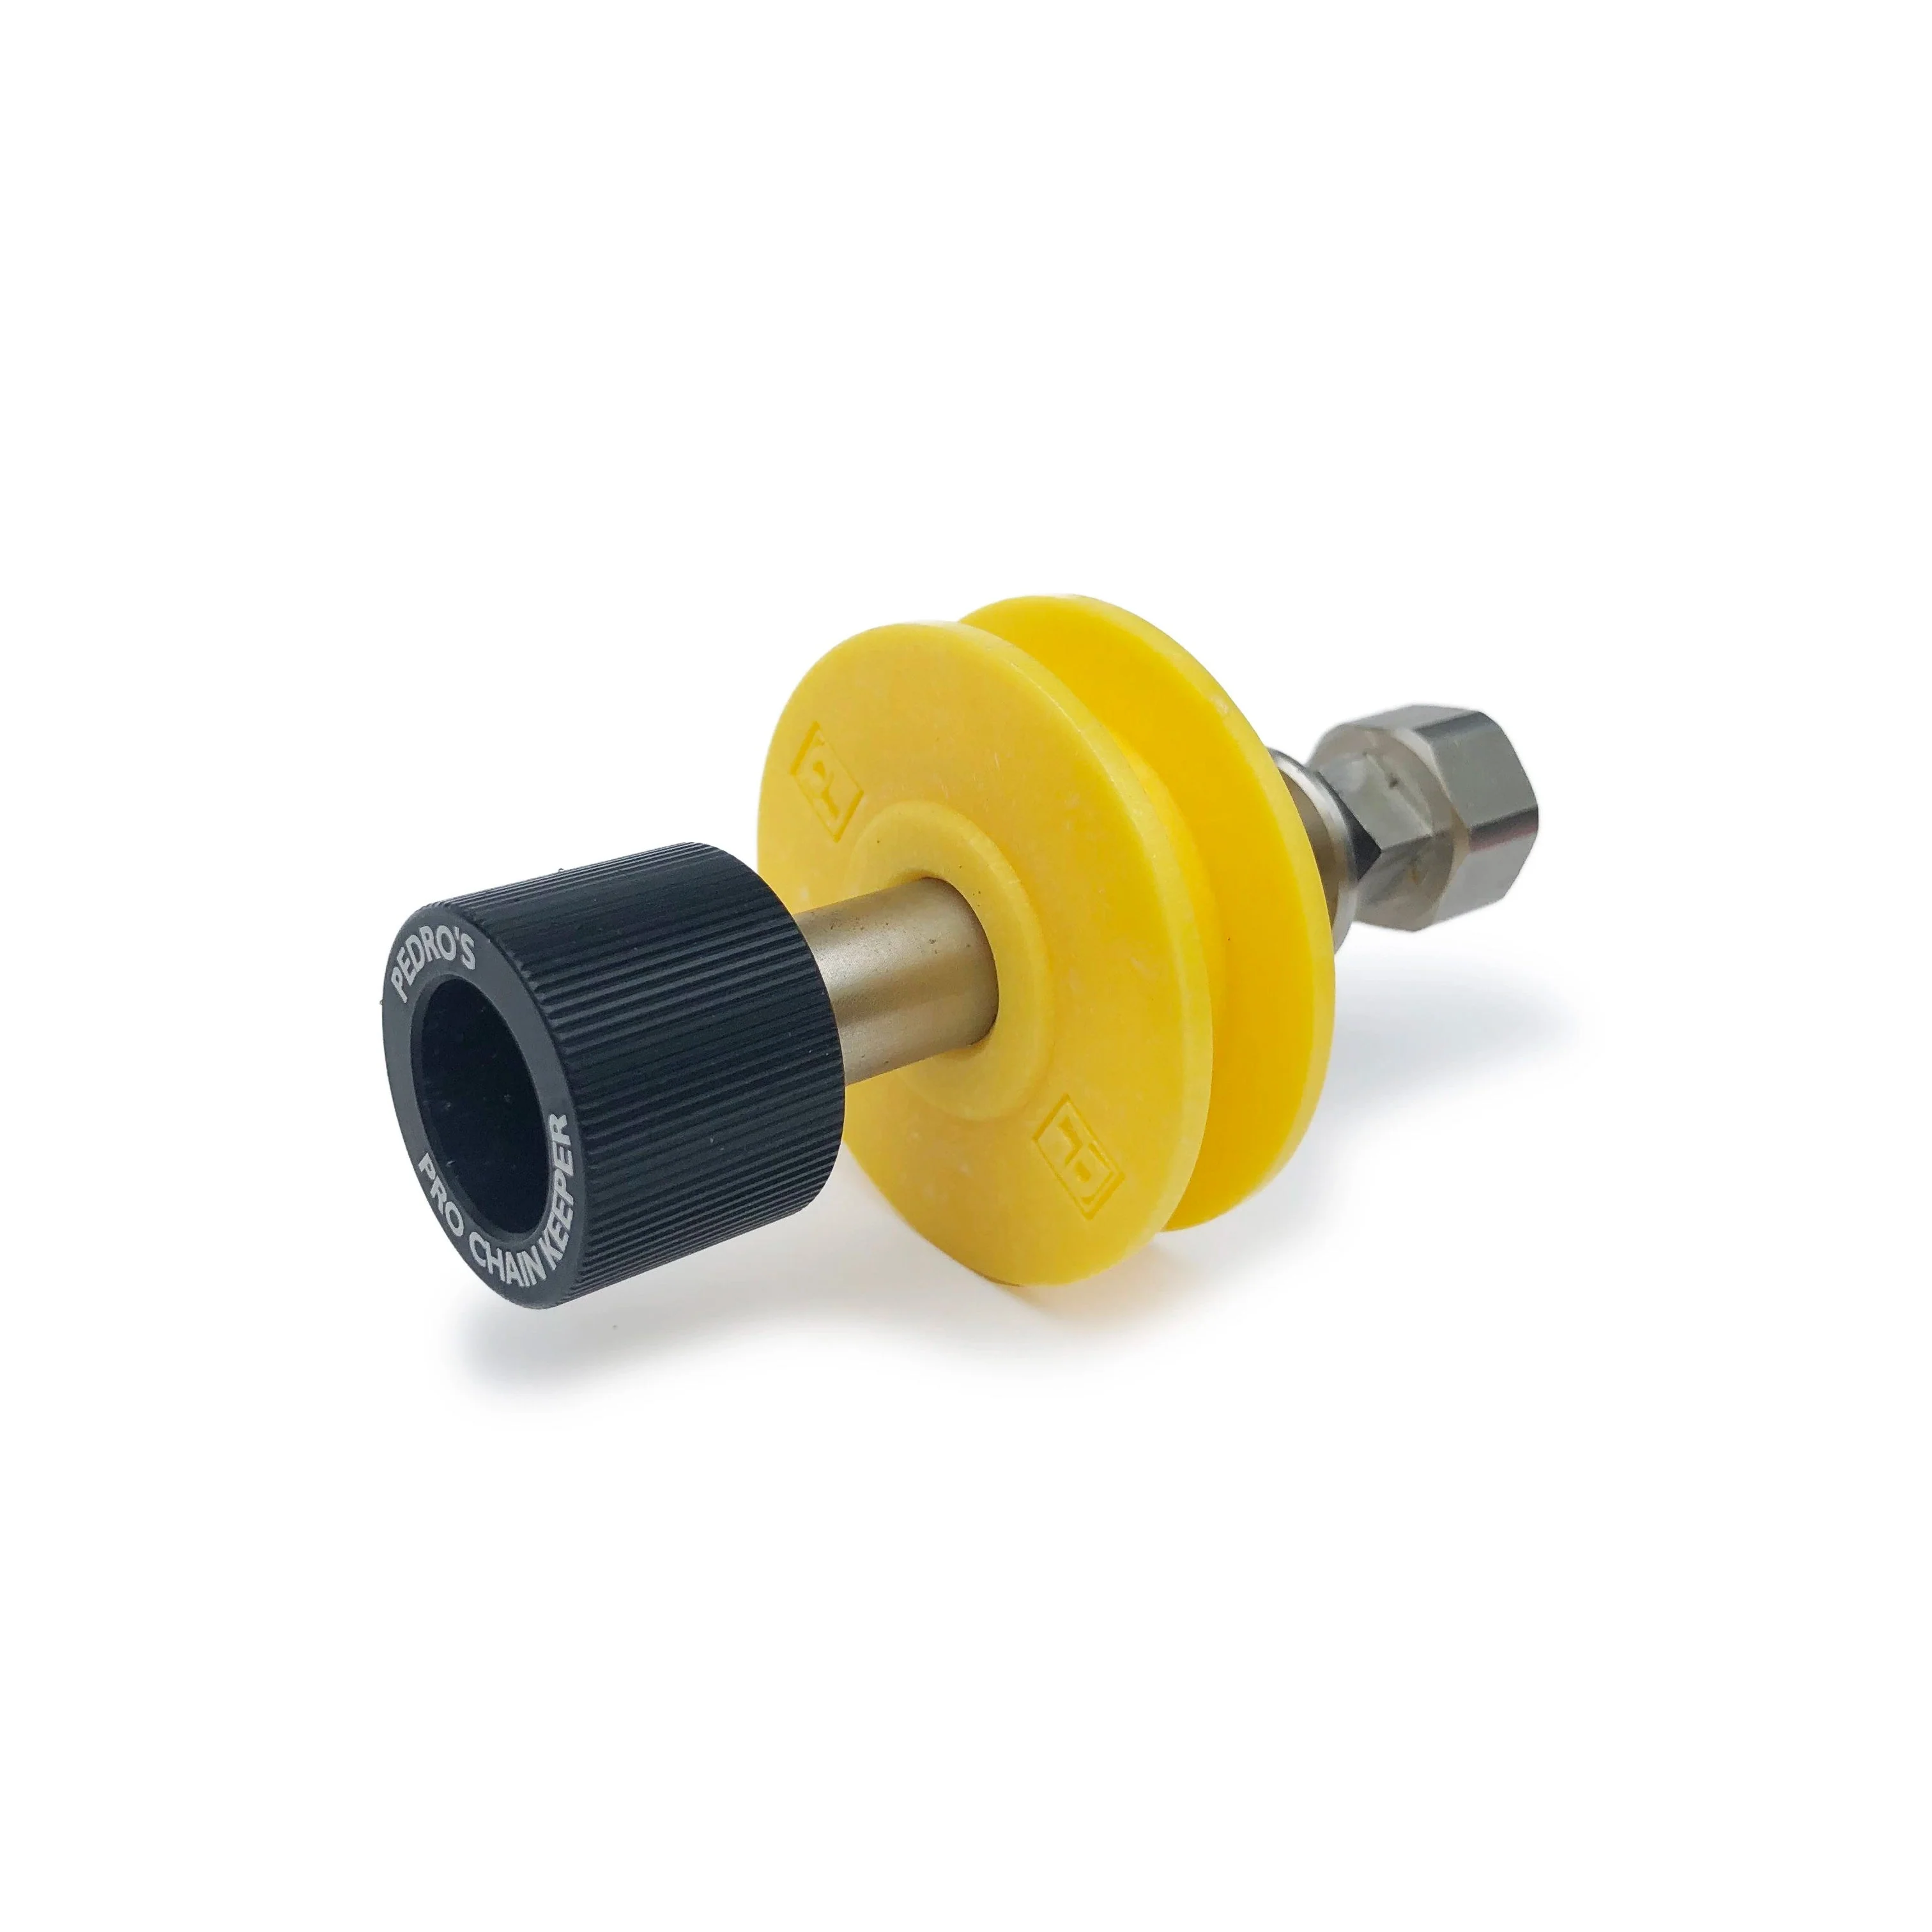
If your bike has a thru-axle setup, Pedro's also makes a Pro Chain Keeper with metal construction and thru-axle compatibility. A bit pricier, but built to last.
Disc Brake Covers
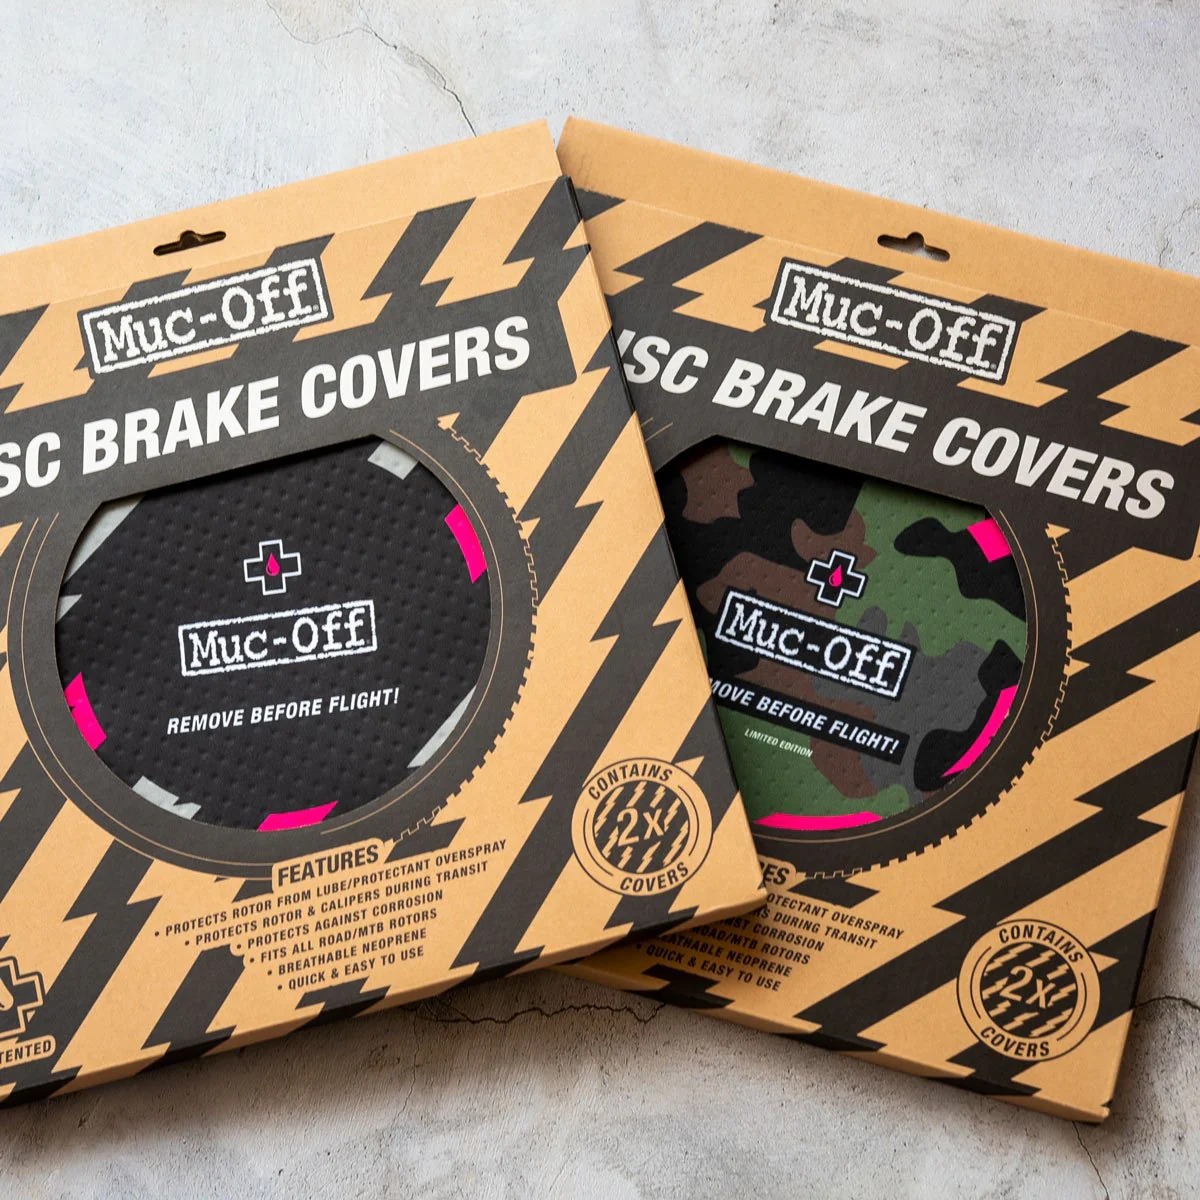
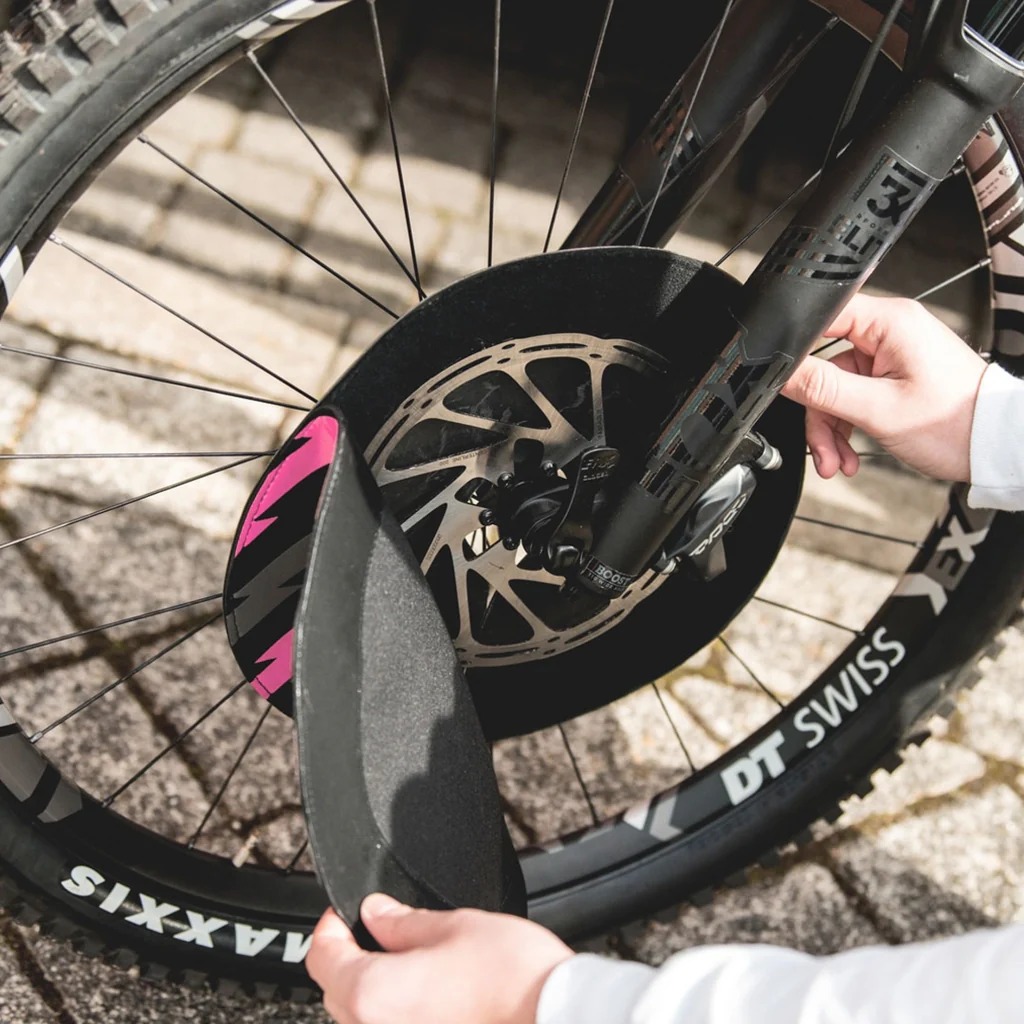
The Muc-Off Disc Brake Covers are one of those "didn't know I needed it, now can't imagine without it" items. Contaminating your brake pads with degreaser or protectant is one of the most common cleaning mistakes — and one of the most annoying to fix. These velcro-on neoprene covers protect your rotors and pads while you're spraying things nearby. You could use a towel instead, but these stay put and don't require you to think about it.
Bike Cleaning Process
After a few years of doing this, I've settled into twelve basic steps:
Setup
Pre-Rinse
Degrease Drivetrain, Chain, and Cassette
Clean Frame and Components
Clean Wheels and Rotors
Wipe Down
Apply Protectant
Cleanup
Detailing
Brake Cleaning
Lube Chain and Components
Final Check
It looks like a lot. It isn't. Most of these steps take only a few minutes each.
1. Setup
I collect all my supplies and stage them in the driveway — brushes in the bucket, cleaning products in a caddy. That way I'm not running back inside three times because I forgot the degreaser.
Set up the repair stand and mount the bike by the seatpost, set as high as it'll go. The extra height makes it easier to get under the bike and reach the drivetrain. If you have a leather saddle, throw a cover over it.
Attach a trigger-style spray head to the garden hose. If you're doing a thorough wash, go ahead and take the wheels off and set them aside — they'll get cleaned separately, and the bike is much easier to work on without them. If you remove the rear wheel, slot the chain keeper in.
For soap, if you're using a spray-on product you're ready to go. Otherwise, add a few squirts of Dawn to a bucket and fill it with hot water from the kitchen sink. The hot water is the trick — it cuts grease faster and rinses off cleaner.
2. Pre-Rinse
Spray down the entire bike to knock off any loose mud, grit, or debris. Pay particular attention to the drivetrain — built-up gunk just fights the degreaser if you don't clear it first.
3. Degrease Drivetrain, Chain, and Cassette
Before you touch the degreaser, cover your brakes and rotors. Degreaser on brake pads is spectacularly bad news for braking performance. Disc brake covers are ideal, but wrapping them with a towel works too.
Spray degreaser onto the chain, cassette, chainrings, and rear derailleur pulley wheels. Let it soak for a couple of minutes, then scrub with a toothbrush, brush, or whatever lets you get into the tight spots. Rinse thoroughly. If it's particularly grimy, repeat.
If you've removed the rear wheel separately, clean the cassette the same way — just make sure the rotor is protected before you spray anything near it.
4. Clean Frame and Components
Give the bike a quick rinse before applying soap. I prefer using the square soft-bristle brush over a sponge — it gets into the nooks and crannies better than anything else in my kit.
Wash in zones, front to back, top to bottom, rinsing as you go. Start with the handlebars and fork, then the main frame tubes (top tube, down tube, seat post), then the dirtier bottom section — seat stays, chain stays, and bottom bracket area. These tend to be the grimiest spots on the bike, so save them for last when you've got your rhythm going.
Running electronic shifting (Di2, AXS, or similar)? Avoid spraying degreaser or soap directly at the junction boxes and connection ports. A damp cloth around those areas is enough — they don't need a bath.
5. Clean Wheels and Rotors
I use a slightly stiffer brush for wheels than for the frame — a leftover square brush from the Muc-Off kit that has more grip on tire rubber.
Scrub each side of the tire and wheel from the outside in, giving the spokes a light pass while you're there. Then soap and lightly scrub the rotor and hub before rinsing everything well.
With the rear wheel, don't use the same brush you used on the rest of the wheel to scrub the cassette — any leftover degreaser or soap residue on the brush can contaminate it. Use a dedicated brush or the toothbrush.
6. Wipe Down
Once everything is washed, grab a dry towel and do a quick once-over to knock the big water droplets off the frame. It doesn't need to be bone dry — just prep it for the protectant.
7. Apply Protectant
Cover the brakes again before spraying anything. PTFE protectant on brake pads causes the same problem as degreaser — don't skip this step.
Shake the can well and spray the fork, all the frame tubes, the crank arms, chainrings, and derailleur body. These surfaces benefit from the dust-repelling layer and end up looking noticeably cleaner for longer. Skip the rims, hubs, seatpost, headset, and stem — they don't need treatment.
Let the protectant dry on its own and wipe off the excess later during detailing.
8. Cleanup
Move the bike and stand into the garage, spray off your brushes, coil up the hose, put the cleaning supplies away. Let the bike dry before moving on.
9. Detailing
Once the bike is dry, take a clean microfiber towel and do a thorough wipe-down to buff off any excess protectant. While you're at it, look for any spots that still look dirty — a little bike cleaner on a rag handles any stubborn patches quickly.
This is also a good time to check the frame for nicks. On a steel frame especially, touching up chips before rust gets a foothold is time well spent. Gravel rides have a way of leaving their mark.
10. Brake Cleaning
Disc brakes benefit from a cleaning every now and then to keep them biting cleanly. Skip the dedicated brake cleaners — isopropyl alcohol works just as well.
For rotors, add some alcohol to part of a clean microfiber towel and run it around both sides of each rotor. Follow with a dry section of the same towel to wipe off the excess.
For brake pads, run the edge of the towel through the caliper to wipe them down — wet side first, dry side second. Gear floss or blanket yarn works great here too: add a little alcohol and run it in and out and side to side to get into the pad surface properly.
11. Lube Chain and Components
Lube before you ride, not after you wash. My technique: starting at the bottom of the chain — the side that makes the most contact with the gears — I apply a small amount of lube near the rollers while turning the cranks backward. Four slow turns covers the full chain length. Then I switch to the other side and repeat.
Once it's on, run the bike through all its gears and give it a good spin in the highest gear to let the lube work into the rollers. I usually use this time to top up tire pressure or do other small checks, giving the lube a few minutes to settle before wiping the excess off with a microfiber towel. Wiping off the excess is not optional — leftover surface lube just attracts dirt.
While you're at it, hit the derailleur joints with a spray lubricant like Tri-Flow, and lube the brake and derailleur cables if they've been feeling sticky. Every few months, lubing the brake caliper pivot points is worthwhile too — just be careful not to get anything near the pads.
12. Final Check
Before the bike rolls out the door, take two minutes for a once-over.
Squeeze the brakes to confirm they feel firm and responsive — it's not unheard of to accidentally get soap or water somewhere during the wash
Spin both wheels and listen for any rubbing against the pads
Run through the gears to make sure shifting feels clean and nothing sounds crunchy
Check tire pressure
Check chain wear — a chain wear tool like the Pedro's Chain Checker Plus II takes ten seconds and can save you from chewing through a cassette prematurely. If your chain is measuring at 0.5% or more wear, it's time to replace it before it starts taking the cassette with it
If everything looks, sounds, and feels right — you're done. A clean bike is a happy bike.
Between Washes
A full wash every few rides keeps the bike in great shape, but a little maintenance between sessions goes a long way toward making those full washes faster and easier.
Frame: Keep a bottle of WD-40 Bike Cleaner or similar spray on hand for quick wipe-downs of the frame after muddy or wet rides. A minute with a damp rag keeps grime from baking on.
Chain: If the chain is looking gunky between washes, spray it lightly with WD-40 (the original, not the bike-specific stuff — you're using it as a solvent) and wipe it down with a microfiber towel. It won't substitute for a proper degrease, but it keeps things moving cleanly until the next full wash.
Cassette: This is where gear floss really earns its keep. Run a strand of blanket yarn through the cogs every couple of rides and you'll pull out a surprising amount of accumulated grime before it ever builds up into a problem. Takes less than two minutes.
Quick pre-ride check: Squeeze the brakes, spin the wheels, run through the gears. Takes thirty seconds and catches the stuff that can ruin a ride if you miss it — a rubbing brake, a skipping chain, a soft tire. Get in the habit and it becomes automatic.
The goal isn't obsessing over every speck of dust — it's staying on top of things so that nothing sneaks up on you mid-ride.
Conclusion
Whew. That's a lot to cover — and honestly, more than I expected to write when I first sat down to do it. Used to be that all I needed was a hose, a squirt of dish soap, and a can of WD-40. Back when we rode back and forth to school, we sprayed WD-40 on everything and called it maintenance. We didn't know any better.
Fast forward to today, and the modern bike rewards a little more care. Nothing complicated — just a consistent process, a handful of good products, and the willingness to do it regularly. That's really all it takes to keep your bike in top condition so you get the most enjoyment out of every ride. If a bike is any reflection of its rider, a clean bike says a lot about the person turning the cranks.
Keep calm and pedal on!