For the past couple of years, I’ve been riding with a power meter. It’s a metric that has helped me become a better cyclist. Whether I’m training or just riding, knowing my power output helps me gauge the level of effort I’m putting out on my bike at any given time. For long distance rides, power output can be a handy metric in that it allows me to pace myself and not overdo it too early on in a long ride.
Back when I purchased my first power meter, a PowerPod Lite, power meters were still pretty expensive. Whether it was cranks, pedals, or hubs, the average power meter started at around $600, well over my price range. Most of them were simply unaffordable. The only option that made any sense for me was the PowerPod Lite, a handlebar-mounted opposing force power meter that was less than $200, making it the best entry-level power meter at the time.
A lot has changed since then and many of the direct force power meters have gone down in price quite significantly. While pedal-based power meters are still $600 and up, crank-based power meters can be had for less than $350 making them an even more enticing option than the PowerPod.
One of the most affordable options is the Stages power meters. In fact, earlier this year, Stages announced a reduction in pricing for their power meters, with some of them going for as low as $299 with the factory installed option, making them another great entry-level option.
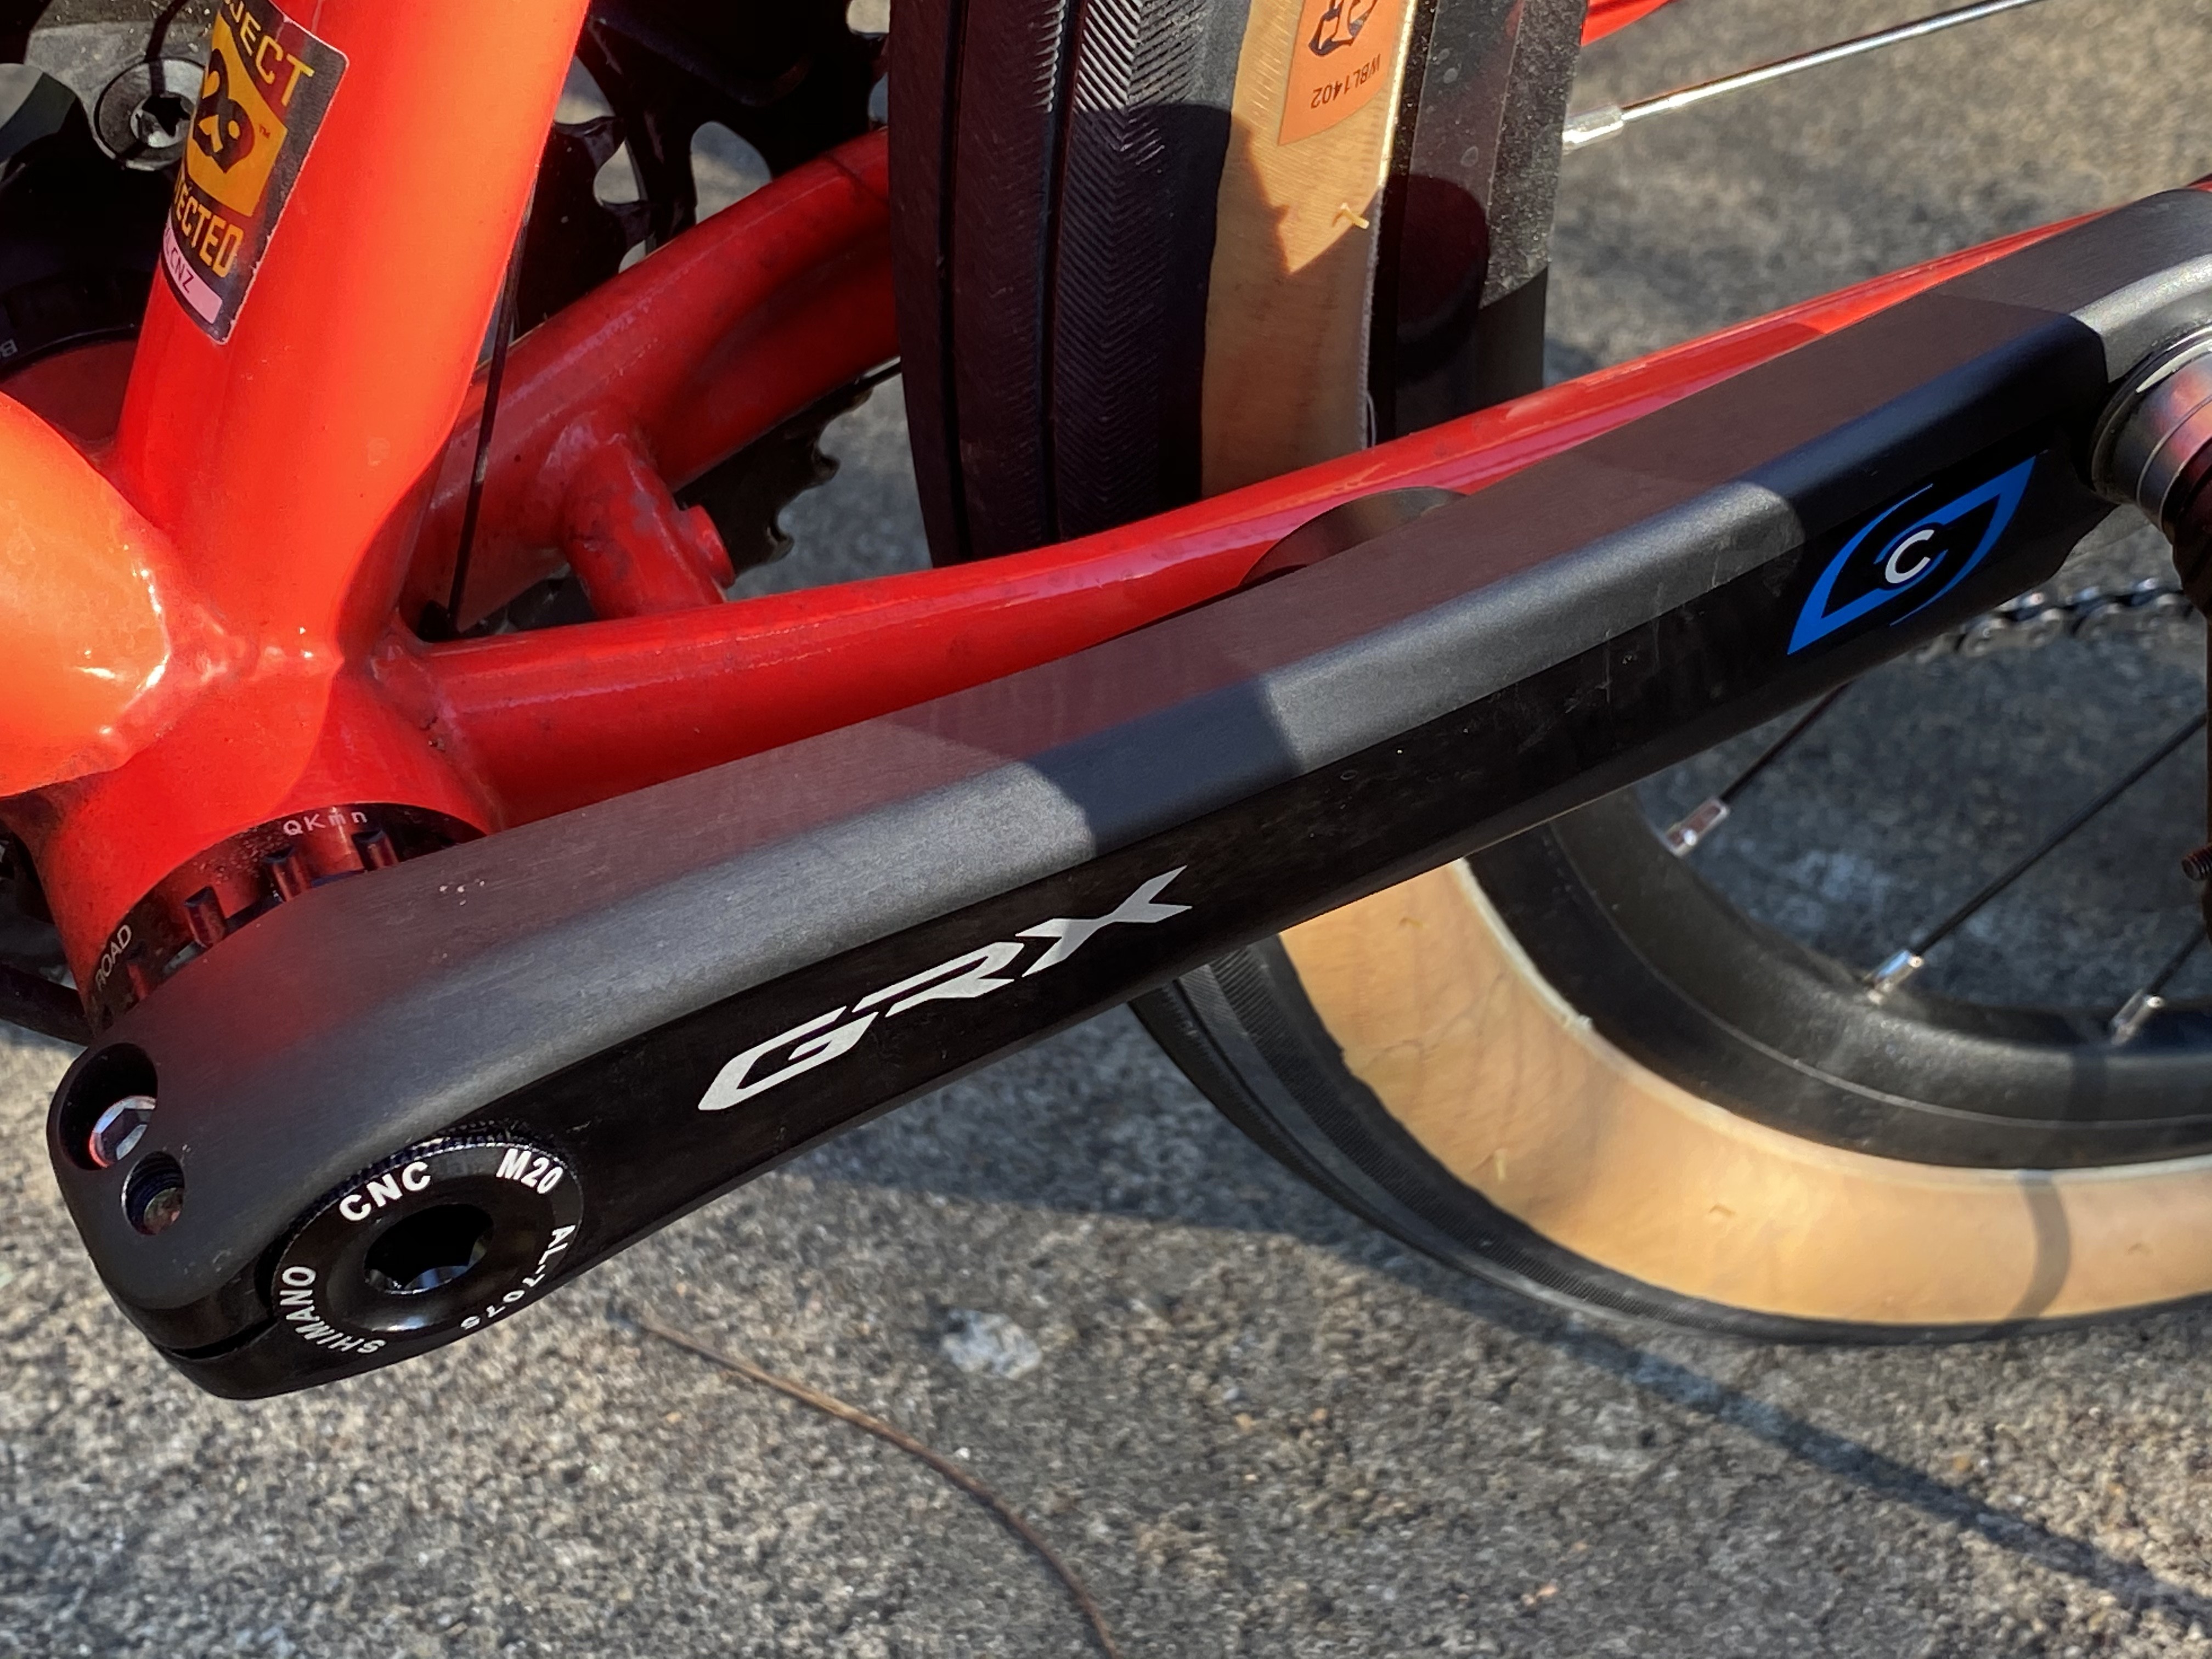
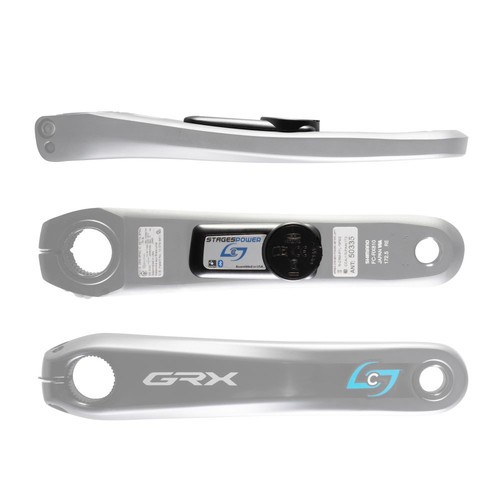
Last year I upgraded to a PowerPod v3 (read my review) and, while it’s a good power meter, I came to the conclusion that I would really like to take the plunge and get a direct power Stages power meter. So, last week, I purchased a Stages Gen 3 single-sided Power L meter for the Shimano GRX RX810 cranks.
Installation
Installing a Stages single-sided power meter is a simple process: remove the pedal and crank arm on the left side of your bike, attach the new arm and tighten it to specs, then attach the pedal. Really nothing to it really.
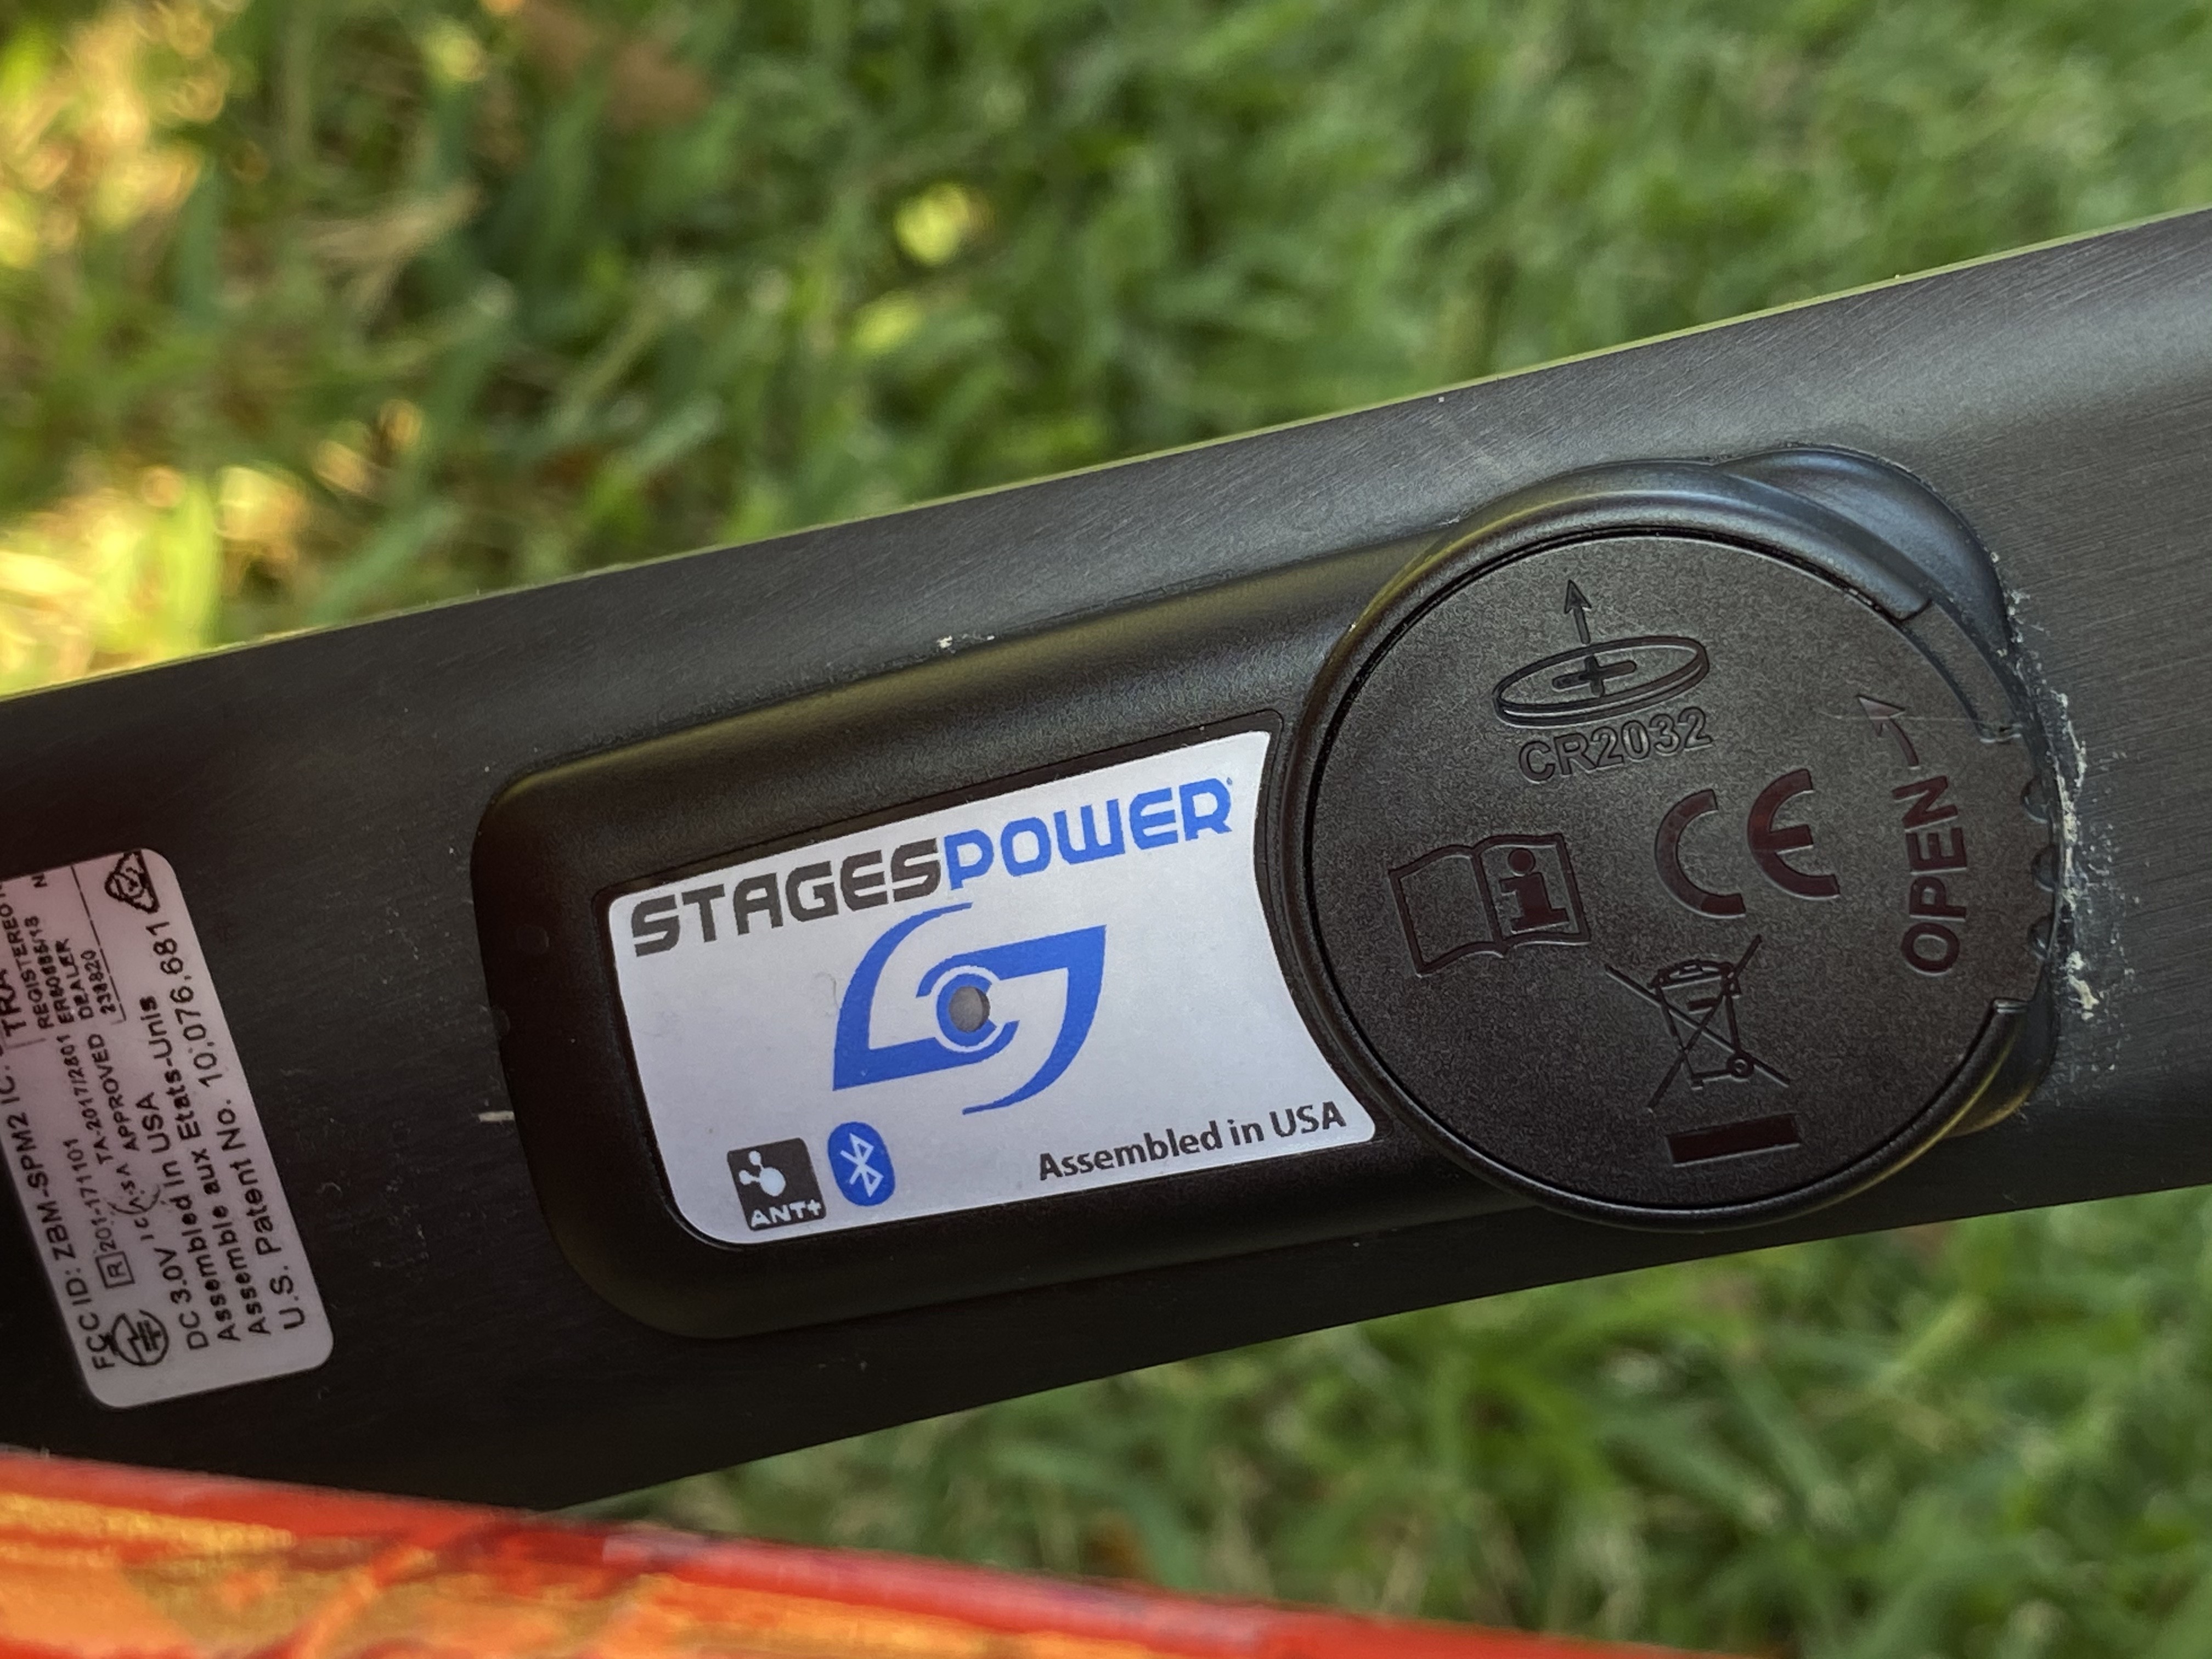
After installation, its recommended to setup the power meter with the Stages Power app, which allows you to perform a zero reset, upgrade the firmware, and view more info about your power meter. It’s not a particularly well designed app. Upgrading the firmware feels a little clunky and doesn’t give you enough feedback on the process. It works though so it’s good enough I suppose.
Initial Impressions
One of the things I noticed right away was just how smooth power readings were. I have my bike computer set to show a 3 second average. With the PowerPod, those readings could fluctuate quite a bit sometimes wildly so, especially in heavy cross winds where air pressure changes could cause calculation changes. By comparison, the Stages power meter felt really smooth. Power still fluctuated but the numbers would go up and down in a more predictable matter.
Another big thing that I noticed was how power is reported on downhill runs. The power being reported was definitely higher than what I tended to see with the PowerPod. With the PowerPod, power tended to dip low even with some additional effort being applied to the pedals. My guess would be is that this is due to how the PowerPod calculates power. Because it doesn’t measure power directly, it has to calculate it with it’s own best guess with the data that it receives (ie. wheel speed, cadence, angle, air pressure, etc.). But with the Stages power meter, I’m getting a direct response off the cranks and thus seeing the actual power I apply to the pedals. Big difference there in reporting and one that shows just how much of a difference direct power meters can have on power measurement accuracy.
Using the Stages Power Meter with an Indoor Trainer
One big benefit of using a direct force power meter is the ability to use it with an indoor trainer. An opposing force power meter like the PowerPod can’t be used with an indoor trainer because...well...there isn’t really any opposing forces to calculate against. While most indoor training apps like Zwift and TrainerRoad support the ability to use virtual power, which is calculated using data off speed and cadence sensors, it’s infinitely better with a direct force power meter.
However, with smart trainers, the software you use needs to control the amount of resistance being applied and, if the smart trainer has the ability to read power, usually ends up being the main source for power readings. Apps like Zwift require you to set your smart trainer as a power source so that it can control the resistance.
But with many apps, you can also use a power meter in conjunction with the smart trainer for more accurate power readings. TrainerRoad for instance has a feature called PowerMatch which allows it to use power readings from both your trainer and power meter to deliver more accurate resistance adjustments on your trainer.
I’m currently riding on Zwift so, to use Zwift with a power meter, you have to select your power meter first as the power source. After that, you can select your trainer as a controllable source. The only caveat with this setup is that there might be a lag between changes in resistance, especially in Erg mode. With all the indoors rides I’ve been doing lately, I didn’t notice any lag with power readings. Readings wavered a bit due to a lack of smoothing but that’s to be expected with a setup like this. So far, it’s been working great!
Final Thoughts
I recently went on a longer 30+ mile ride and, after using the Stages Gen 3 power meter for a while, have come to the conclusion that it is a much better power meter than the PowerPod. While the PowerPod is still a good budget power meter, the Stages is in a league of its own by comparison. Not only is it more consistent in its power readings but it’s also much easier to keep it well calibrated.
Just like I noticed in my initial test ride, power readings felt spot-on the whole ride. Not once did I feel like the power I was getting on my bike computer was off in any way. That level of confidence in the readings helped tremendously in maintaining a pace that kept power normalized within a desired range, which is precisely what you’re after with a power meter in the first place.
Along with that, calibration was a cinch. Just point the left-side crank arm down, select the power meter on my bike computer, and tell it to perform a calibration. Seconds later, it sets the offset and I’m done. So simple and quick.
I’m very pleased so far with the Stages. Granted, it’s a single-sided power meter and I’m sure over time that duel-sided power meters will go down in price. In fact, Stages is one of the few companies that allows you to start with a single-sided one and later upgrade to a duel-sided. Hopefully they’ll put out a version for the right-hand GRX cranks. In the meantime, I’ll keep pedaling on with the one I got. Happy pedaling! :D