Bike bags! When I go on a ride, I kind of have to have them. A saddle bag, top tube bag, and storage bottle are the main ones that are always on bike for every ride. I might need to add a feedbag, a backpack, or a waist pack for certain rides. If I’m going on a rather long ride I might add a rack with a rack bag attached. Whatever the case, bike bags are a necessity for every ride.
As was the case of my review of bike lights, this review will cover only those items that I have used personally. I’ve been through a few bags in just the last two years. My hope is that by seeing the journey I’ve taken with these bags it’ll give you some insights and ideas on how to approach your own bags. So, let’s start with one of the most important bags on your bike: the saddle bag!
Saddle Bags
Back when I was riding a Schwinn Network 7 hybrid bike I got a crappy little saddle bag to store a cable lock, my house key, and whatever else I thought to put in it at the time. It really wasn’t much of a saddle bag really...at least in terms of having anything that would actually save me from a disaster. If I got a flat I had no way to fix it. Only thing I could do would be to just push the bike home and fix it later. Fortunately, that never happened...but still. It was an accident waiting to happen without a lifeboat to save me. But when you don’t know anything...well, you just don’t know any better. Err...ok. Moving on.
When I upgraded to a more fitness oriented hybrid bike, a Marin Larkspur CS1, I upgraded to a better saddle bag and started adding things like a spare tube, mini tool, and a few other things that were actually useful. I suppose the experience of buying a bike in a real bike shop greatly helped. Hanging out in a bike shop can be really educational, especially if you ask the right questions. I was going on longer rides with the Larkspur so, yeah, getting my first flat was so freaking educational. The guy in the bike shop told me as much. The thought never really occurred to me till then that you really should consider adding disaster recovery stuff in a saddle bag.
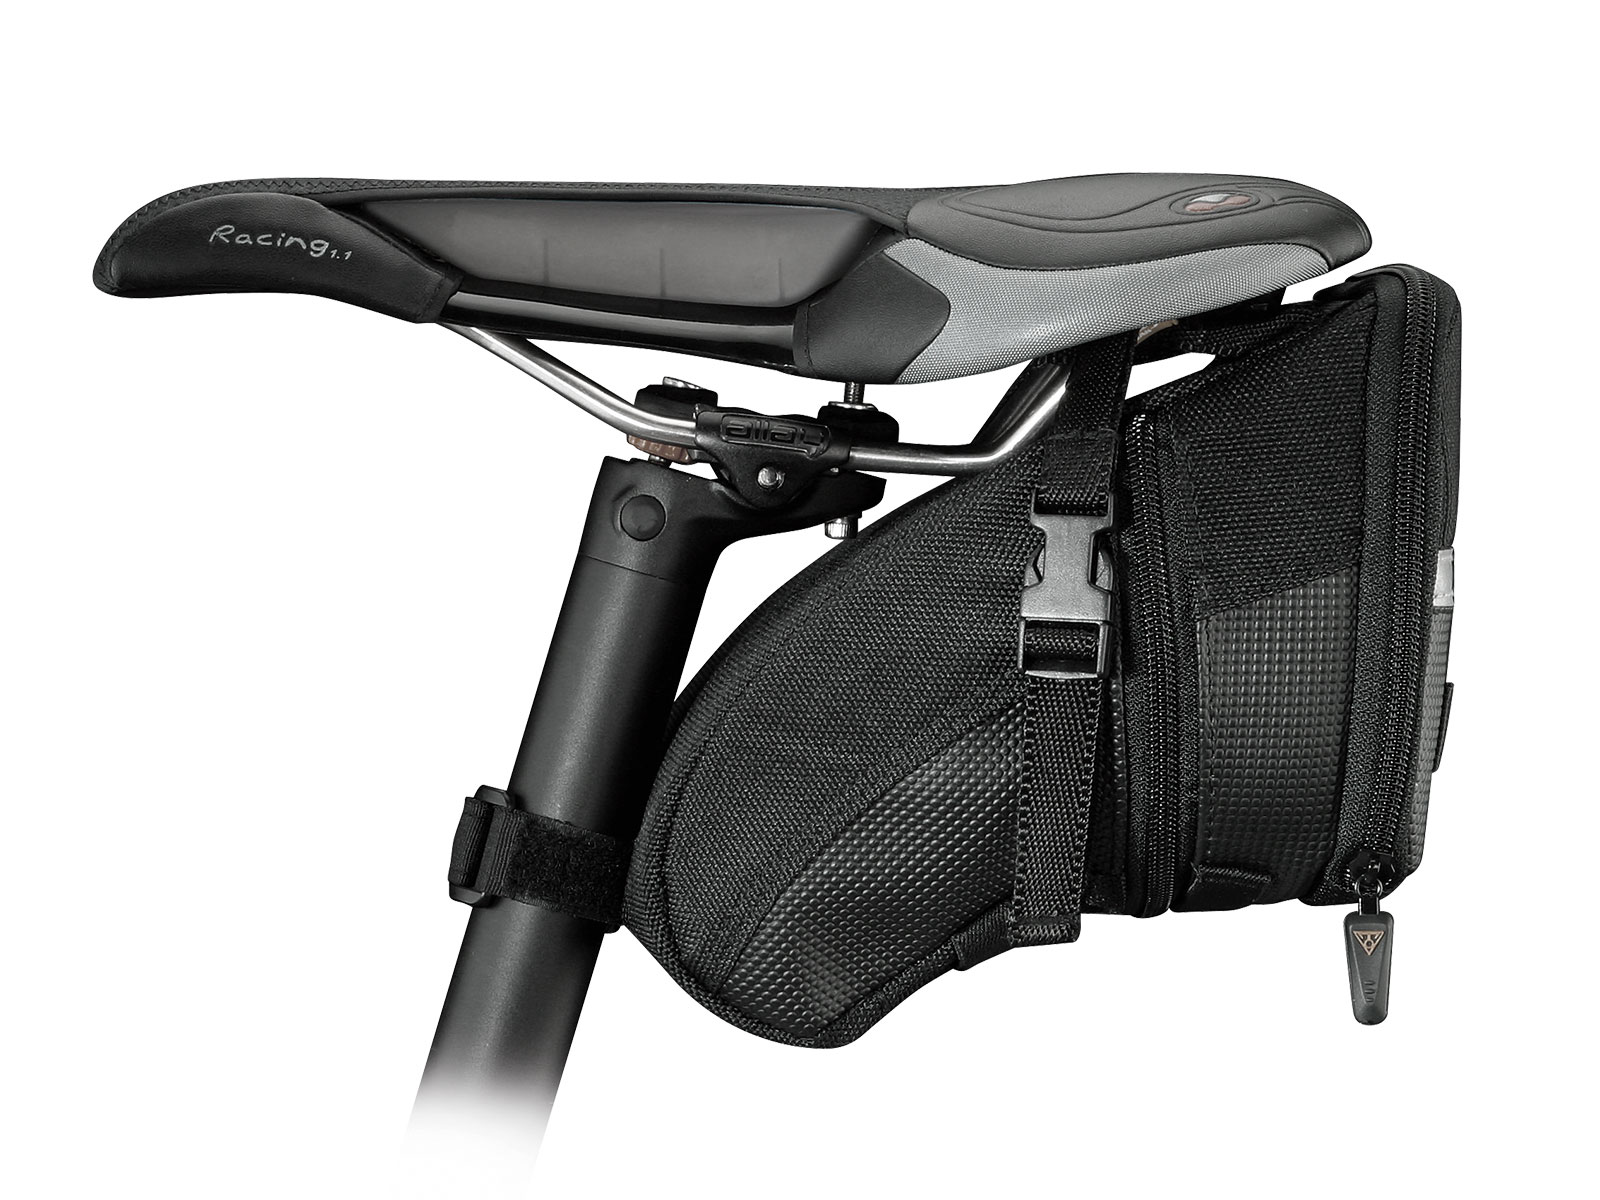
Once I upgraded to a road bike, things really started to change with my saddle bag. I researched the hell out of options to put in a saddle bag. Seems I was starting to carry a lot more than the usual rider. As such, I needed a bag that was...well...big. Ended up getting a large Topeak Aero Wedge Pack which was freaking huge! Carried a bunch of stuff in it: spare tube, mini pump, tube patch kit, tire levers, tire gauge, first aid kit, and a multitool. Probably some other stuff but that’s the gist of it.

Once I added an optional rack and rack bag, things needed to change with the saddle bag. Because of the rack, I couldn’t leave the Topeak saddle bag on with the rack bag attached. The rack bag just wouldn’t fit without the Topeak saddle bag being in the way. To fix this, I purchased a Road Runner Tool/Saddle Roll, keeping only repair related parts and tools in it and migrated other stuff into a storage bottle (which I go into great detail on my post about what’s in my saddle bag and storage bottle).
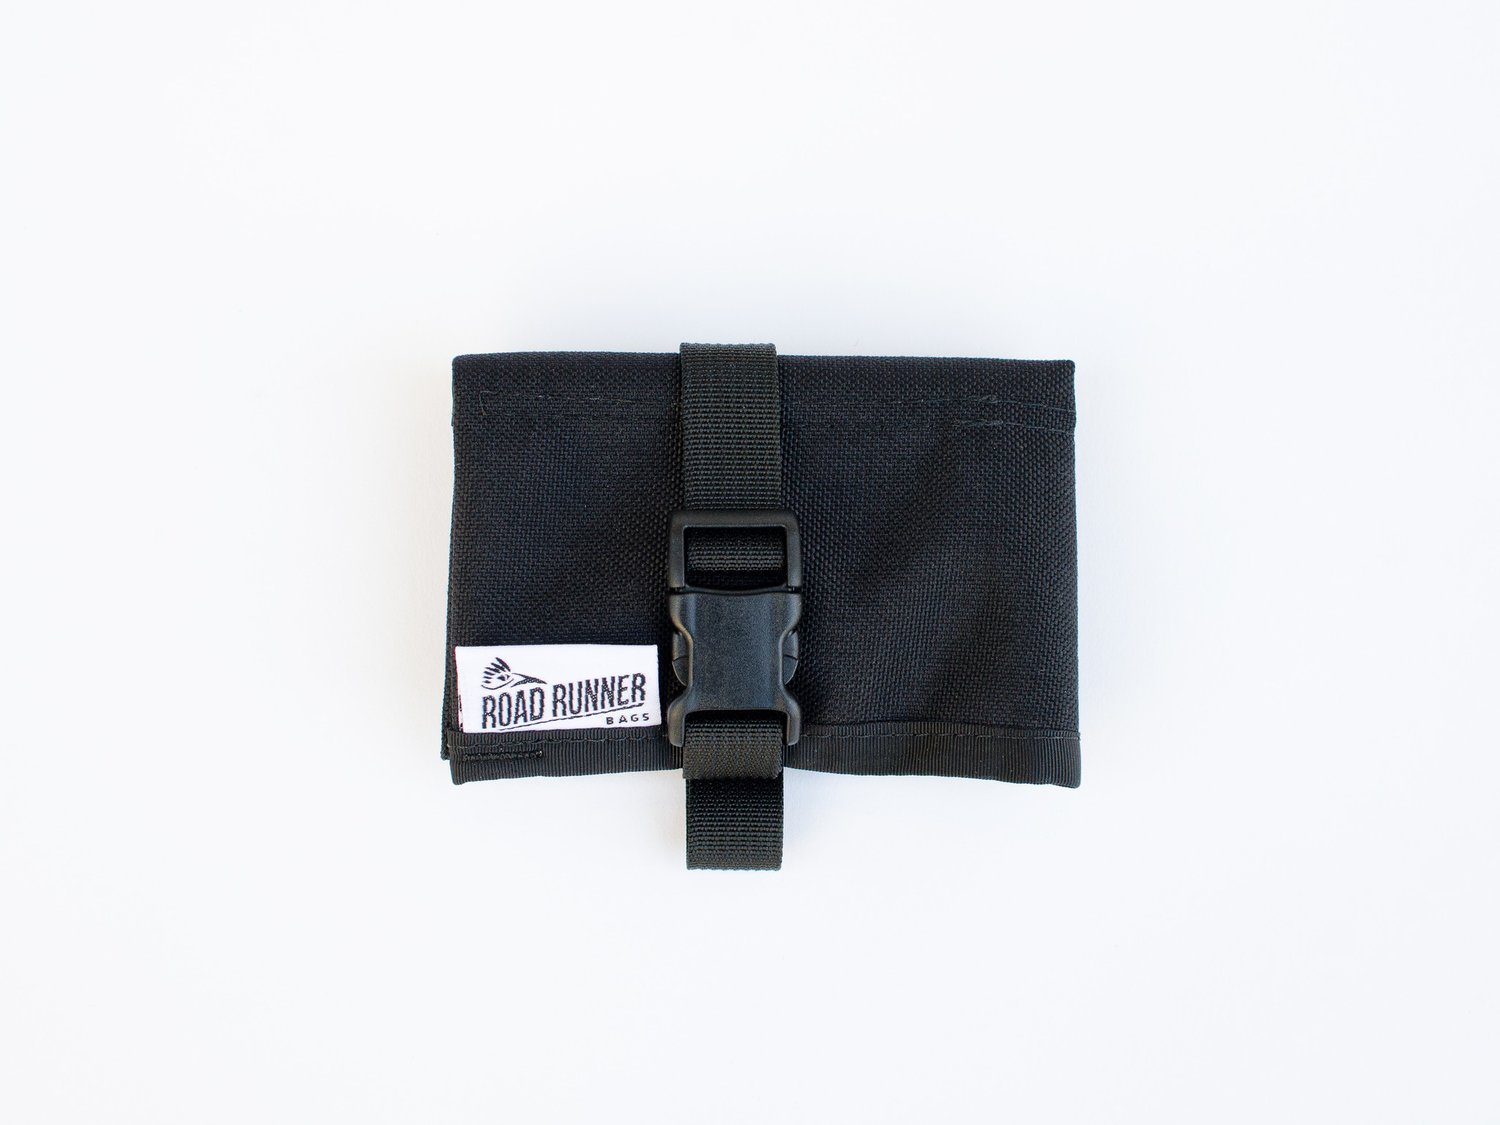
Road Runner makes a lot of really cool bags. Their tool/saddle roll is the one that attracted me the most. Made of heavy Cordura material, it’s definitely built to last. The three-pocket tri-fold style can hold a LOT of stuff in a small amount of space. It’s also water resistant and easy to clean off if it gets dirty and/or muddy from a rough gravel ride.
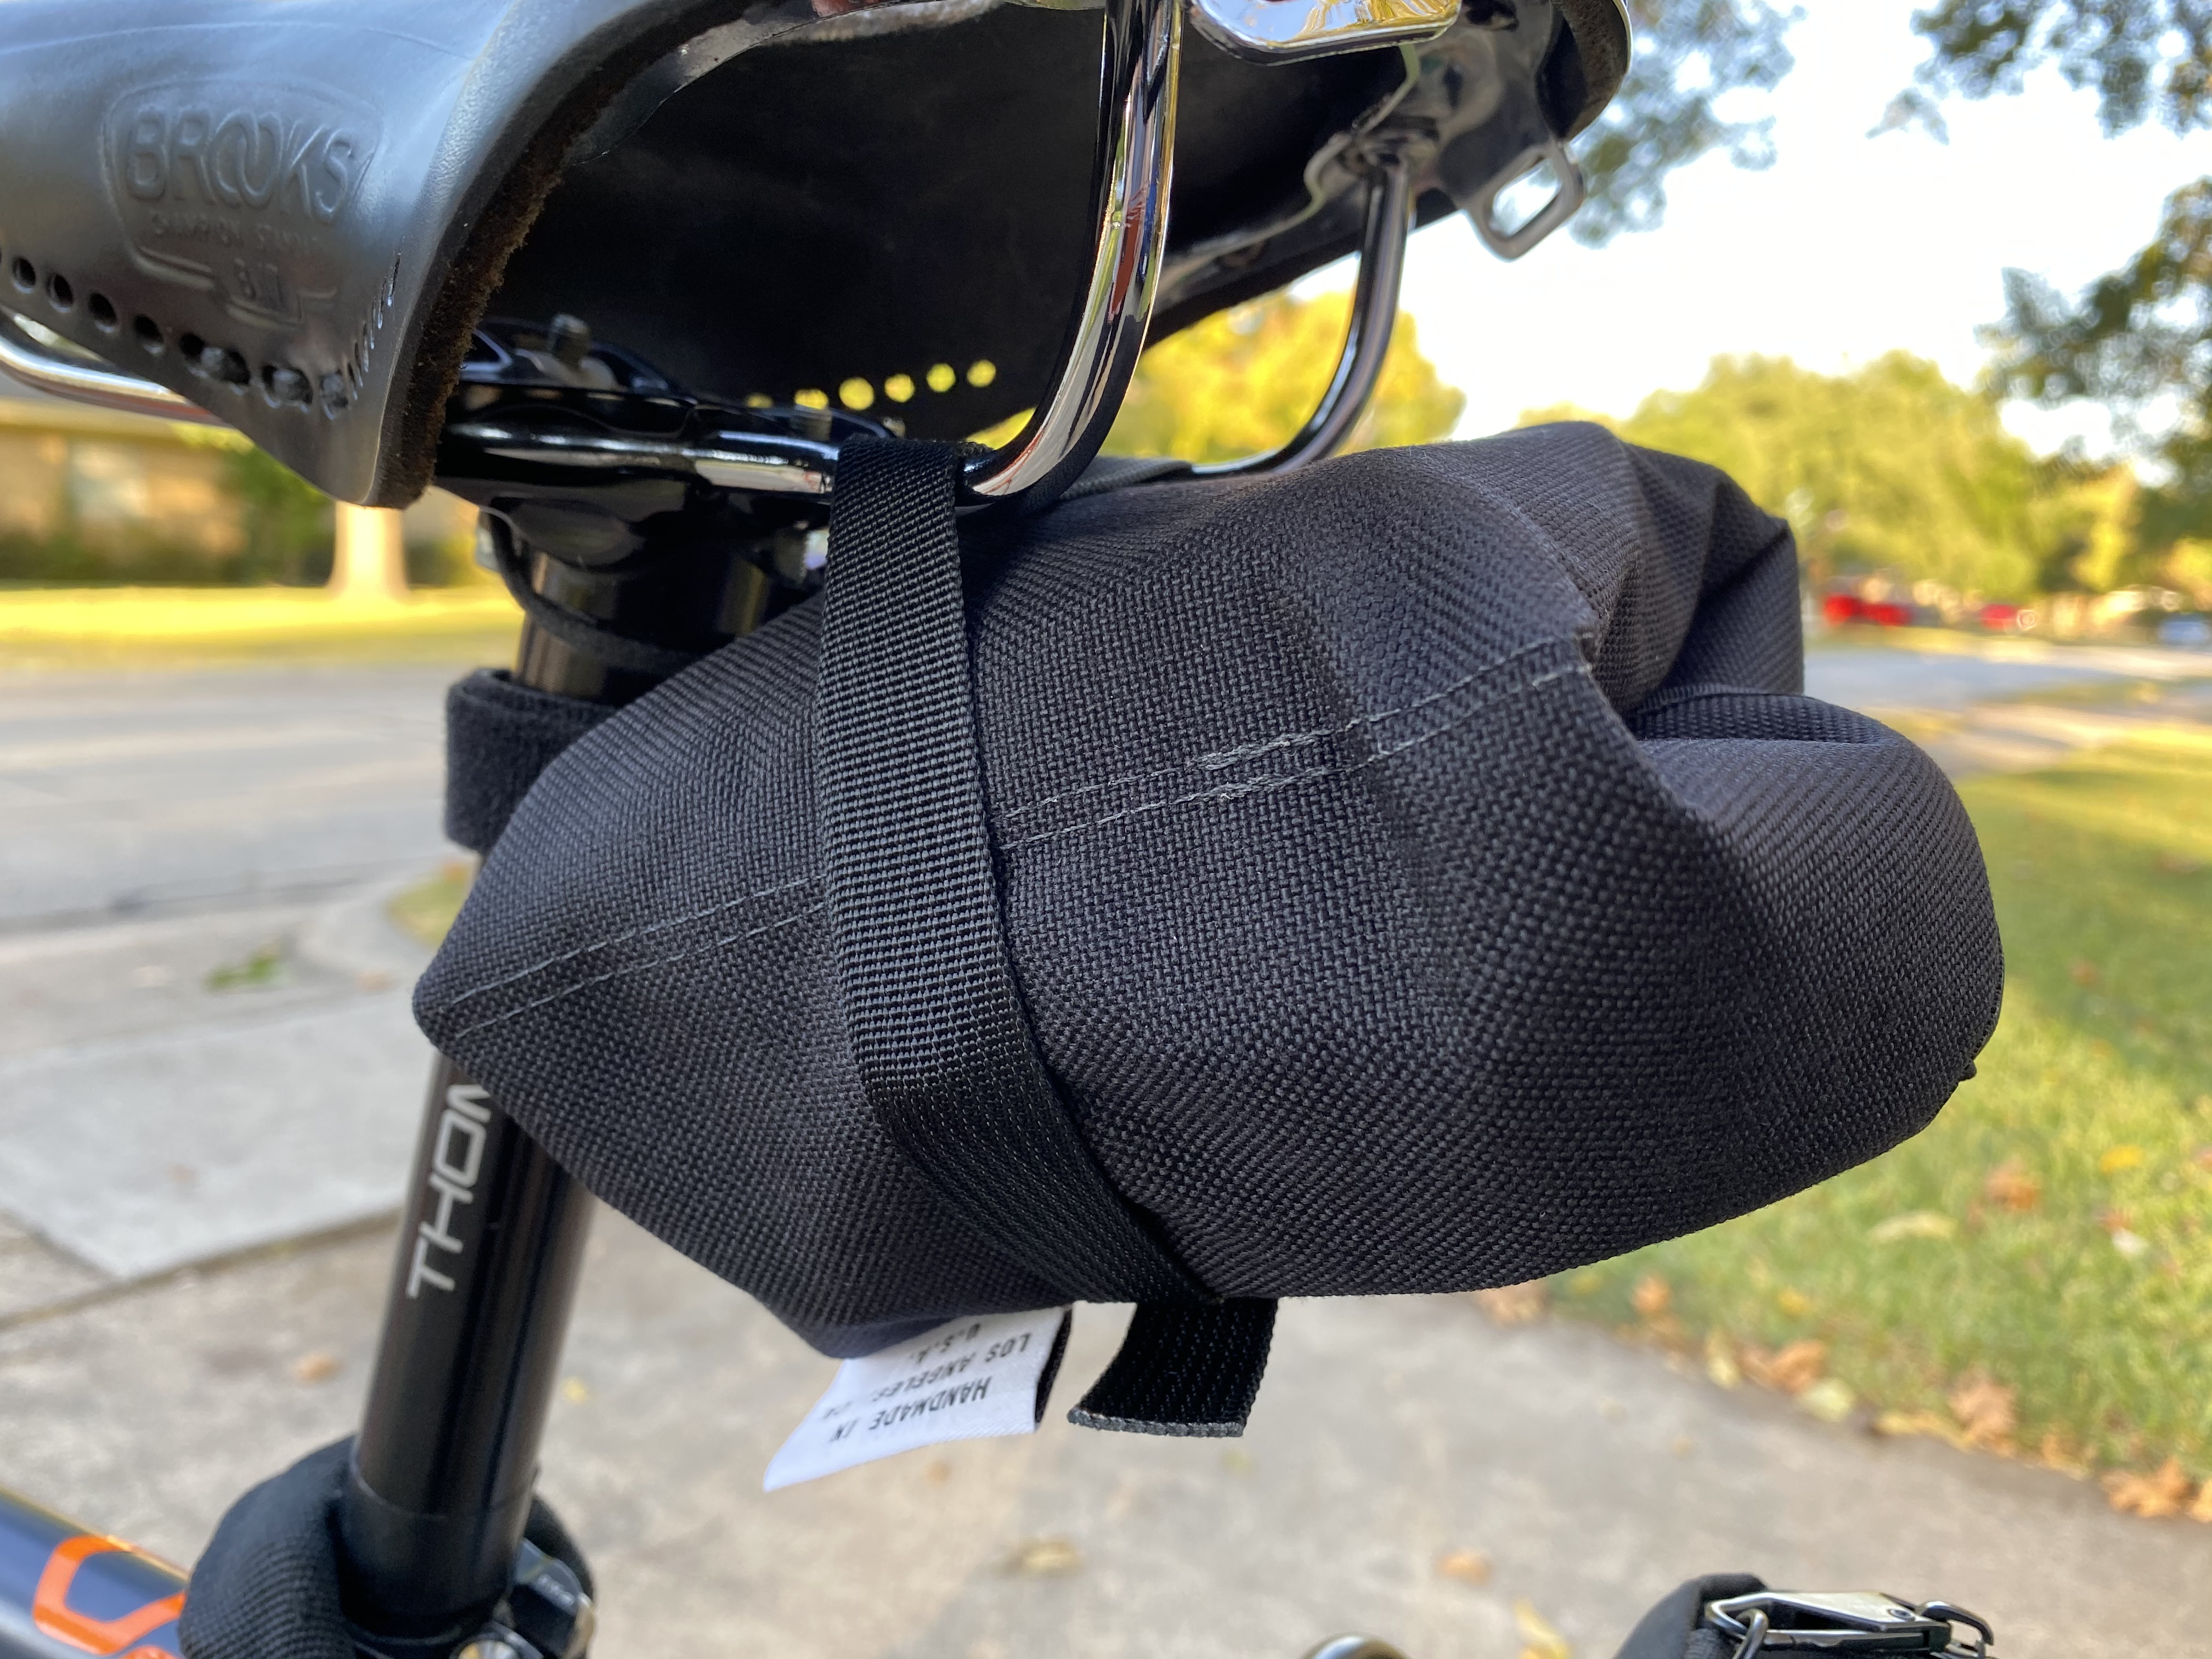
The only thing I don’t like about it is that the buckle can sometime come undone mid ride if you’re not careful. I’ve learned to keep it snug but not too snug when buckling it to my saddle. As long as the buckle is fully engaged you shouldn’t have any problems. It’s only when it’s super tight when there’s the possibility of the buckle failing. To help with this, I added a Velcro strap and wrap it around the bag when folding it. This helps keep the wrap together and snug so that attaching it to the saddle is a much easier affair. Plus, if the buckle does fail, the pack won’t fall open with stuff flying out of it. Other than that, it’s a great bag.
Top Tube Bags

I’ve used a few different top tube bags since getting my road bike. One of the first ones that I purchased was a Topeak Fuel Tank with Charging Cable Hole which I used for nearly a year till the zipper failed. To me, the whole point of a top tube bag is to have things at your disposal while on your bike. The Topeak bag was very accessible with the zipper being relatively easy to open and close even while riding. It was big enough to store my Plus-sized iPhone, wallet, a few snacks, and my keys.
Definitely got spoiled with all the room available in that Topeak top tube bag. So when it finally when kaput I had to find something that was just as good if not better. I could have just gotten another Topeak but wanted to see what else was out there.
While at the local bike shop, I checked out the Blackburn Outpost Top Tube Bag. After playing with it for a bit I figured what the hell. Give it a try and see how it goes. Like the Topeak, it’s a pretty good size bag. It’s also much sturdier than the Topeak. The things I liked about it was the pouch on top and extra pockets on the sides. I liked the ability to store things like my bike lock key, GoPro screw and wrench, house key, and other little items like that without taking up any room in the main compartment. Like the Topeak it replaced, it’s super roomy and has a separator that you can use to cordon off an area of the bag. I found I could store a little more in this bag than the Topeak.

There were a few things I didn’t like about it though. First, it was clear to me that this bag was marketed more towards mountain bikers. The smallest straps that it came with were just a tad too big and didn’t stay tight around the top tube very well. Plus, the two holes in the bottom for bolt-on configurations tended to rub on my frame. I had to add a few pieces of black tape to keep that from happening. Lastly, the zipper was rather hard to unzip, especially during a ride. It’s a great, sturdy bag but in the end it just didn’t work as well as I had hoped.
The one thing that always bugged me about every top tube bag I’ve owned is the zipper. Virtually all of them just seem too hard to unzip and zip. So when I saw the Revelate Designs Mag-Tank I was immediately sold. In terms of capacity, it’s about the same size as the Topeak but not quite as big as the Blackburn. What it lacks in size it makes up for in functionality. The magnetic buckle actually works surprisingly well, making it super easy to open and close while riding. While it doesn’t have any extra pockets on the outside, it does have Velcro areas inside that allow you to store things inside the liner of the bag. It’s just big enough to store my phone, wallet, a few snacks, and such.

I almost opted for a Mag-Tank 2000 but glad I didn’t. I heard that the 2000 is a bit too wide and can hit your knees when riding out of the saddle. That doesn’t happen with the standard Mag-Tank.

One thing I really like about the Mag-Tank is that it stays in place really well. The strap that goes around the head tube has a padded piece that helps keep the bag firmly planted. The top tube strap is partially rubberized and does a good job keeping it from twisting while riding. Strangely, it doesn’t even have to be all that tight to do the job. Very impressed by just how well designed this bag is.
Storage Bottles
When I started contemplating a roll up saddle bag, I knew I would need to migrate some stuff to a different place on the bike. Since I wasn’t using the cage mount under my down tube, I figured that would be a primo place to stuff more of the lesser used things like my first aid kit and such. One of the first things I thought of was to use a bottle cage and bottle-like container that would fit in it.
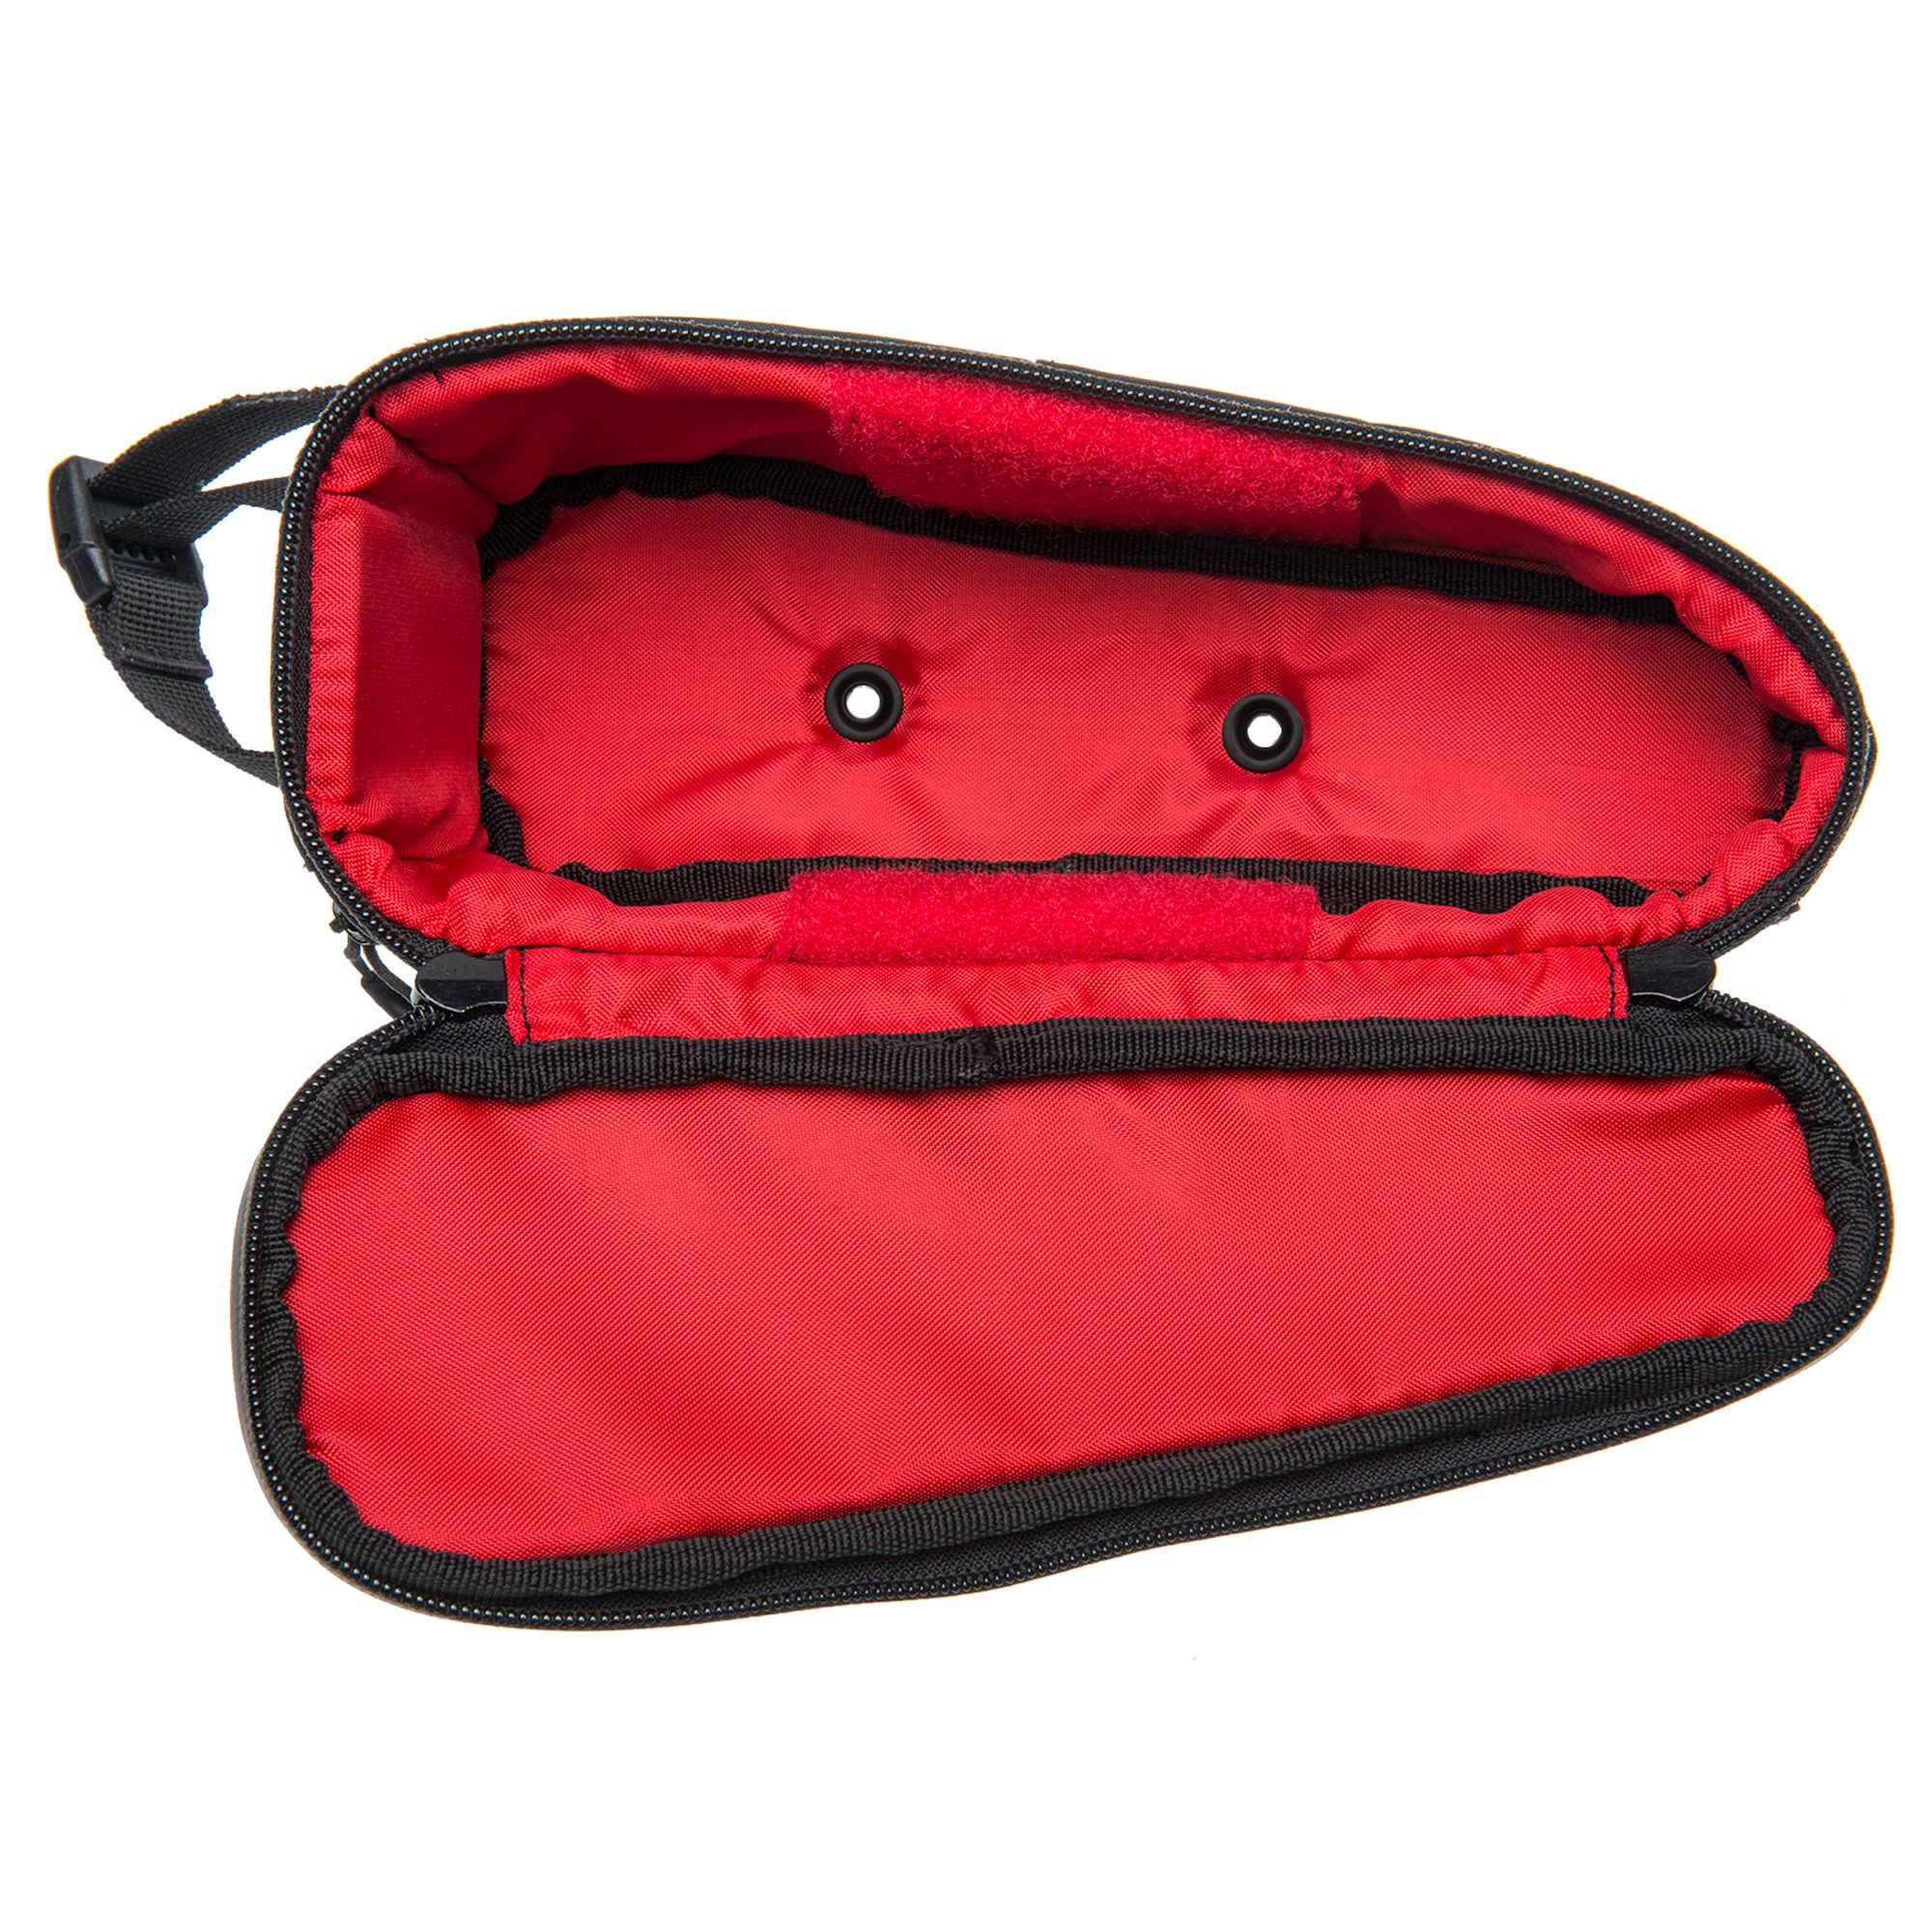
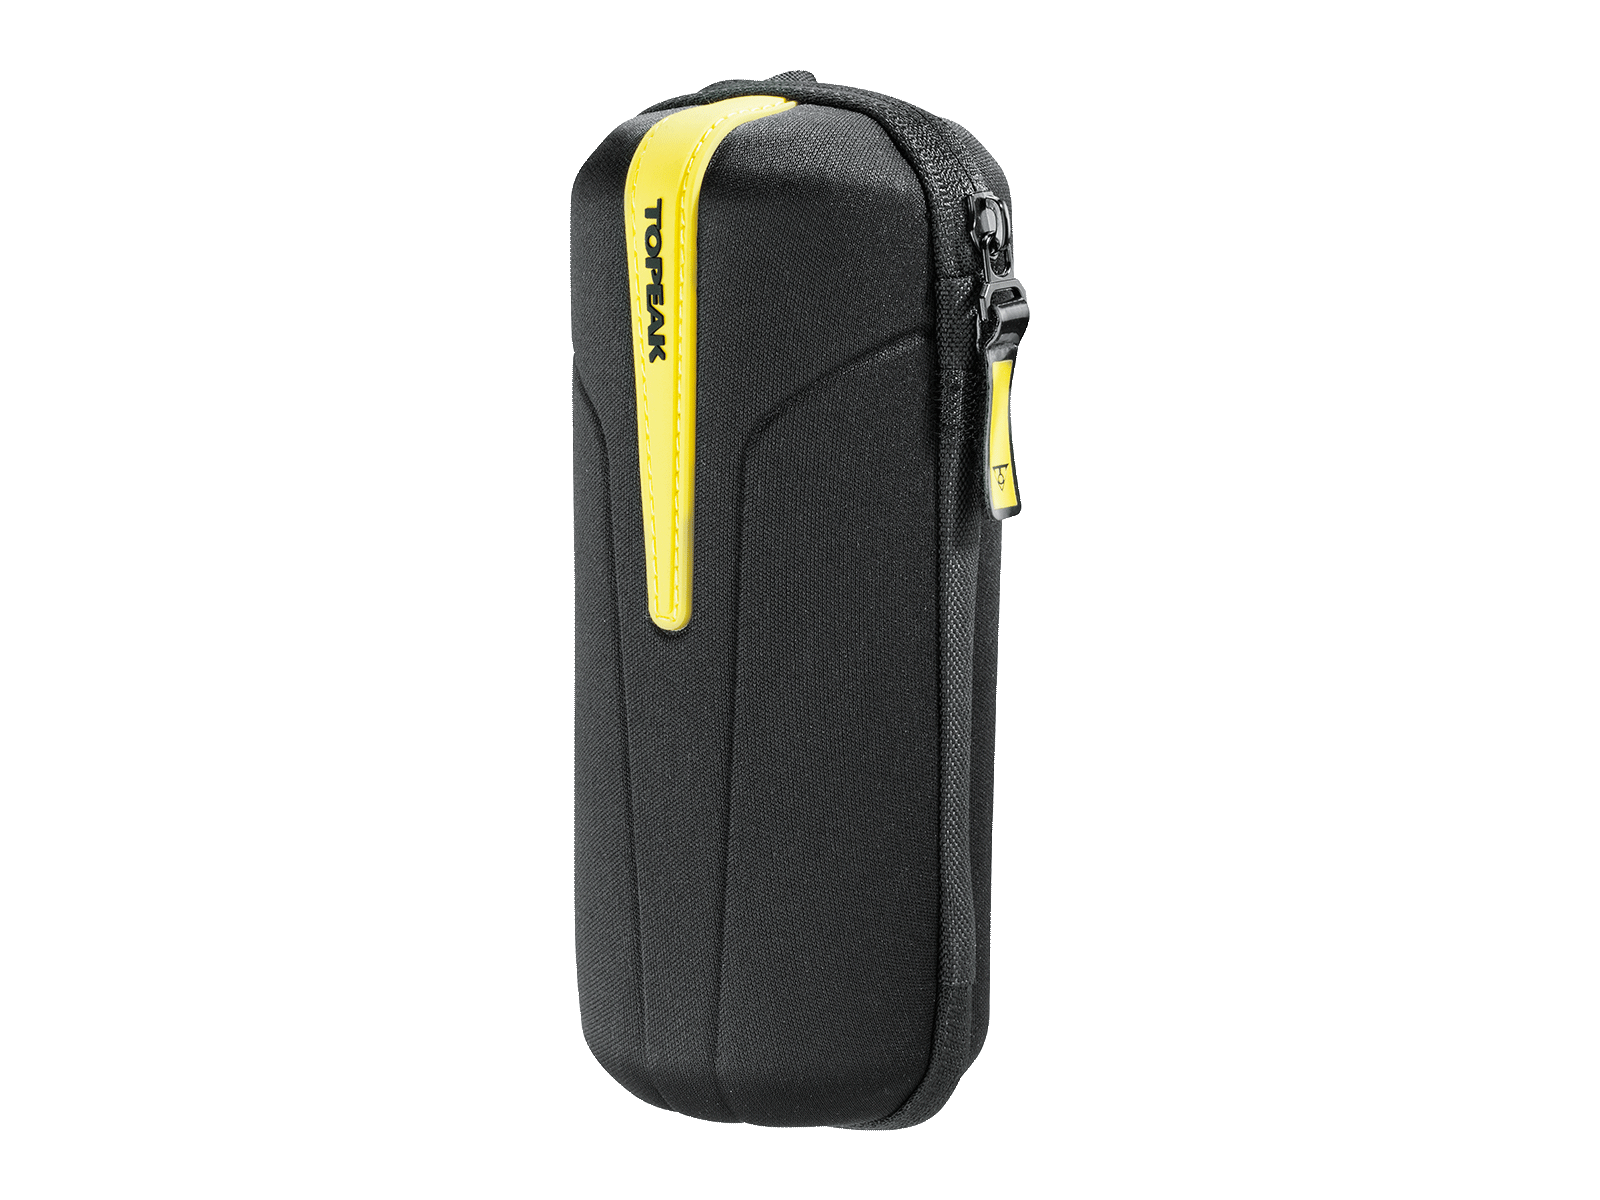
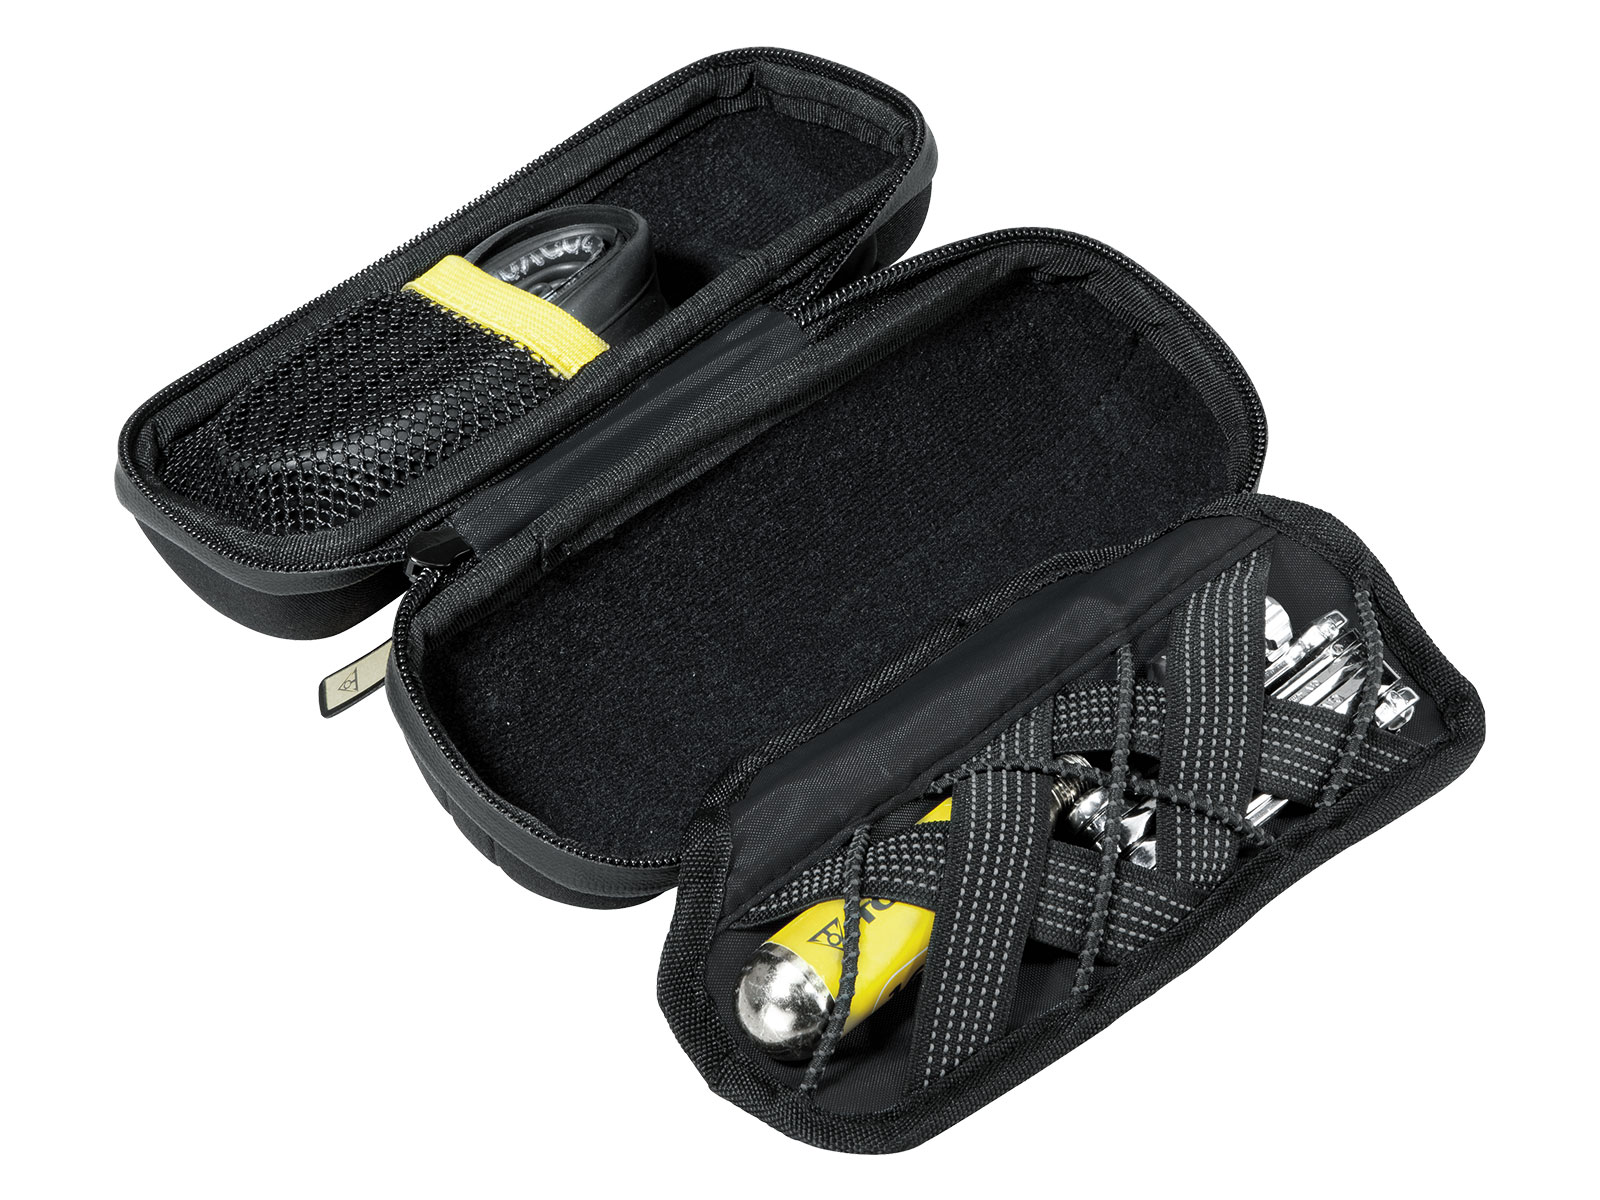
One of the first bottle cage storage bags I tried was the Topeak CagePak Handlebar Bag. It’s a simple cylindrical bag that zips open down the middle and opens up like a clamshell. It’s not a hard case and not really a bottle but does fit bottle cage well. Inside are two compartments on each side with small pockets. In the middle is a removable organizer with various elastic bands for holding smaller items. The quality of this bag was really good. No doubt some of you might really like it.
However, for me, it just didn’t work well as something that would live under the down tube of my bike. While Topeak claims its quite water resistant, I just felt there was too much of a chance of this thing getting seriously screwed up...especially after riding in mud and water over time. A better solution would be something that better resembles an actual water bottle with a water tight hard shell around it. Basically a storage bottle.

The first storage bottle I tried out was the ELITE Byasi Bicycle Tool Storage Bottle. It looked to be a pretty decent storage bottle. Definitely was able to fit all the things I wanted in it. However, after trying it out, it quickly became clear that it wasn’t going to work. First, at 550ml, it’s rather big and a bit too tall. With a 38mm tire, it felt just too close for comfort to the front tire. Second, the part of the bottle with the indention in it made it a bit too hard to get things in and out of it. It’s a rather deep bottle so having to dig things out of it was a pain in the ass. Lastly, while the cap felt pretty secure, it sure seemed like it could just fly right off with the right amount of stress. Some reviewers mentioned this and said they put tape around the cap to further secure it. With the three issues in mind, I went ahead and returned it and sought out a better solution.
The last and final storage bottle I purchased was the Specialized K.E.G., a rather neat little solution that’s the perfect size for the bottle cage under my down tube. While not as tall as the Elite, it’s still pretty roomy and fits all of the items I wanted to store in it. Plus, the top cap fits quite firmly onto the bottle.
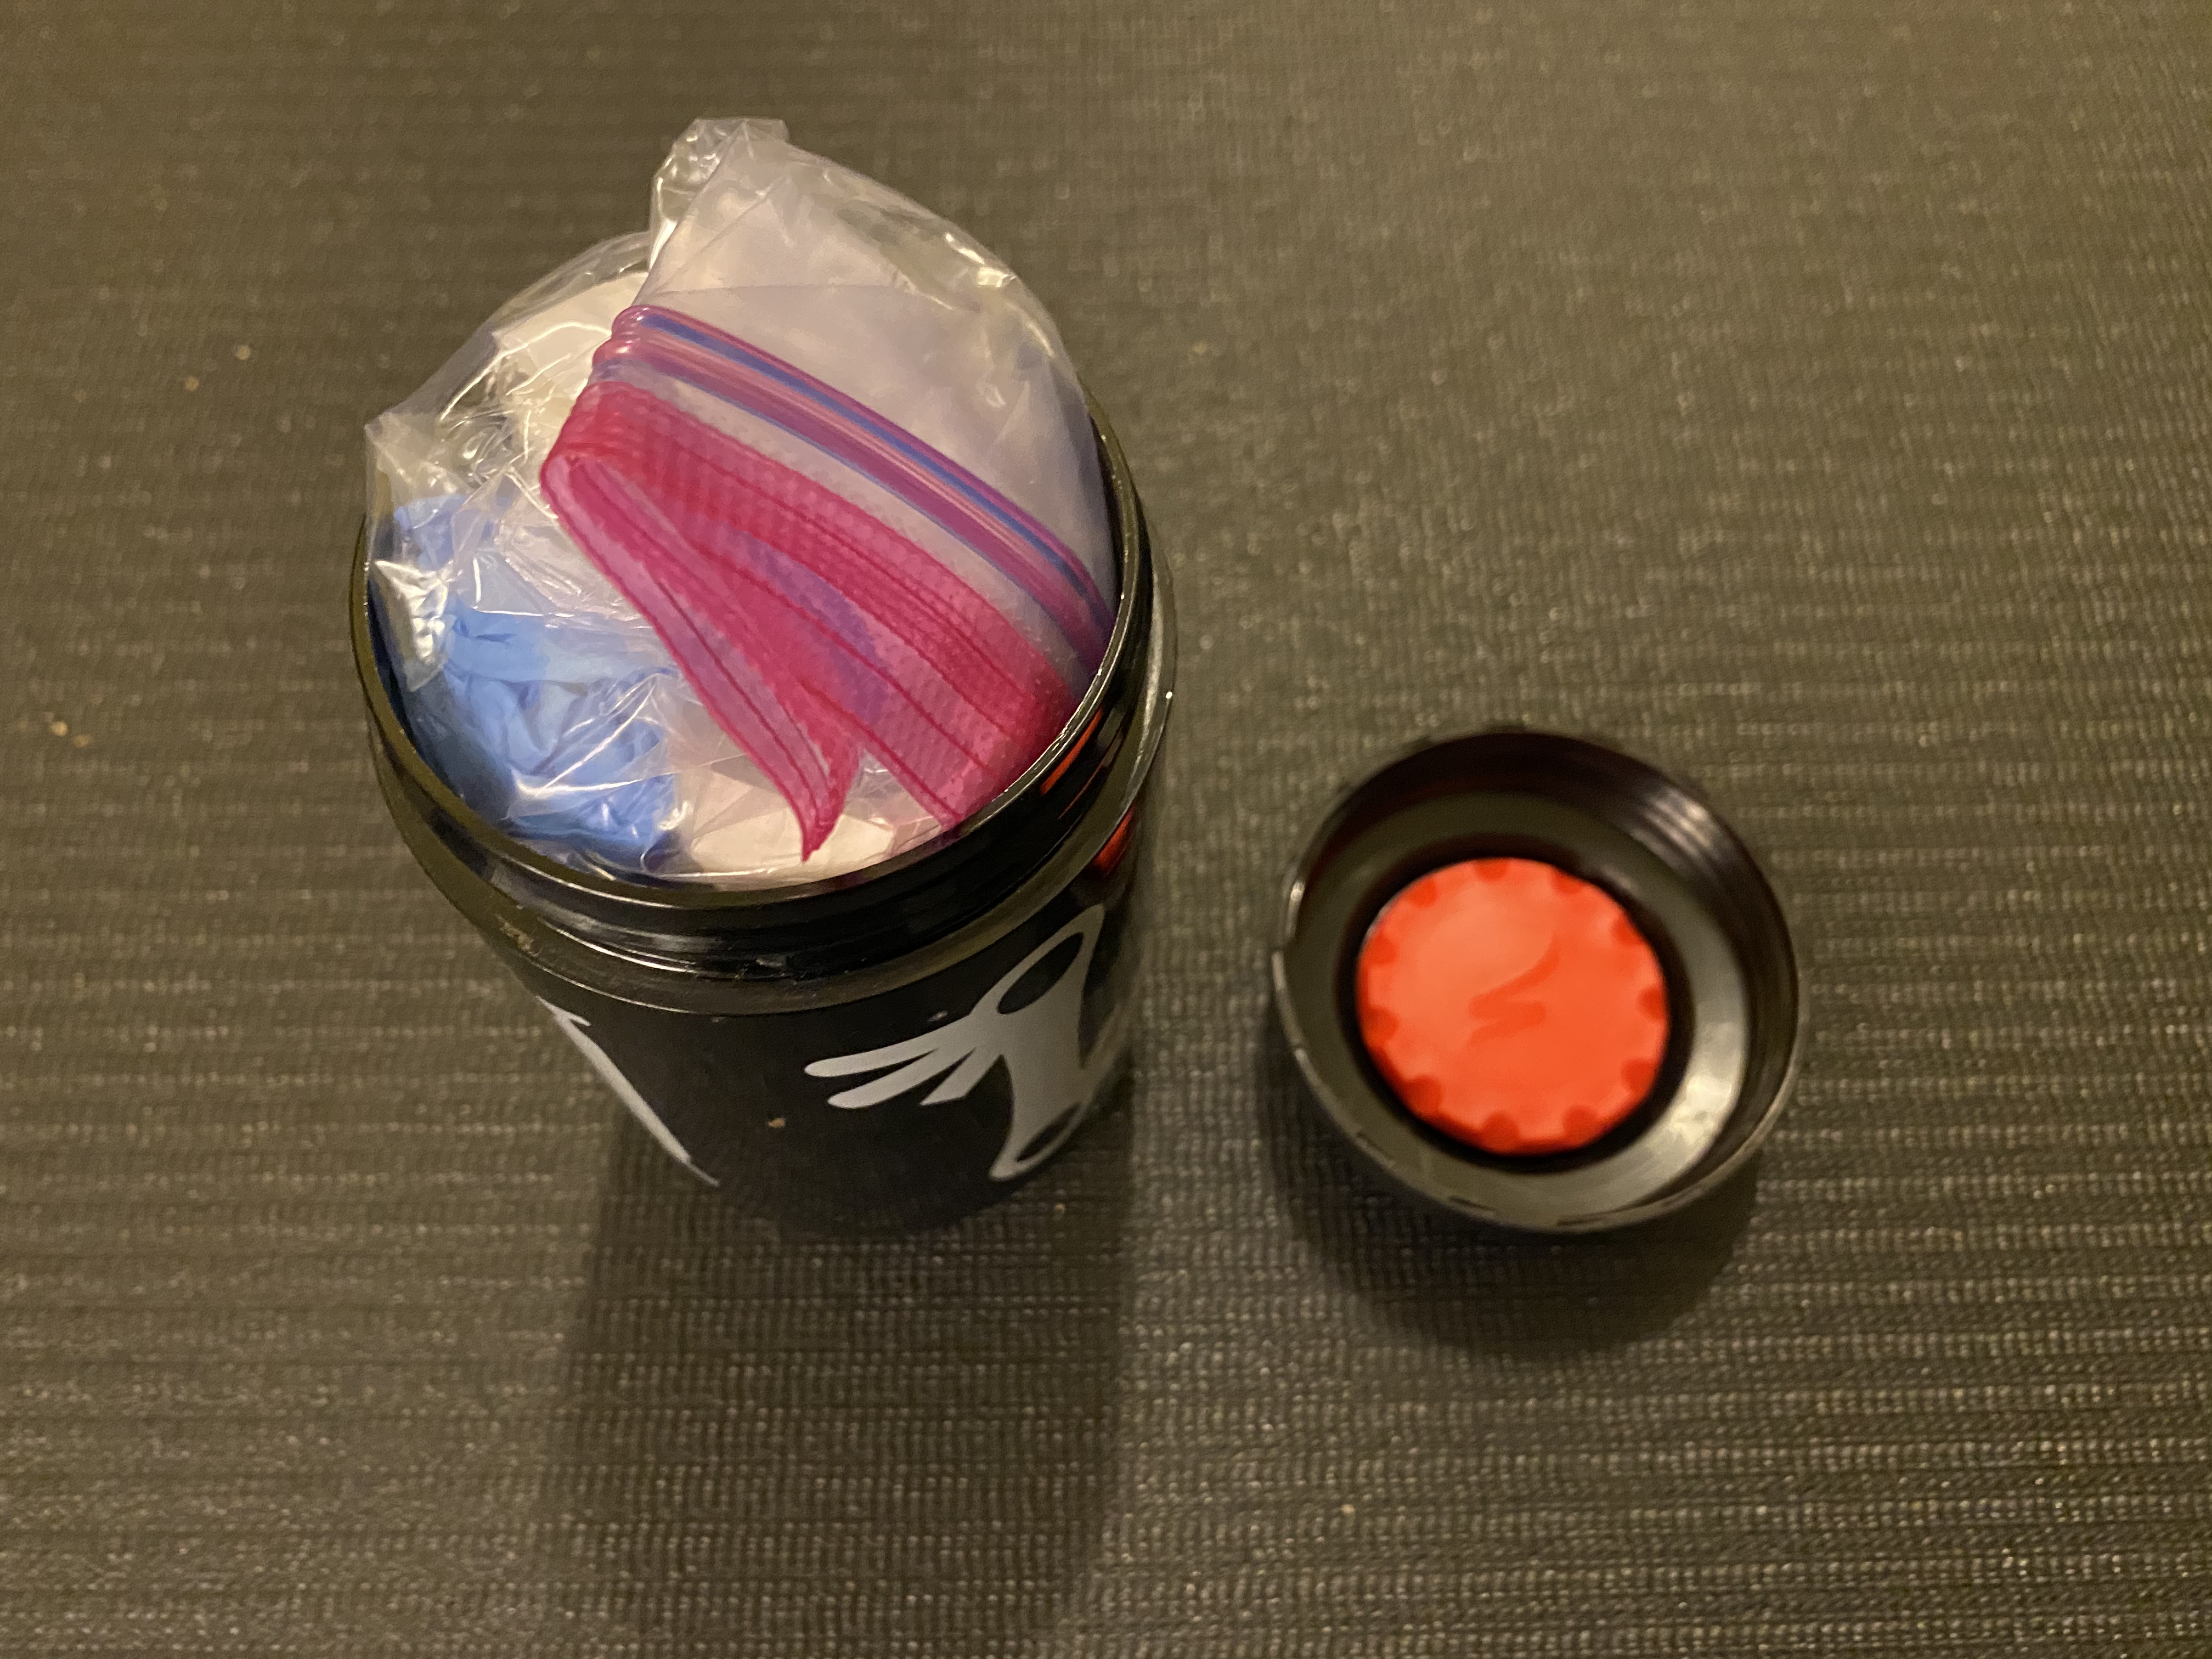
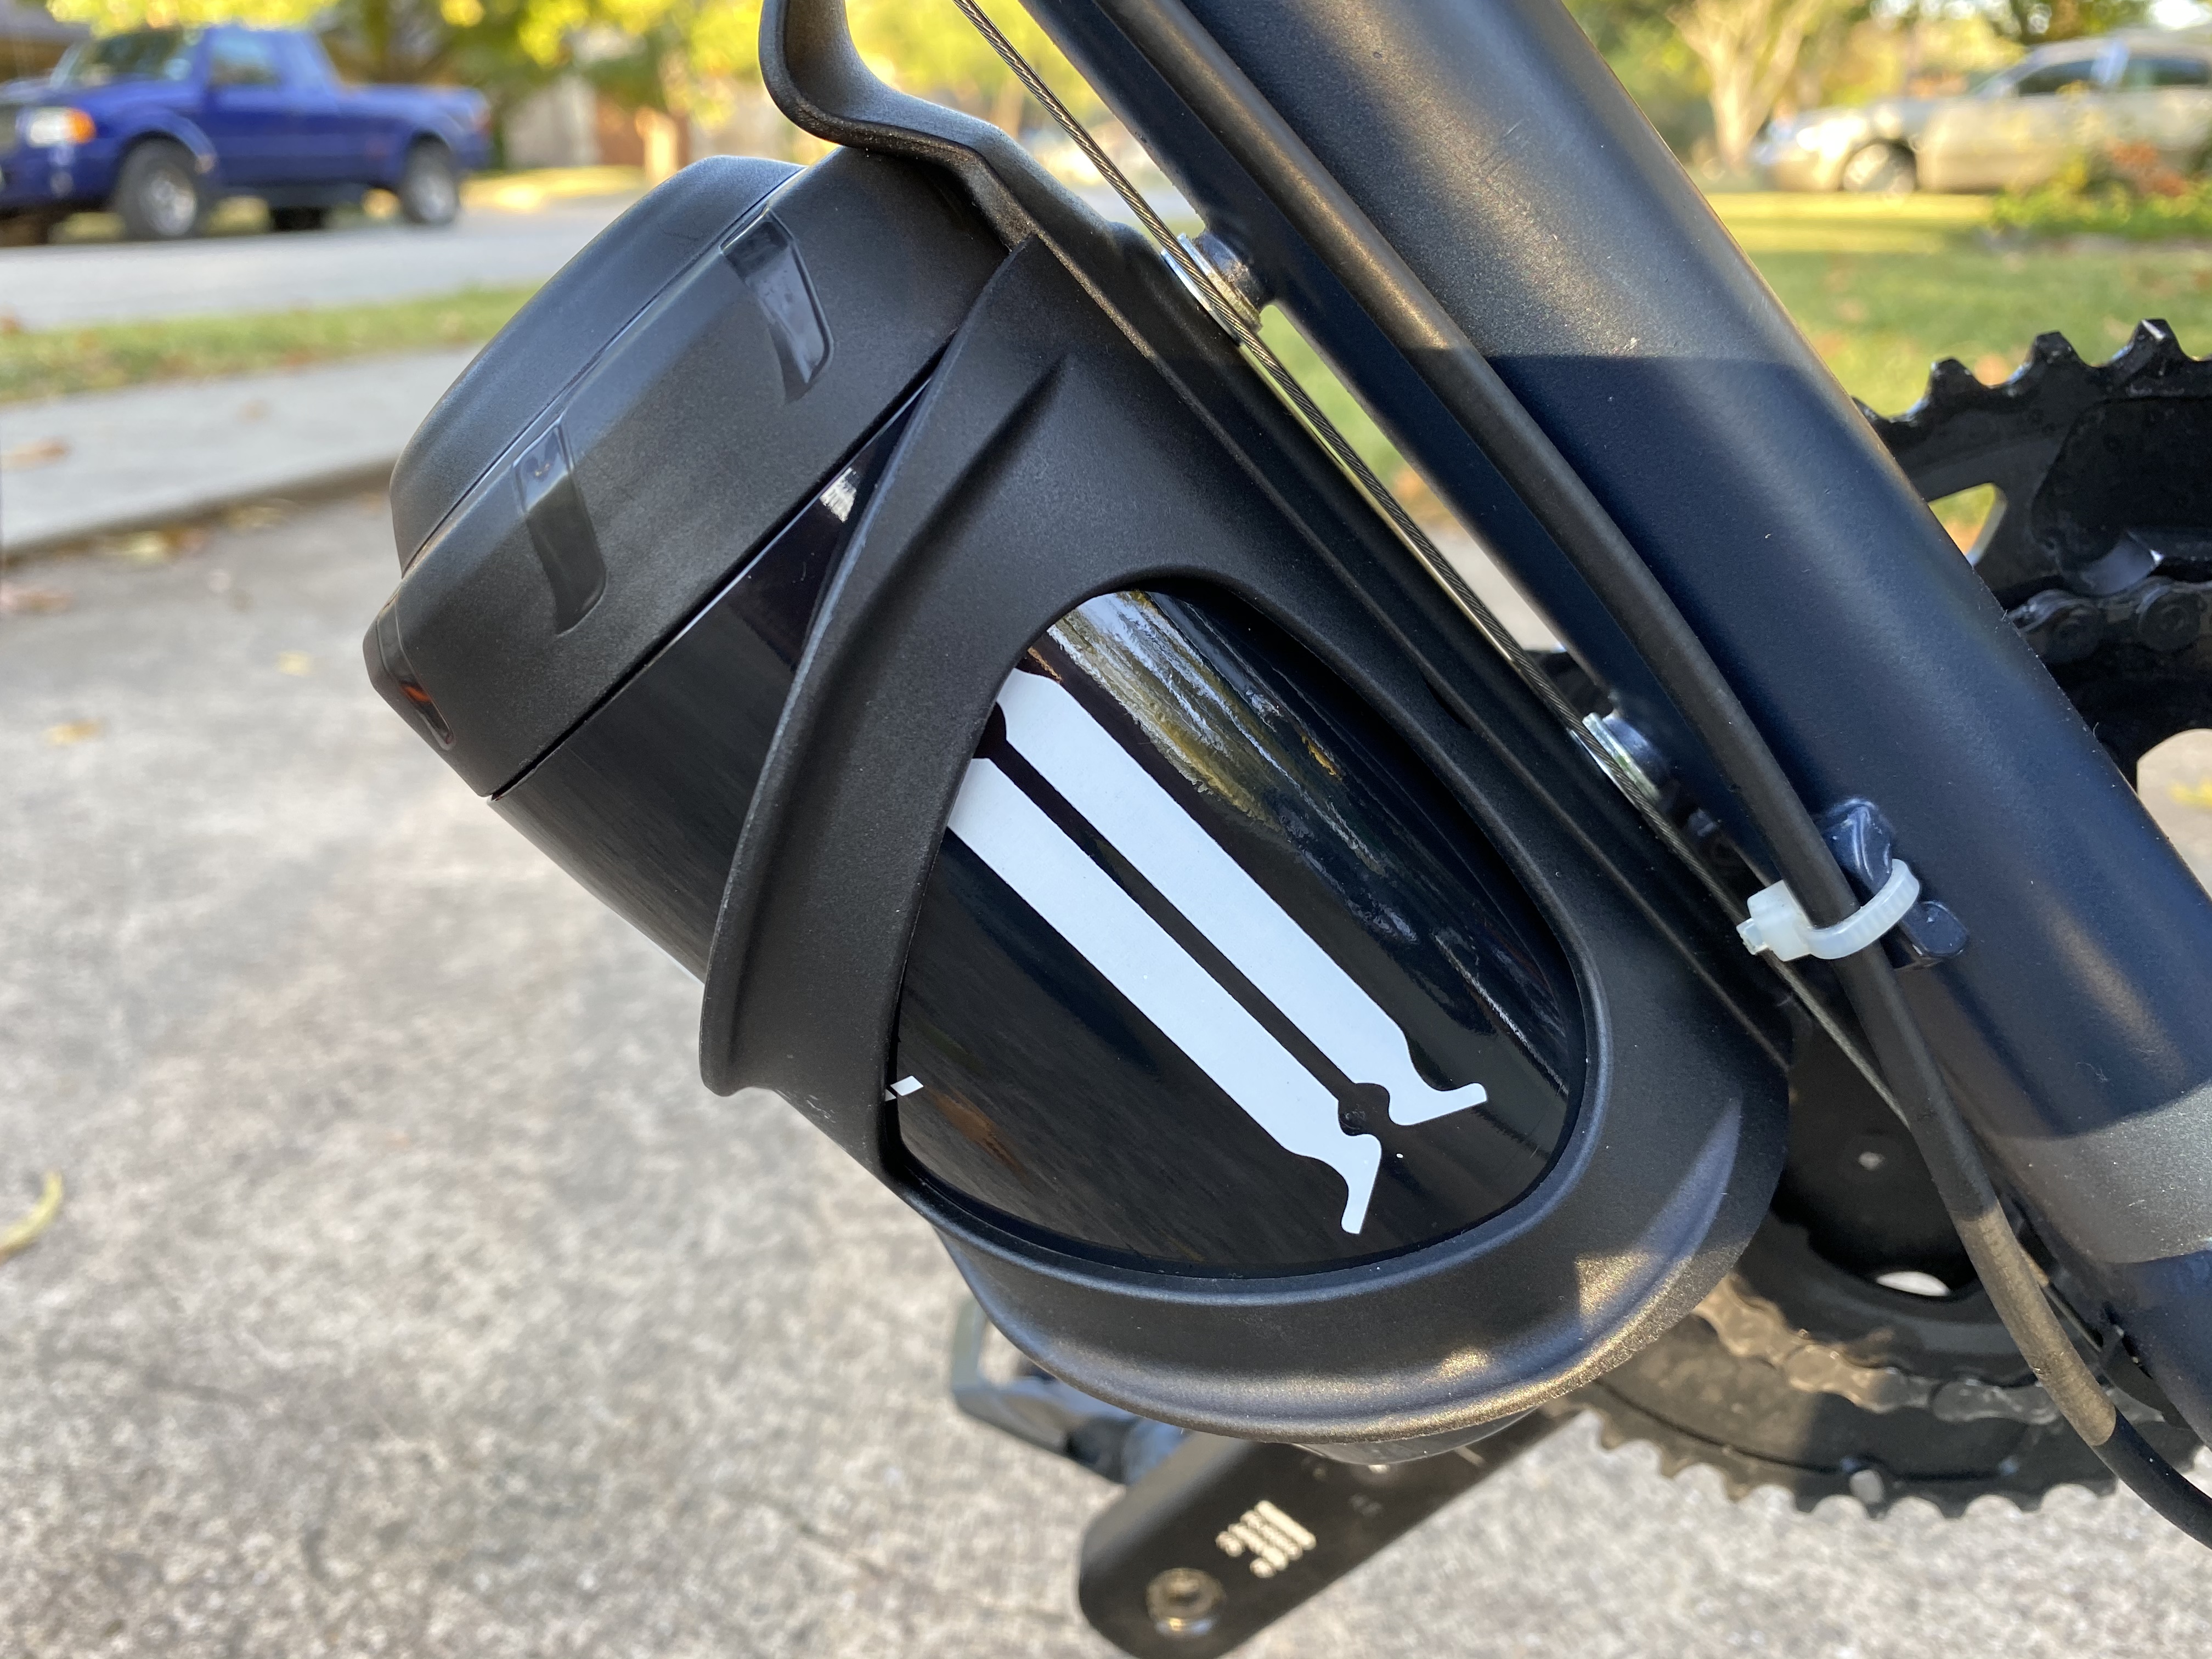
One interesting feature is the hidden little area under the cap. A stash cap screws off the bottom of the cap to reveal extra storage for small things like quick links, tire stems, and the like. With everything packed up in the KEG, it snaps into my bottle cage nice and secure. Plus, if it gets super dirty all it takes is a little wash to clean it up.
Rack Bag
After riding a few unsupported gravel ride events, I started thinking about how to expand the storage on my bike for longer rides. Aside from any events, I plan on doing some long rides on my own. While there are many ways to add extra storage to a bike, including frame bags, the more advantageous way to me was to simply add a rack to the back of the bike. The benefit of a rack is that it’s infinitely expandable. You can add as little or more storage as needed.
There have been rides in the past where having a pannier or two would have been handy. I had one ride that was chilly in the morning but warmed up in afternoon. I had to take off a sweater but had no way to store it. Ended up wrapping it around my saddle. It kept getting loose and hitting the back tire while riding. Ended up ruining it to the point where I had to just throw it away.
Plus, there’s the issue of having additional contingency items on top of the things that I’m already carrying: extra water, towels, spare clothes, extra tube, and more. On longer rides, you might not always have the luxury of being able to replenish anything that you’re eating or drinking so having it on you when needed is required. That’s where a good sized rack bag comes in real handy.
After doing some research, I decided to get a Topeak Super Tourist DX, a rather sturdy, heavy-duty rack that includes a QuickTrack feature for easy loading of one of Topeak’s MTX TrunkBags. Along with it, I picked up a Topeak MTX TrunkBag EXP. The combination of the two give me a lot of options for storage of things I might need for longer rides. Plus, it’s easy enough to remove the rack when not needed.
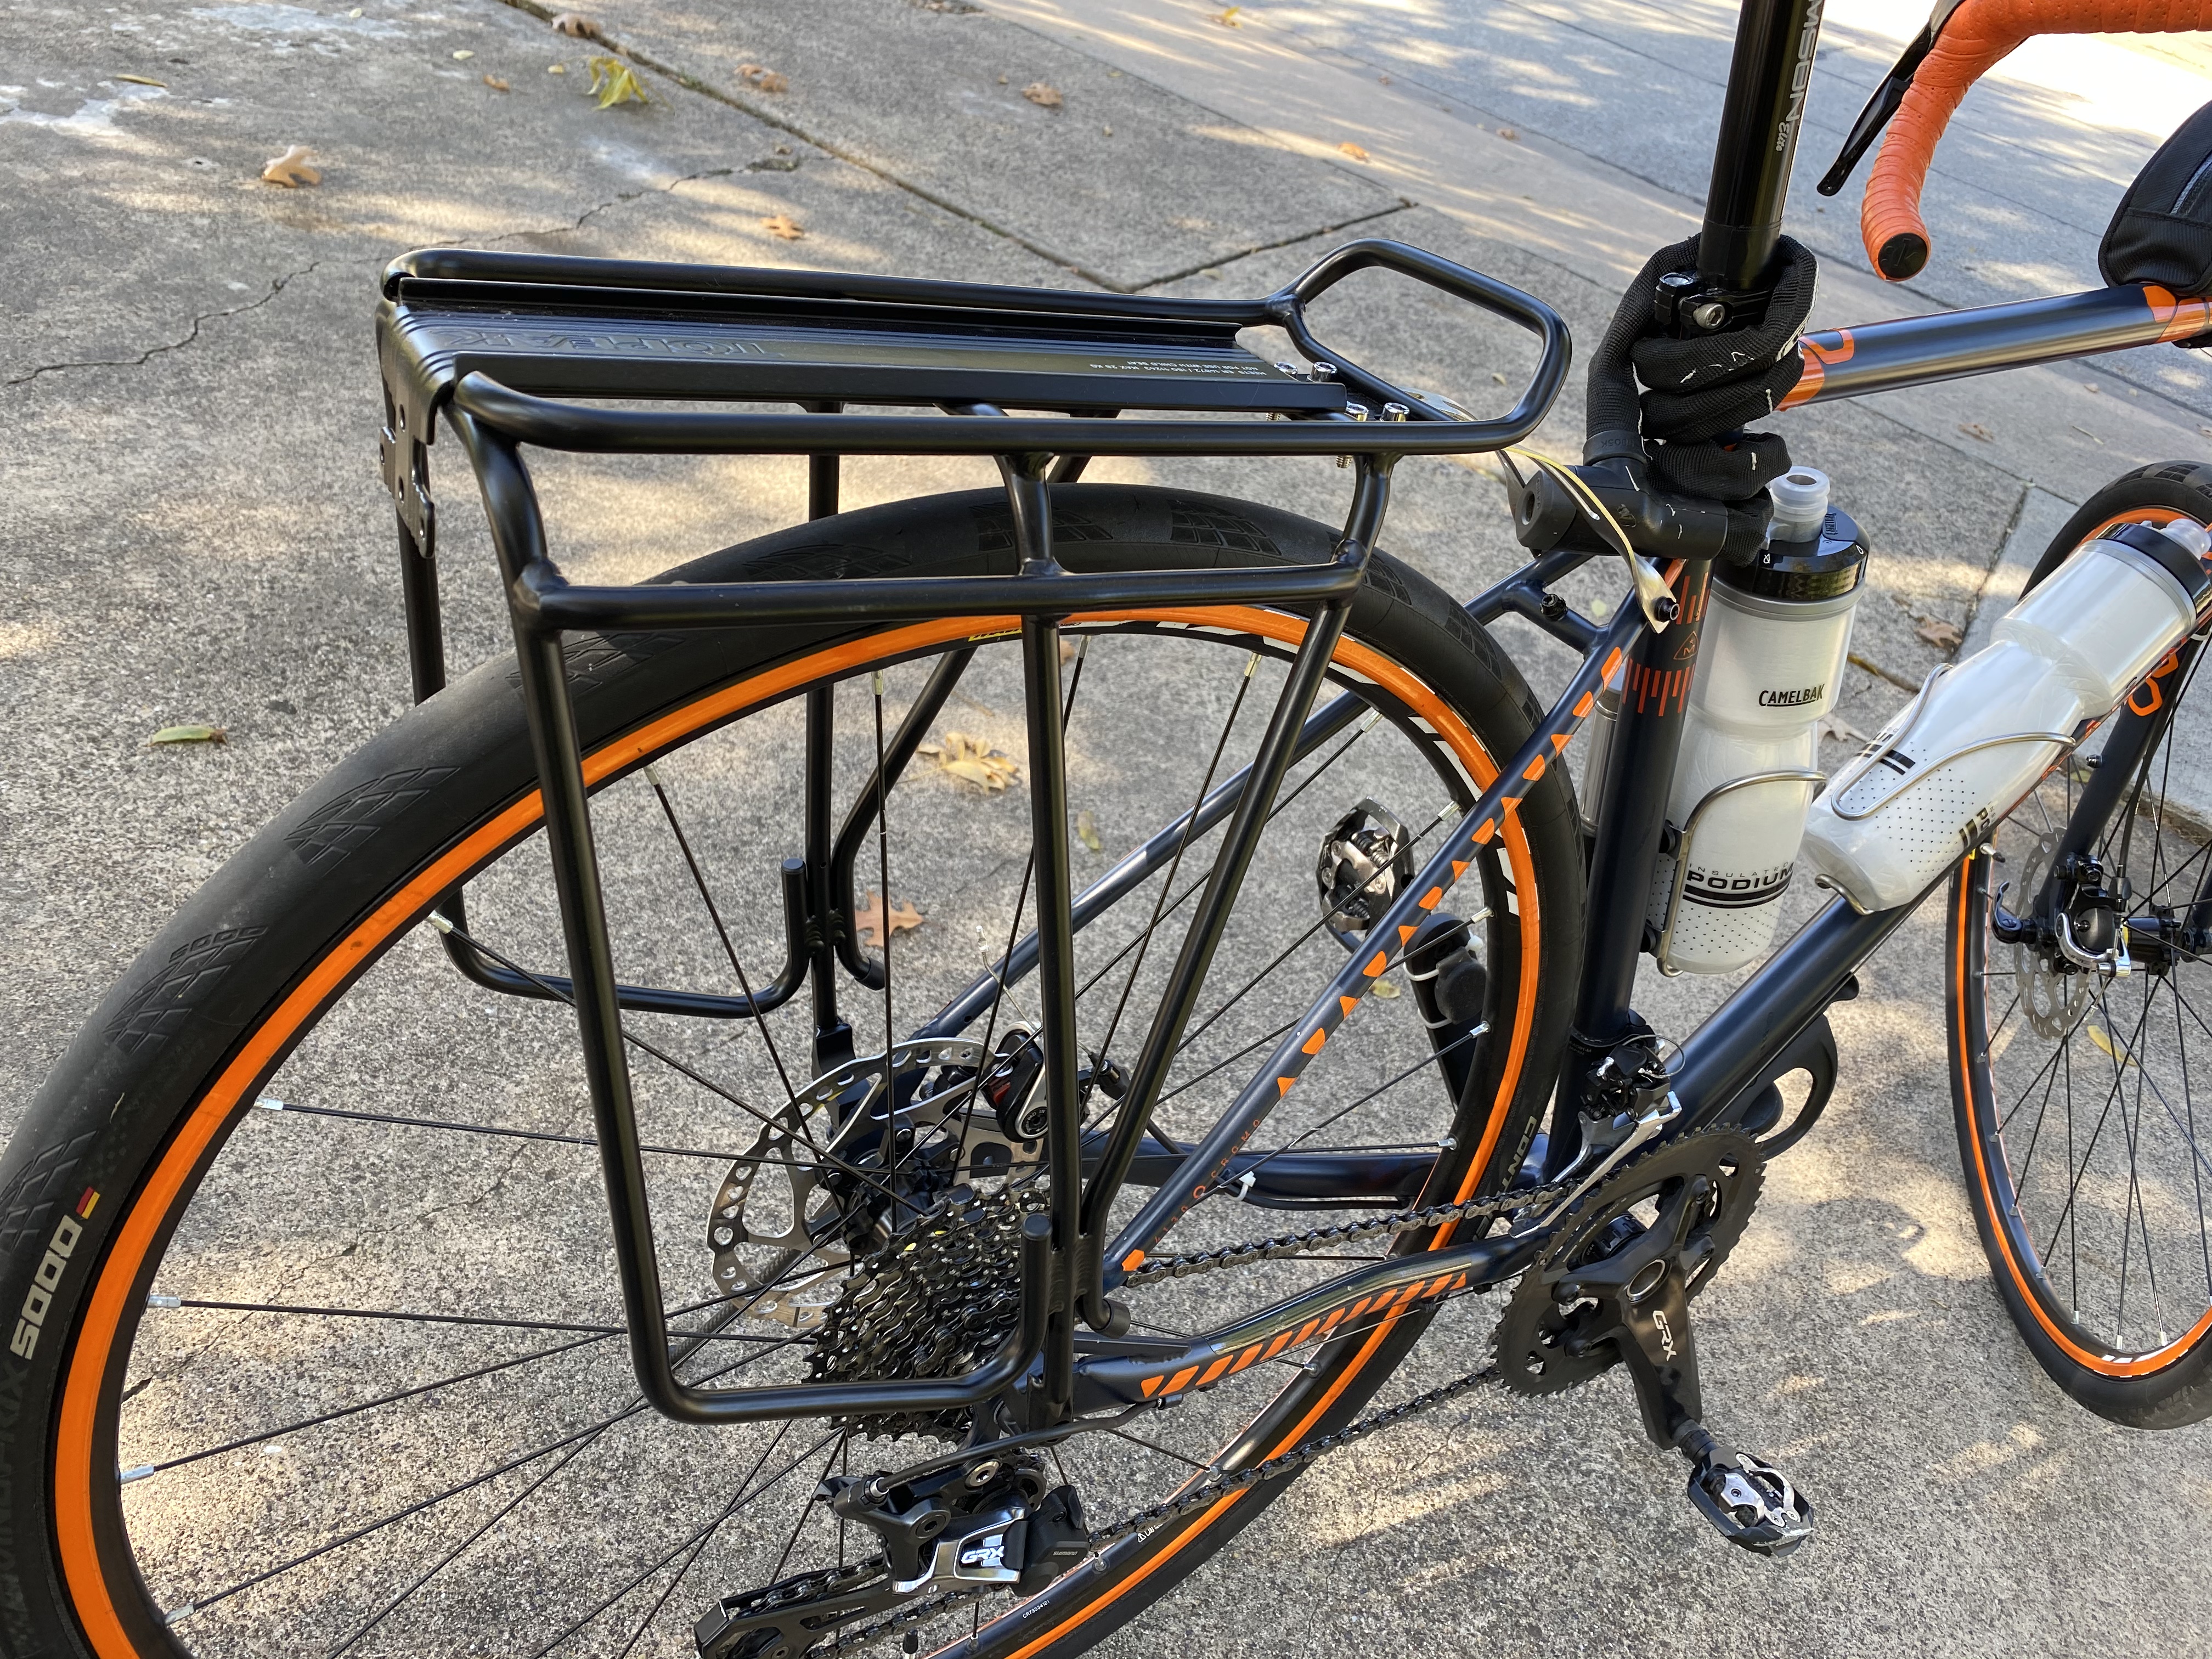

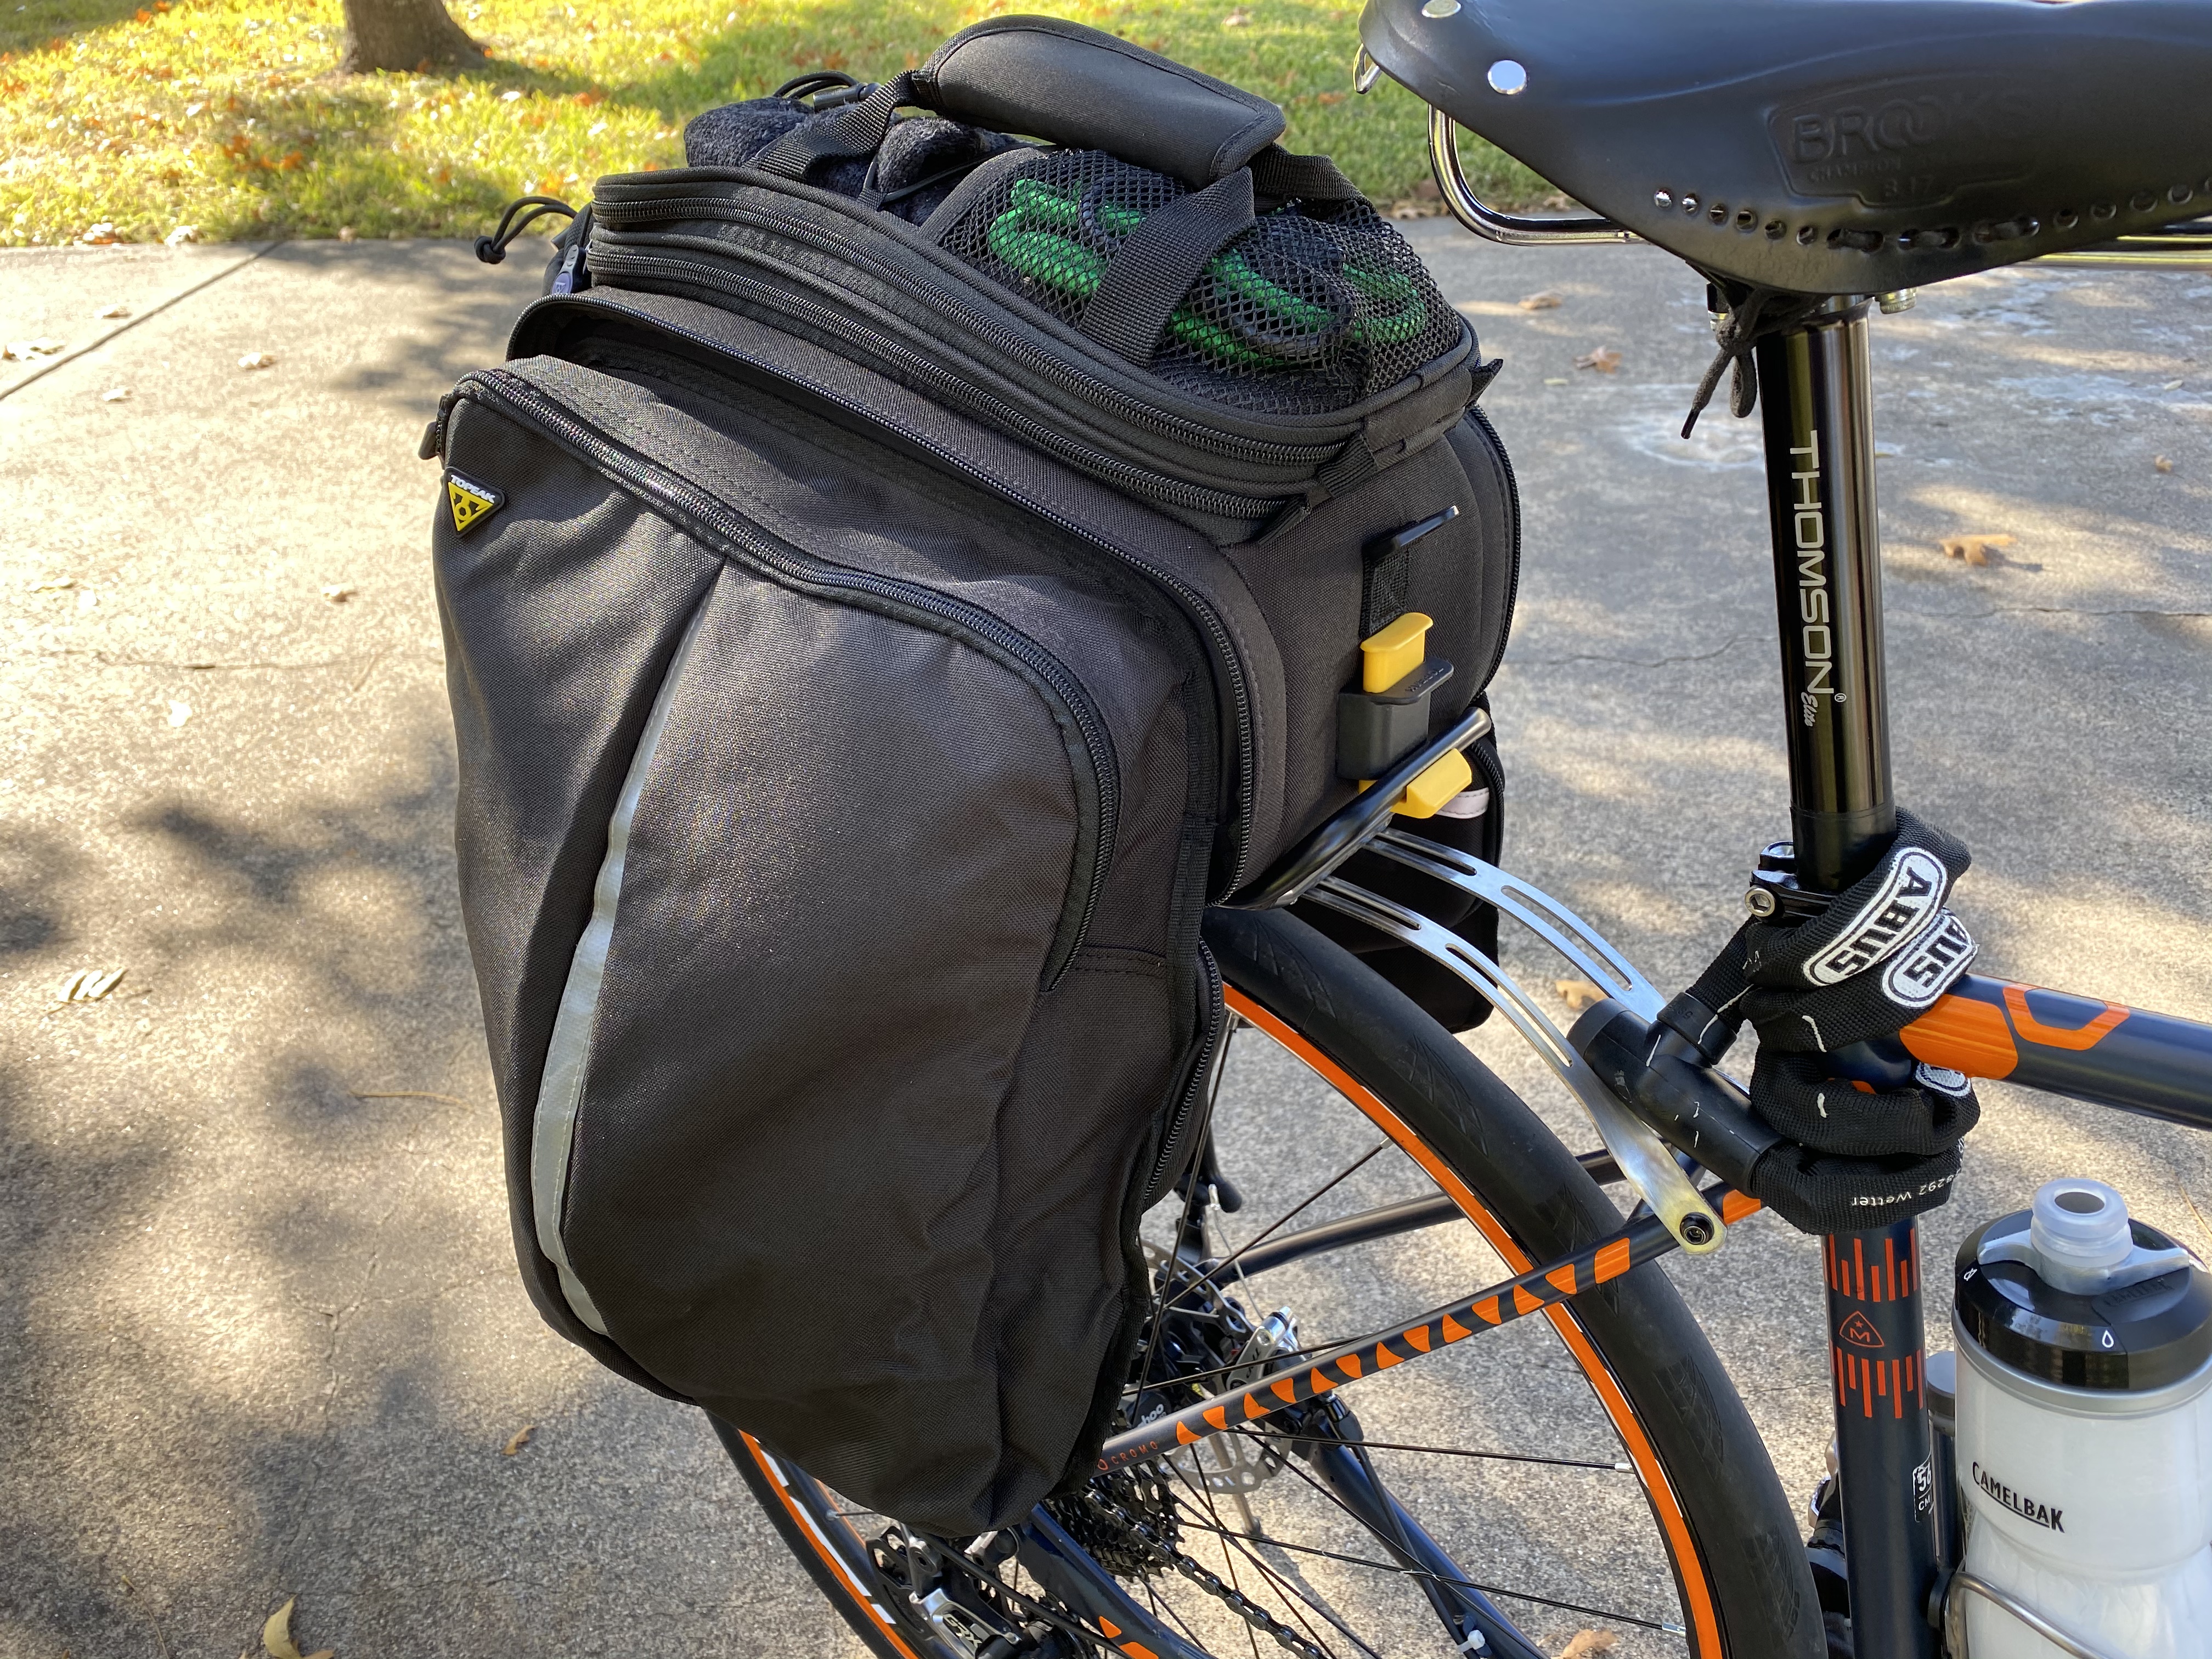
The cool thing about the Topeak TrunkBag/rack combo is that, with the QuickTrack, you can just slide the bag on, snap it in place, and know that it’ll be secure. Plus, the TrunkBag comes with expandable panniers for additional storage, something that I find super handy for a lot of things. There’s also a bottle holder in the back which, with my bottle cages, gives me a total of three areas for water bottles. The main compartment of the bag, while not super roomy, is big enough to store plenty of odds and ends for long trips. There’s a bungie corded area on top for storing smaller items like towels and whatnot. For the most part, it can largely replace the need for a backpack. While I don’t use it all the time, it’s a great setup when it’s really needed.
Miscellaneous Bags
There are a few odd bags that I keep for certain times when I need them. All of these are highly optional and I tend to grab one of them based on what I think works best for the given situation.

One item I got even before I really started riding bikes more heavily was a Timbuk2 Rapid Backpack. It turned out to be a happy accident since the features of this backpack really aid with cycling. The thing I didn’t know when I got it is that it’s compatible with hydration packs. The backpack features an inside pocket near the back with a hook at the top to attach a hydration bag, holes on each side to run a hose through, and elastic bands on the shoulder harnesses to attach the hose and mouthpiece for easy access. I’ve used it a few times for long rides on hot summers. Even without the use of a hydration pack, it’s a great backpack for times when you just need a relatively small backpack for short runs to the store and back. Sucky part is that it appears Timbuk2 doesn’t even sell this one anymore. In fact, they don’t appear to sell any backpacks that have the ability to store a hydration pack in them. Kinda sucks considering how well designed Timbuk2 backpacks are. (Note: My wife kind of acquired this backpack for her walks which I’m totally ok with. It’s a highly versatile backpack and the perfect size for what she’s doing.)

Another Timbuk2 backpack that I got was the Parkside Laptop Backpack. I keep having to tote a laptop, tablet, books, and other things around so having a larger backpack is super handy. I love the Timbuk2 ones because they’re sturdy well designed. This one is much bigger than it looks and holds a hell of a lot of stuff in it. Like the Rapid backpack, this one is super versatile. I use it far more than just bike rides for sure.

There have been rides where I needed to store a bit more than normal. What doesn’t fit in my top tube bag has to go somewhere. I don’t want to carry a backpack...but I don’t want something hanging off my bike either. That’s where a good waist pack like the EagleCreek Wayfinder Waist Pack works well. It’s a small, light waist pack with plenty of space for smaller items and such. Multiple pockets include a fleece lined pocket for electronics and a main compartment with a zippered mesh pocket. I plan on using it more especially on rides when I want to bring my GoPro with me, which does require carrying a few things like spare batteries, mounts, and other things. The main reason I got this one was because the waistband strap can easily be strapped to my rack when needed.

The most recent bag I got is a Revelate Designs Mountain Feedbag. Because I passed on the Mag-Tank 2000 and got the standard size Mag-Tank instead, I figured it would be good to have a bag handy for storing extra snacks in. I was so impressed by the design of the Mag-Tank that when I saw how the Mountain Feedbag worked I knew I just had to have it. Like the Mag-Tank, this one is designed for super easy access while moving on the bike. It features a pretty innovative drawcord that allows for opening and closing it with just one hand. It’s definitely big enough to fit all the snacks I would need for virtually any ride. It can even fit a water bottle or canned drinks if needed. Really cool bag for those times when you want to stock up on snacks and drinks for easy access on the road.
Conclusion
My wife one time asked me, “How many bags do you need?” Fair question and one I keep asking myself from time to time. No doubt, I do have a lot of different bags: saddle bag, top tube bag, storage bottle, rack bag, two different backpacks, waist pack, and a Feedbag. Some are used far more than others but they all serve a purpose and get used at various times.
Best advice I can give is to think through what you'll be storing, how much room you realistically need, and how you'll be using everything. The top tube and feed bags are a good example of bags that need easy in-and-out access so definitely think through their use for sure. As for everything else, be strategic about how you'll store things. The more condensed everything is the less room it takes up. While I carry a lot I try to keep it all rather tightly packed.
Hopefully this will give you some ideas on how to approach your own bags. With a little thought process behind it, you'll have a collection of bags that'll do the job for just about any ride.